
SharePoint Framework – Deploy SPFx WebParts to Azure CDN
Overview
In the previous article Develop First Client Side Web Part, we developed SharePoint Framework client side web parts and tests it on local SharePoint workbench. The local SharePoint workbench allows to quickly test the SPFx web parts. The Node.js provides the hosting platform to run on local environment. However in the real life scenarios we will have to deploy these SPFx web parts to some hosting environments from where it can be served to SharePoint.
Majorly the SPFx web parts are deployed on either of below CDN (Content Delivery Network) options:
- Azure CDN (This article)
- Office 365 Public CDN
- SharePoint Library in your tenant
In this article, we will have a look at how SPFx web parts can be deployed to Azure CDN.
Configure MS Azure Storage Account
Follow below steps to configure MS Azure storage account and integrate it with CDN:
- Login to MS Azure Portal (https://portal.azure.com).
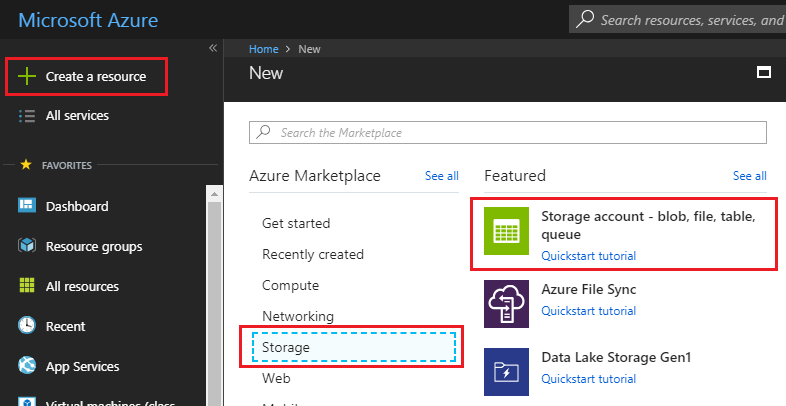
- Click Create a resource.
-
Click Storage account - blob, file, table, queue.
-
Fill out the form.
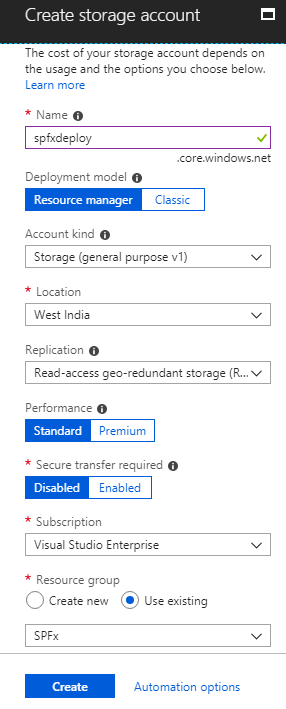
- Click Create.
- The storage account endpoint can be referred by URI – http://
.blob.core.windows.net
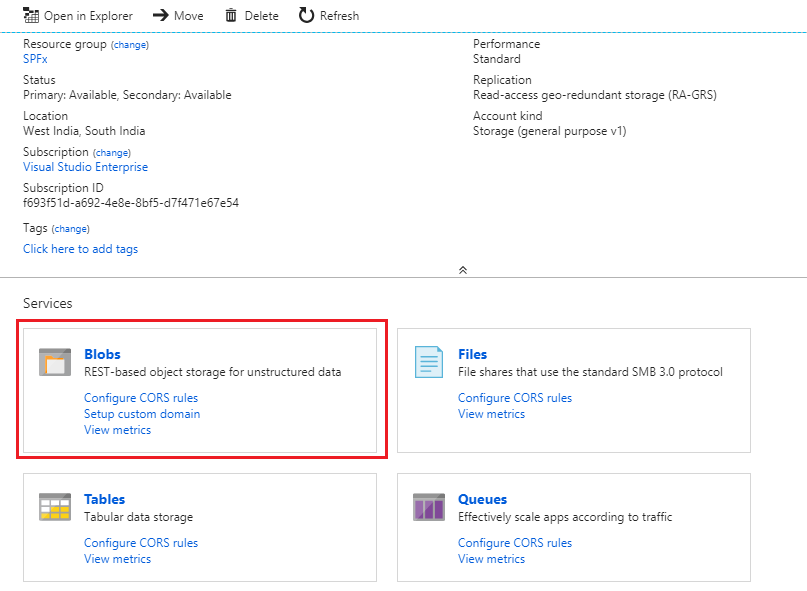
Configure BLOB Container
- Select storage account from dashboard.
-
Click Blobs.
-
Click + Container.

-
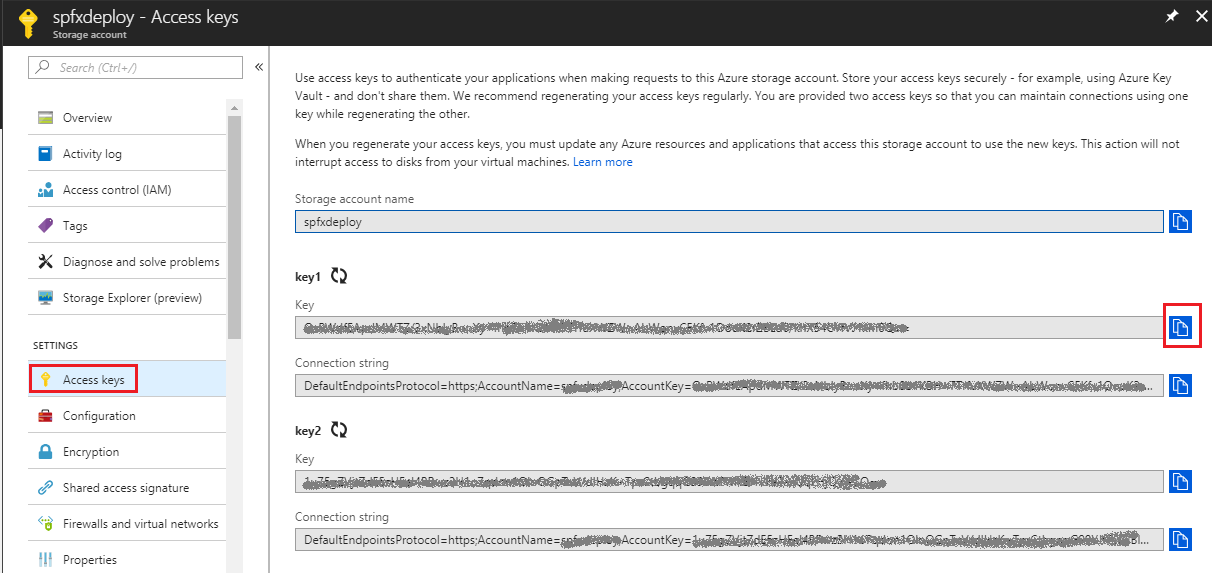
Click Access keys and note down any of the access key.
Enable Azure CDN for Storage Account
We will enable CDN for the above created storage account.
- Select storage account from dashboard.
-
Under BLOB Service, select Azure CDN.

- Click Create.
-
The endpoint will appear in the endpoint list.
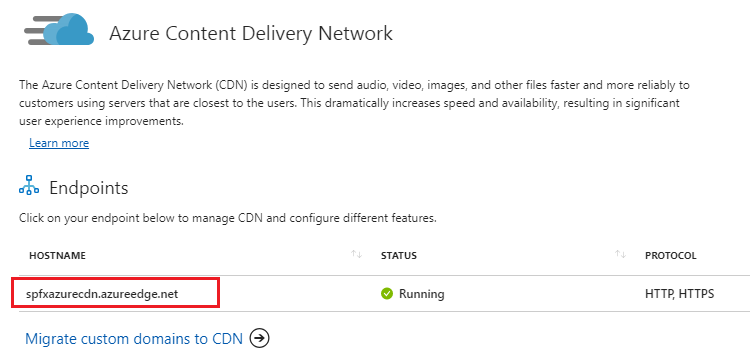
- The BLOB container can be accessed from url: http://
.azureedge.net/ /
Configure SPFx Solution for Azure CDN
Update package details
- Open command prompt.
- In the command prompt, navigate to SPFx solution folder.
- Type code . to open the solution in code editor of your choice.
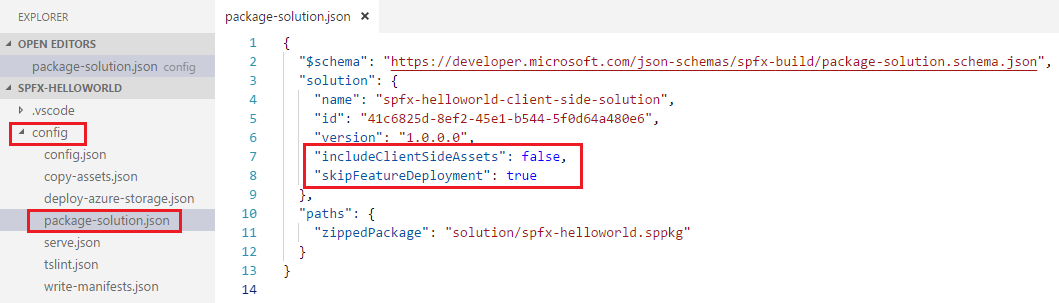
- Open package-solution.json file from config folder. This file takes care of solution packaging.
-
Set includeClientSideAsserts value as false. The client side assets will not be packaged inside final package (sppkg file) because these will be hosted on external CDN.
Update Azure storage account details to Solution
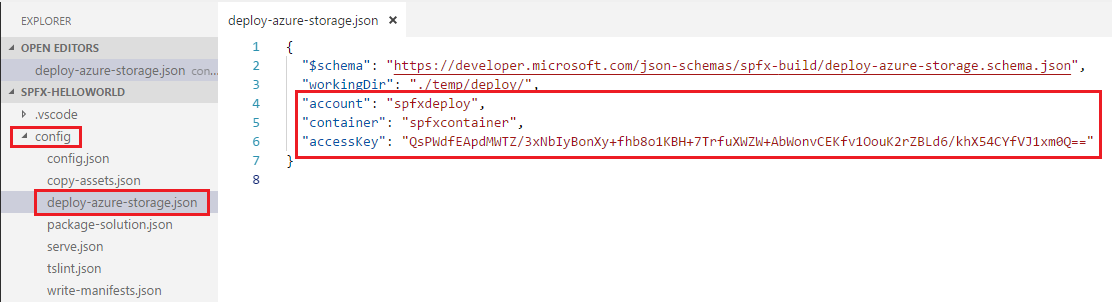
- Open deploy-azure-storage.json from config folder to specify the Azure storage account details.
- Update values as below:
- account: storage account name
- container: BLOB container
- accessKey: storage account access key (primary or secondary)
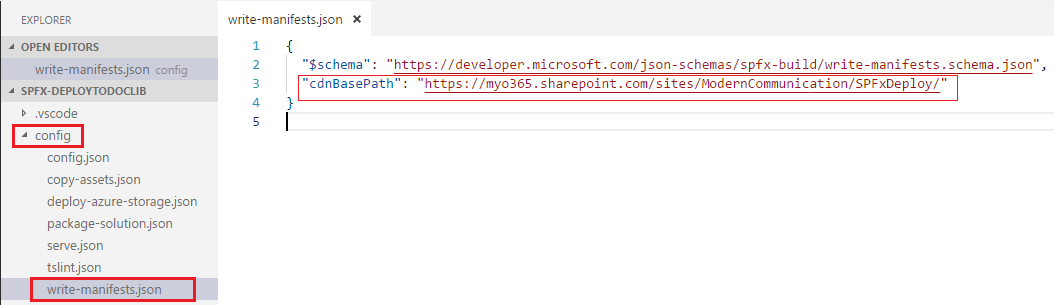
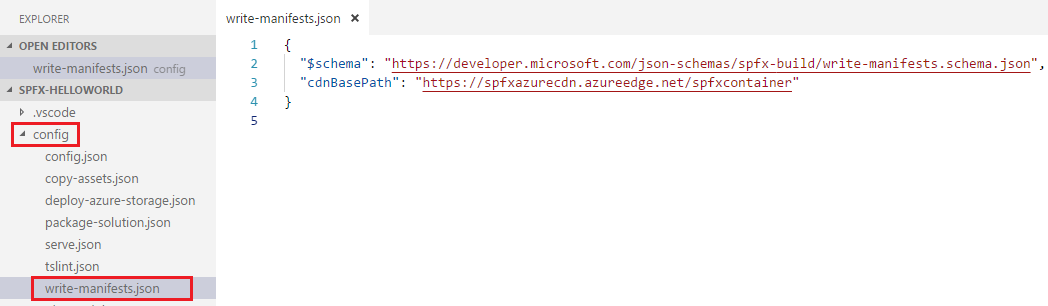
Update CDN Path
- Open write-manifests.json from config folder.
-
Update CDN base path as BLOB container end point.
Prepare the package
In the command prompt, type below command:
gulp bundle --ship
This will minify the required assets to upload to CDN. The ship switch denotes distribution. The minified assets are located at “temp\deploy” folder.
Deploy assets to Azure Storage
In the command prompt, type below command:
gulp deploy-azure-storage
This will deploy the assets (JavaScript, CSS files) to Azure CDN.
Deploy Package to SharePoint
The next step is to deploy the app package (sppkg) to SharePoint App catalog.
In the command prompt, type below command:
gulp package-solution --ship
This will create the solution package (sppkg) in sharepoint\solution folder.
Upload package to app catalog
- Open the SharePoint app catalog site.
- Upload the solution package (sppkg) from sharepoint\solution folder to app catalog.
-
Make sure the url is pointing to Azure CDN.
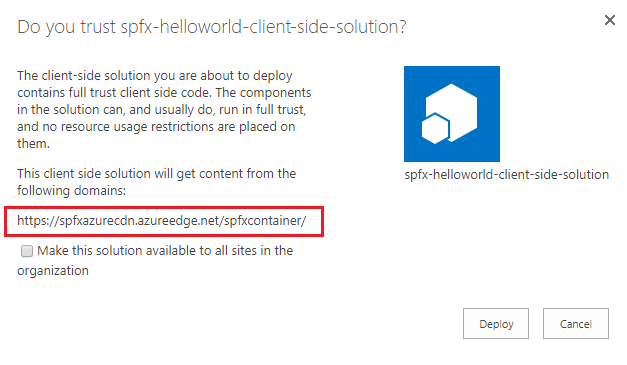
- Click Deploy.
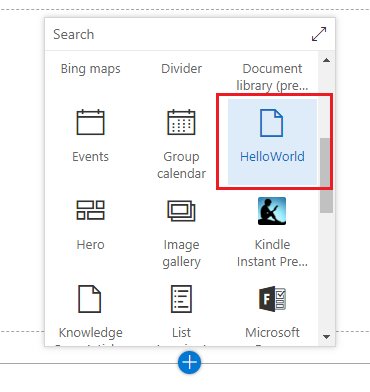
Test the web part
- Open any SharePoint site in your tenant.
- Add the App to your site from Add an App menu.
-
Edit any page and add the web part.
-
Click F12 to open developer toolbar. Confirm that it is served from Azure CDN.

Summary
Azure CDN is one of the preferred option to deploy the SPFx client side webpart. SharePoint framework provides out of box support to deploy assets to Azure CDN. You can update the CDN path later in SPFx solution and redeploy it.
This content was originally posted here.


Leave a comment