
Set up Azure DevOps Pipeline for Power Platform - Continuous Deployment (Part 2)
Overview
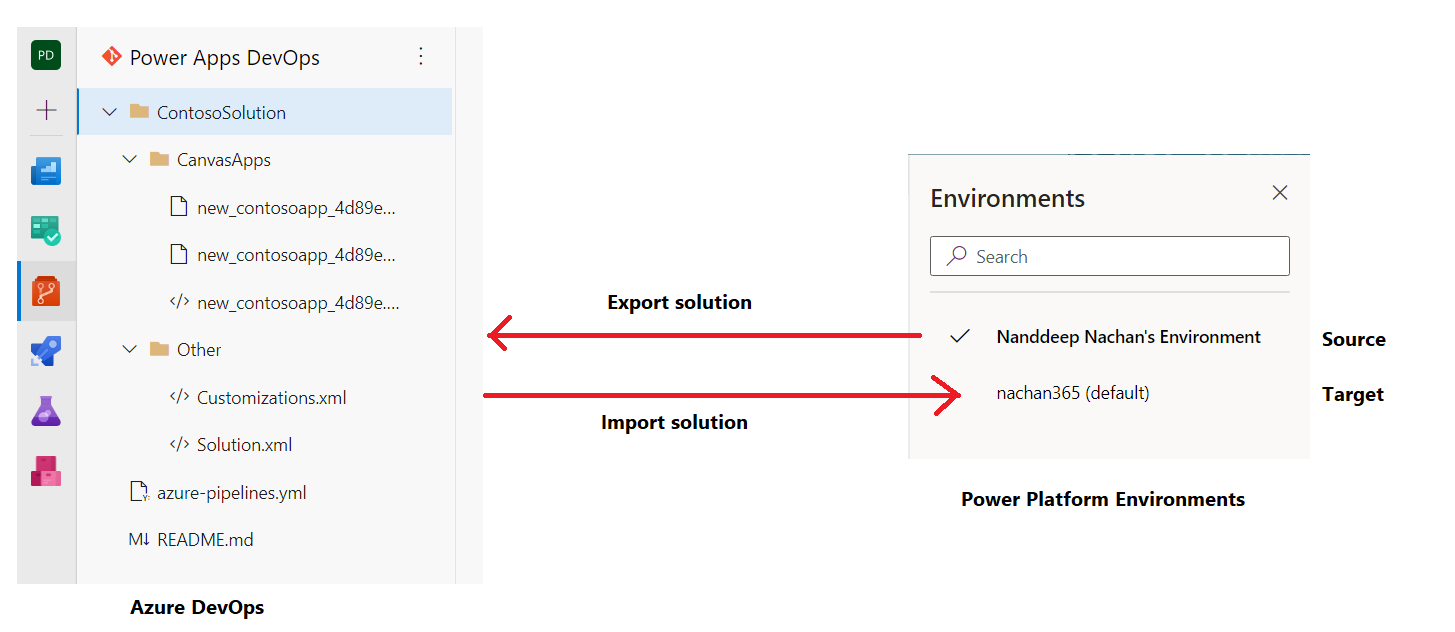
Azure DevOps pipelines make it easy to automate exporting solutions from one environment to importing to other.
In the previous article, we covered how to export the Power Platform solution from one environment, and in this article, we will import it to another environment.
The Plan
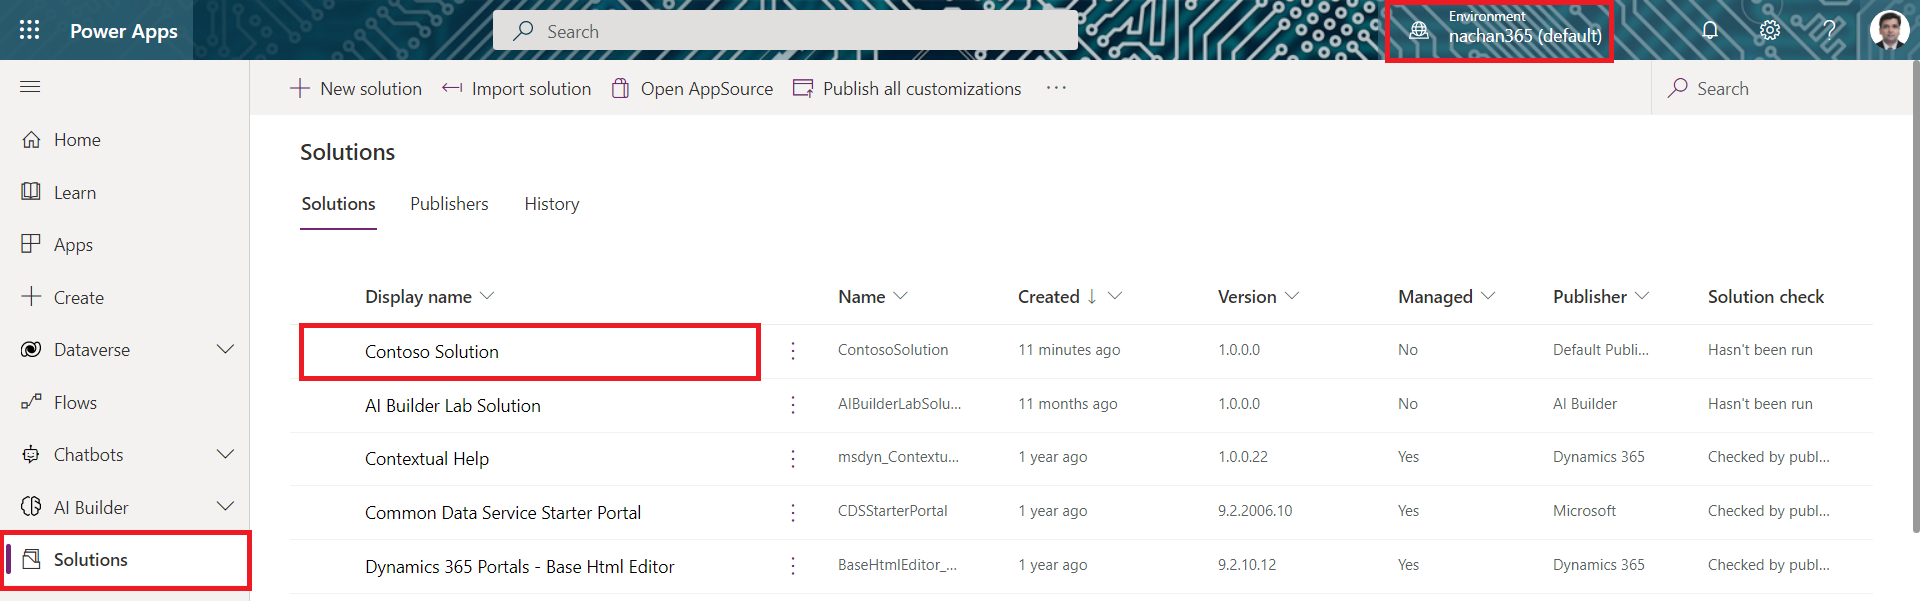
The Power platform solution, we exported from the source environment (Nanddeep Nachan's Environment) will now to imported to the target environment i.e. nachan365 (default).
Azure AD App Registration
We will use the same Azure AD app registration from the previous article, instead of creating a new one.
Create system user in Dataverse pointing to Azure AD App registration
- Open Power Platform Admin center.
- Navigate to the source environment.
- Click Settings.
- Under Users + permissions, click Users.
- Click the app users list.
- Click + New app user.
- Click + Add an app.
- Select the previously created Azure AD app from the list.
- Click Add.
- Select the Business unit.
-
Under Security roles , select System Administrator.
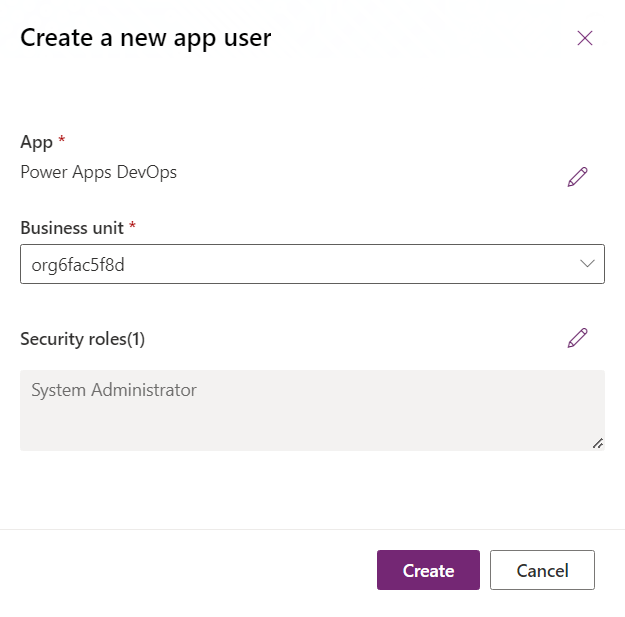
- Click Create.
Create Azure DevOps Pipeline - Service Connection
- In the Azure DevOps, navigate to your project.
- From the bottom left, click Project settings.
- Under Pipelines, click Service connections.
- Click Create service connection.
- Search and select Power Platform.
- Click Next.
-
Provide the service connection details from previous configurations.
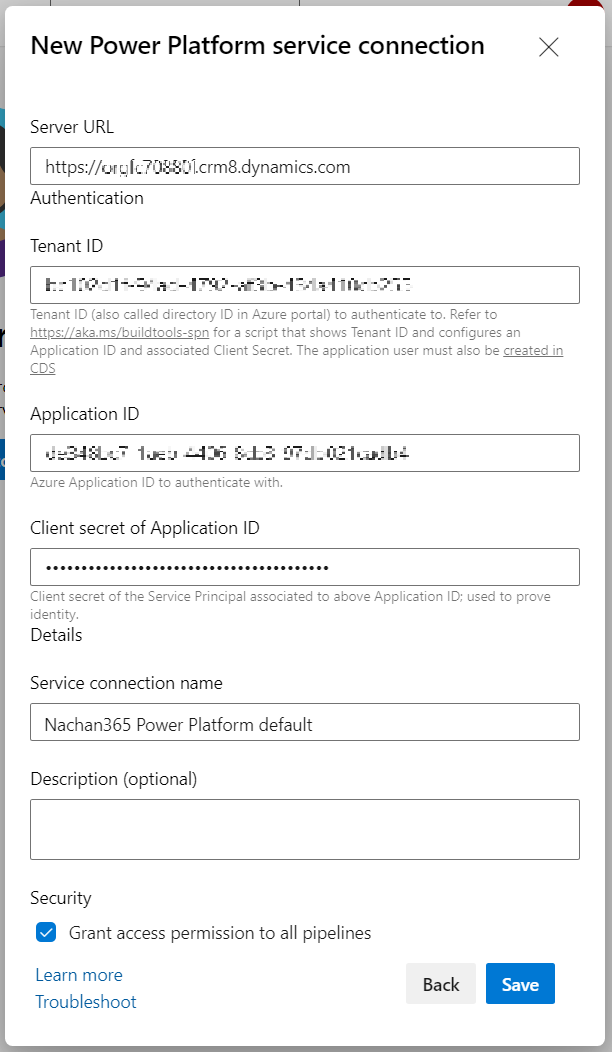
- Click Save.
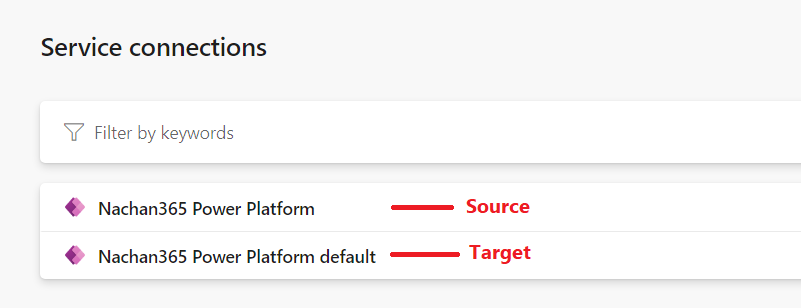
Now, we should have 2 service connections each pointing to the source and target environment.
Create Release Pipeline
We will not automate the release process by setting up a new pipeline.
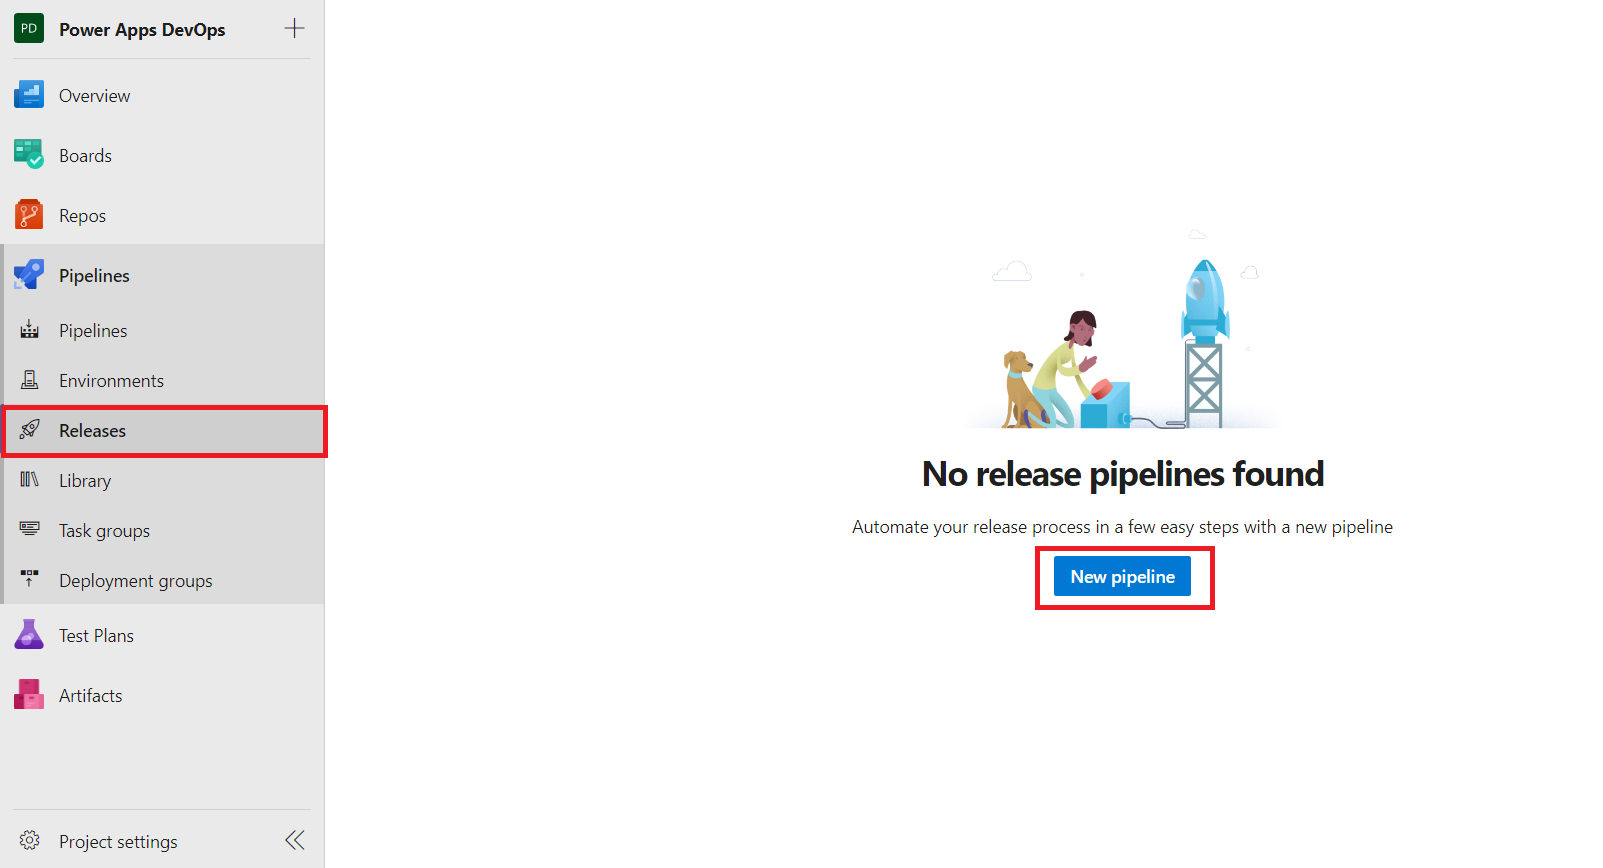
- In the Azure DevOps project, click Pipelines > Releases.
-
Click New pipeline.
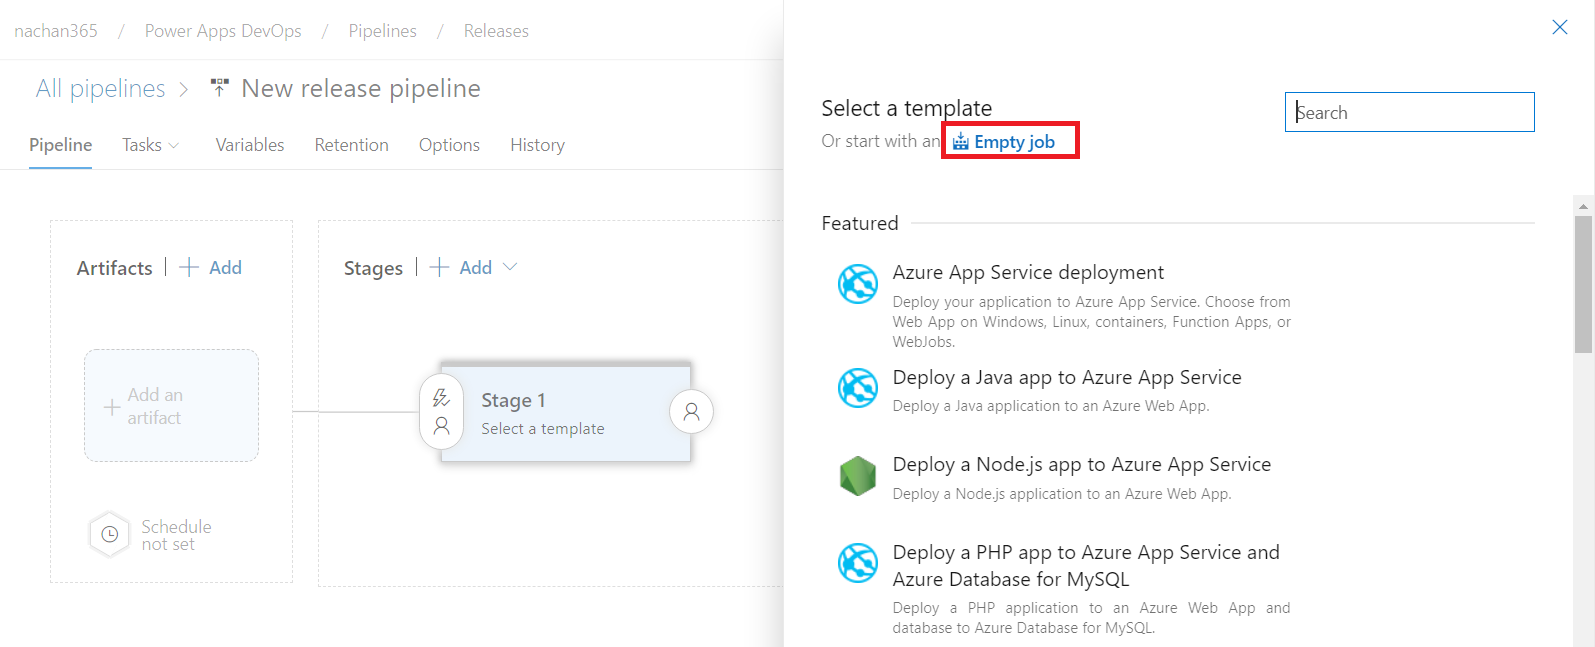
-
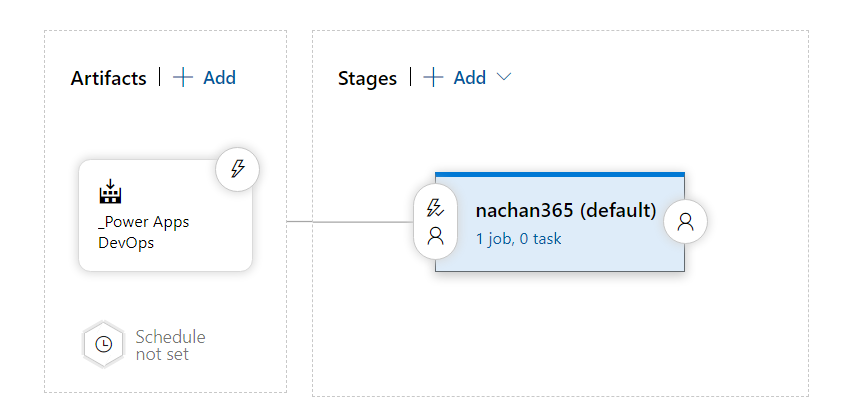
We will start with the Empty job.
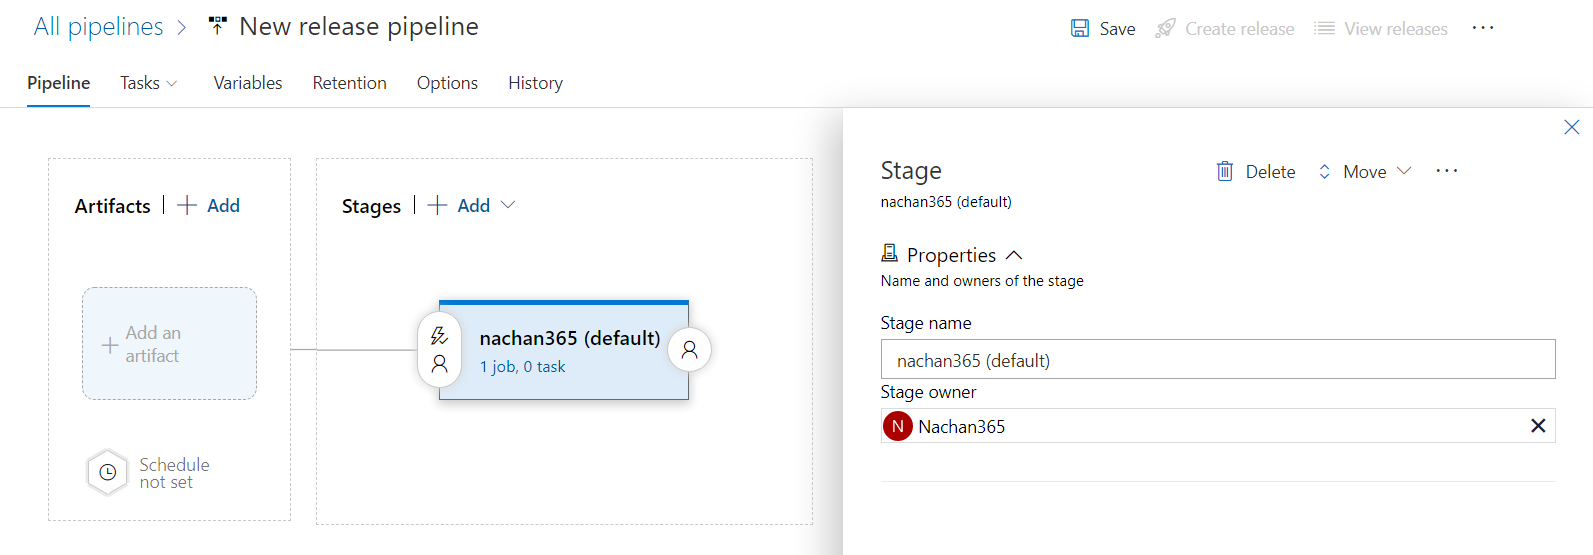
-
Name the stage (e.g., by the target environment)
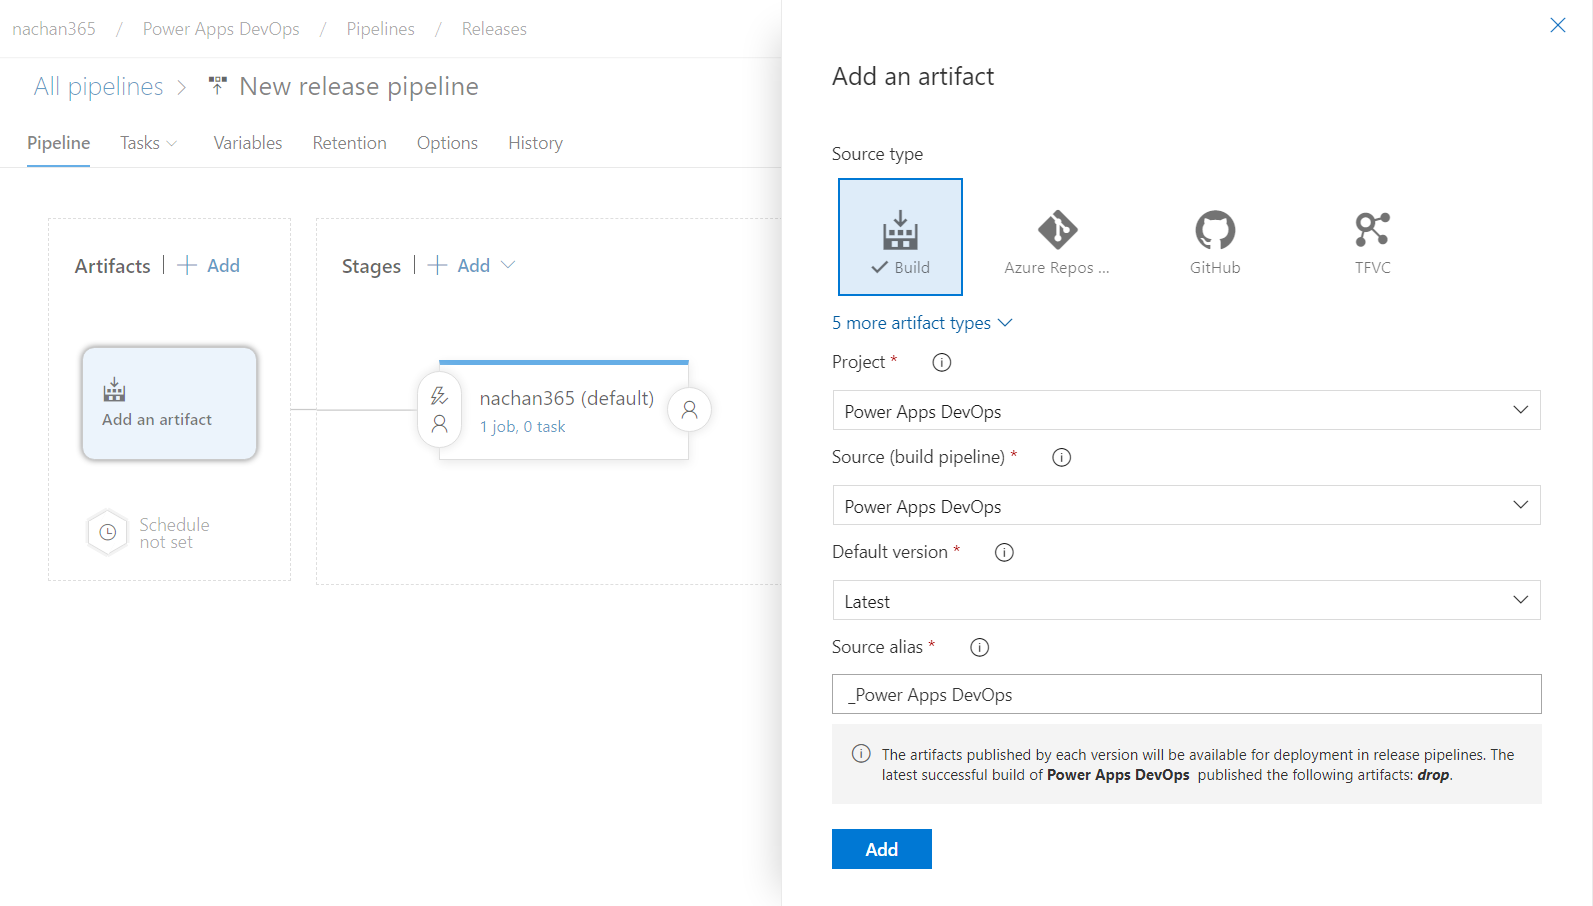
- Select the Source type as Build.
-
Click Add.
-
Click 1 job, 0 task.
Add Tasks to the pipeline
Add below tasks to your pipeline.
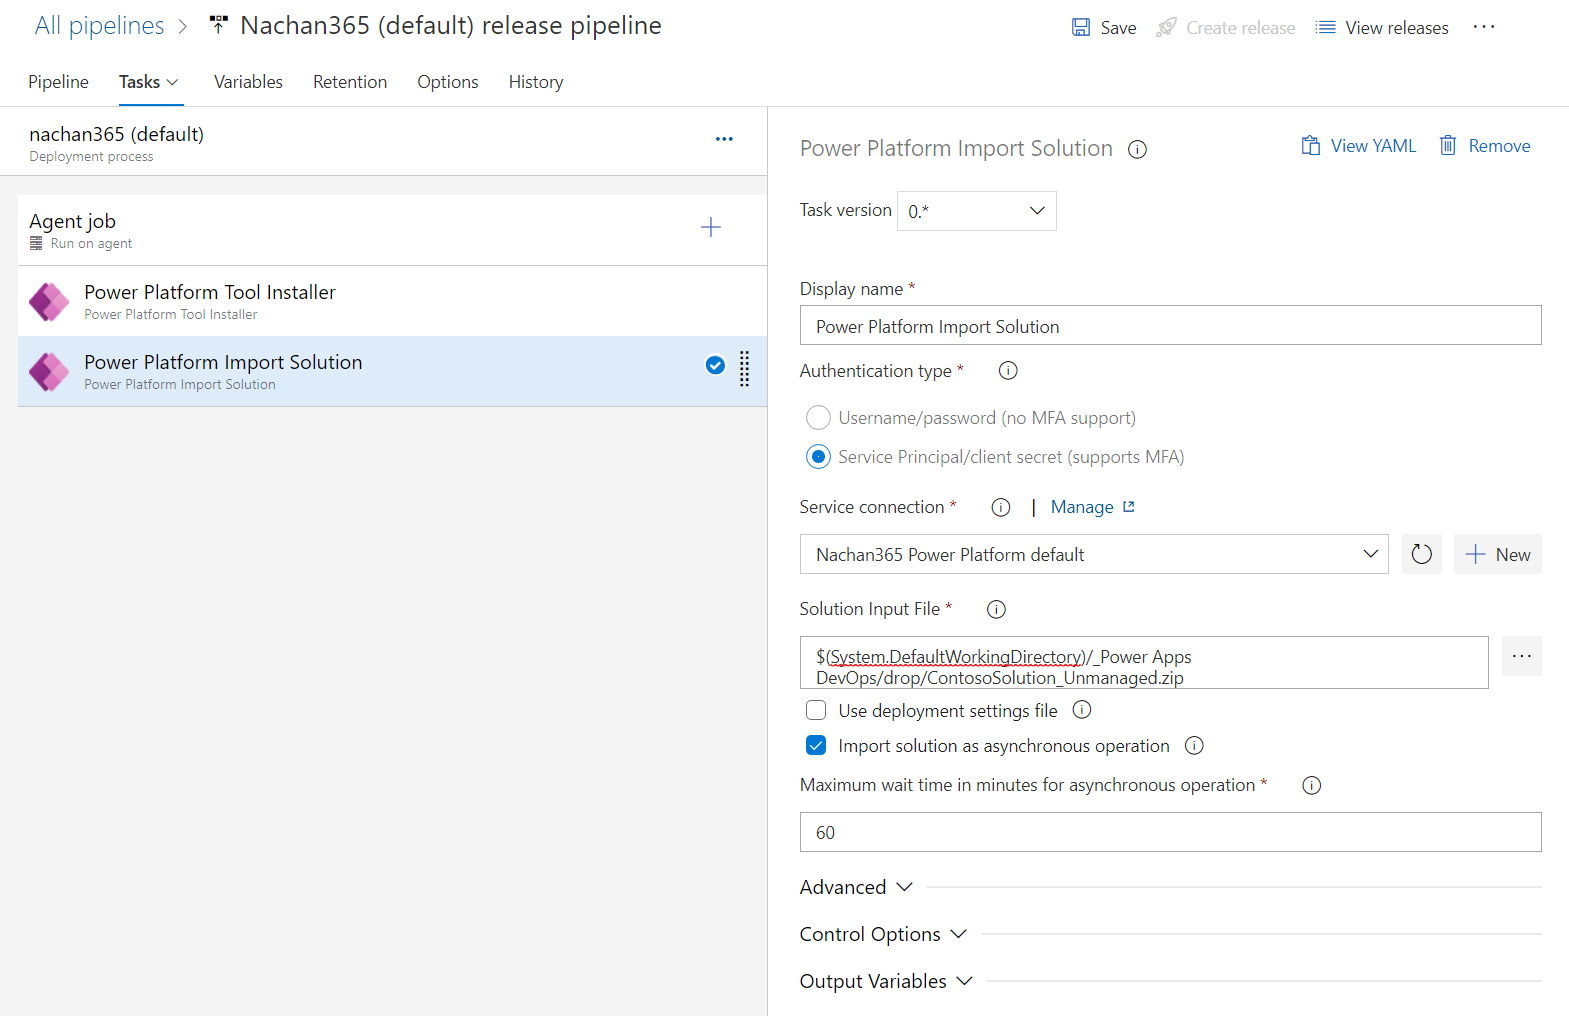
Task #1: Power Platform Tool Installer
This will install the Power Platform Build Tools.

Task #2: Power Platform Import Solution.
This will import a solution into a target environment.
- Specify Service connection
-
For the Solution Input File (which is expected to be zip), specify the path from the drop folder, where the build pipeline produces the artifacts.
Task #3: Power Platform Publish Customizations.
This will publish all customizations in an environment.

Execute the release pipeline
Click Create Release from the top to start the release pipeline.
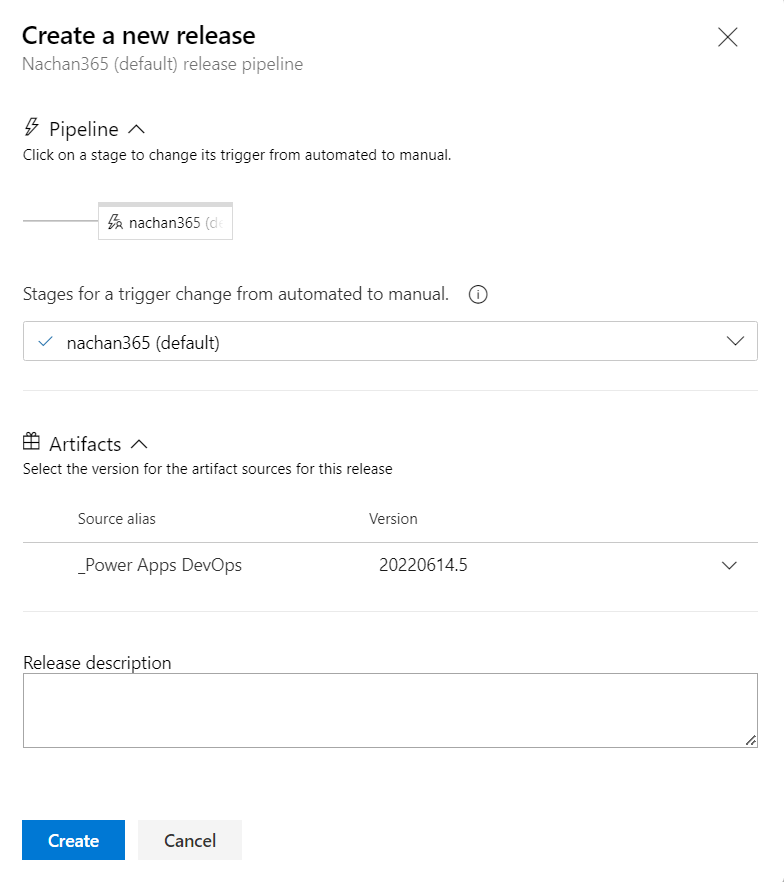
Wait for the release pipeline to finish.
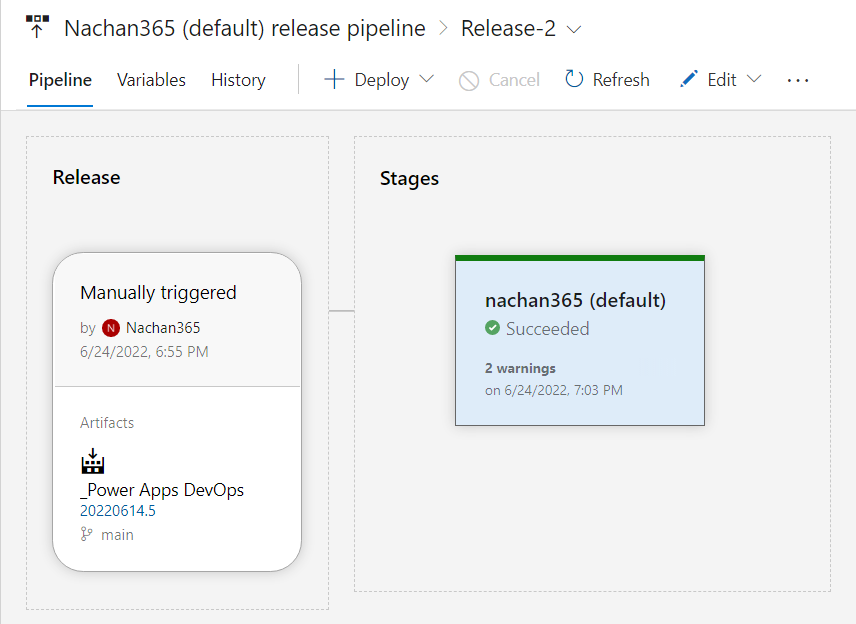
The End Result
Once the release pipeline finishes successfully, the Power Platform solution will be deployed to the target environment.
Summary
Azure DevOps pipelines make it easy to automate to move your solutions from one environment to other. Power Platform Build Tools tasks help to automate common build and deployment tasks in Azure DevOps pipelines.


Leave a comment