
Set up Azure DevOps Pipeline for Power Platform - Continuous Integration (Part 1)
Overview
Power Platform solutions can be easily exported from one environment and imported to other with manual efforts. Azure DevOps pipelines make it easy to automate to move your solutions from one environment to other.
With the two-part series, we will set up Azure DevOps pipelines for this scenario. In this article, we will cover how to export the Power Platform solution from one environment, and in the next article, we will import it to another environment.
Prerequisites
We will need the below things to get started:
- Power Apps portal
- Azure Portal
- Azure DevOps
- Power Platform Build Tools
Azure AD App Registration
As a first step, we need to configure service connections using a service principal. This can be done by creating an application registration in Azure Active Directory (AAD).
Register an application
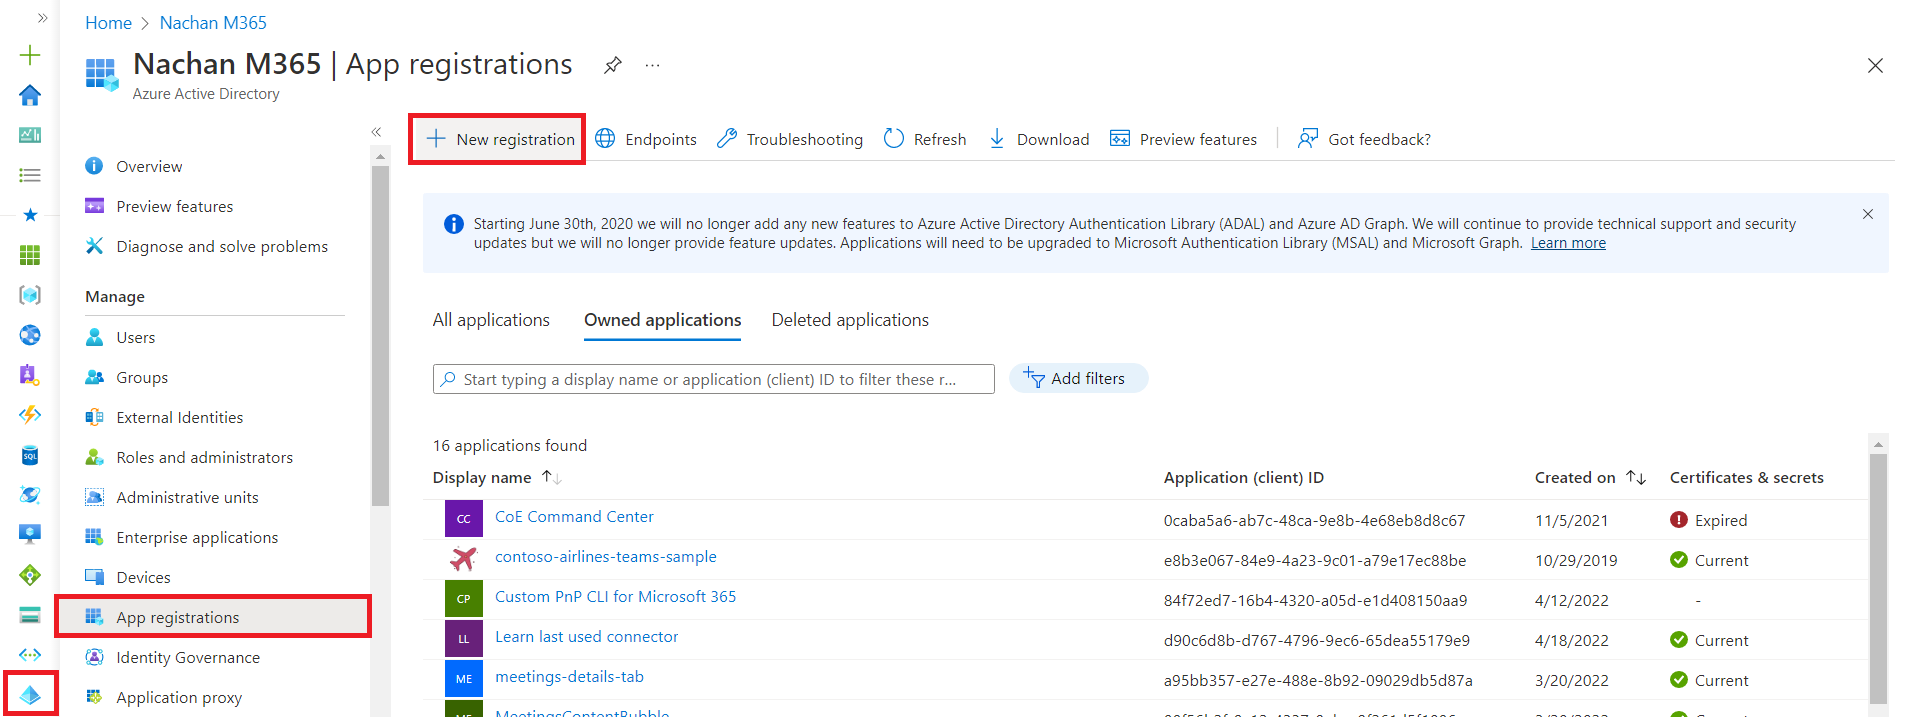
- Open Azure Portal.
- Click Azure Active Directory.
- From the left menu, click App registrations.
-
Click + New registration.
-
Create a new app registration as follows:
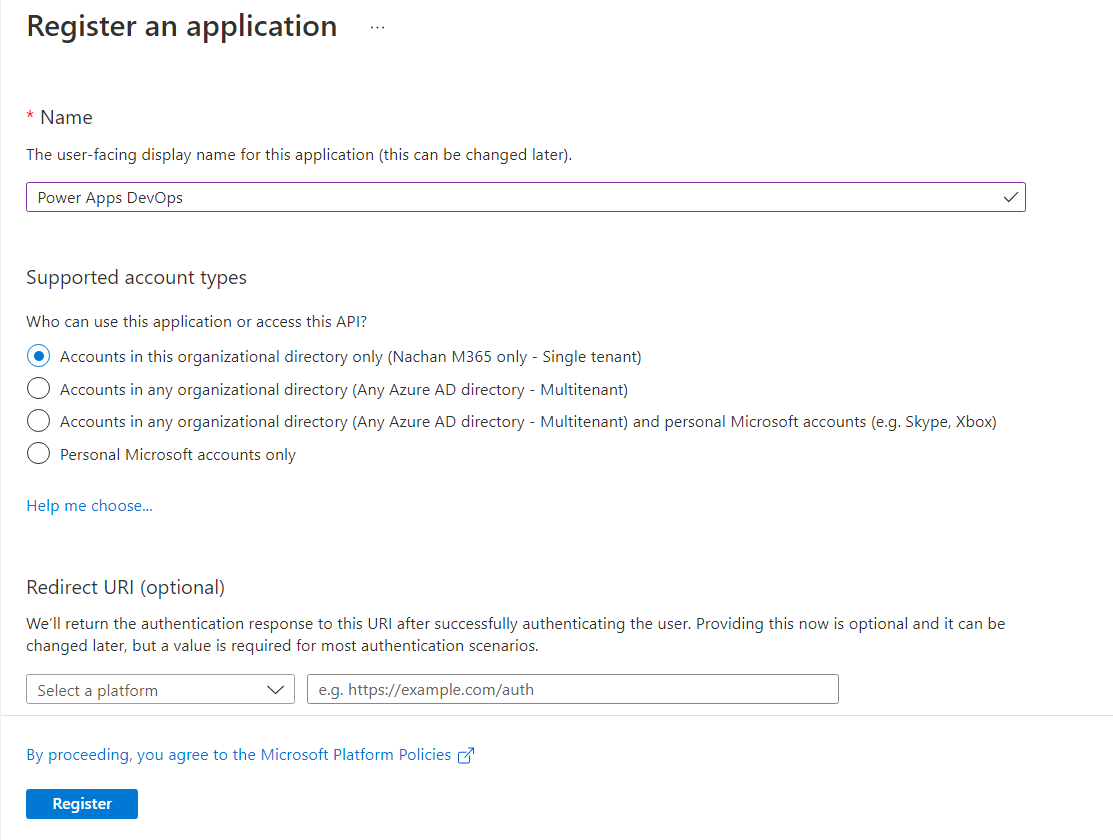
-
Note down the Application ID and tenant ID.

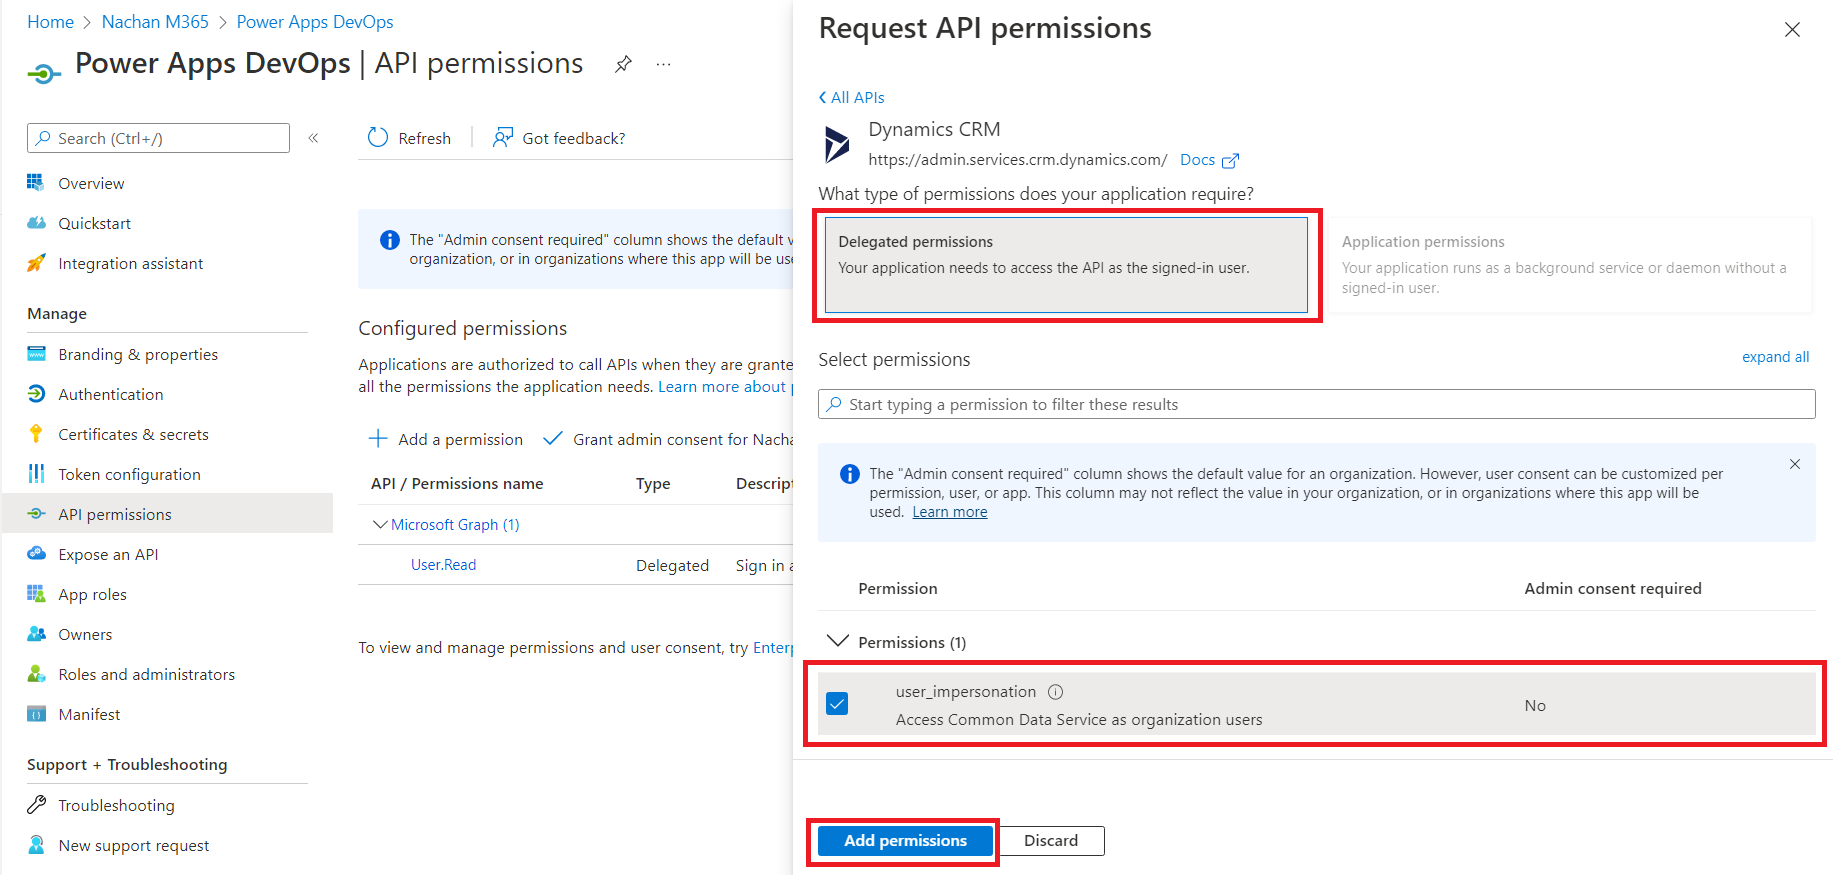
Add API permissions
- From the left navigation, click API permissions.
- Click + Add a permission.
- Click APIs my organization uses
-
Search and select Dataverse.
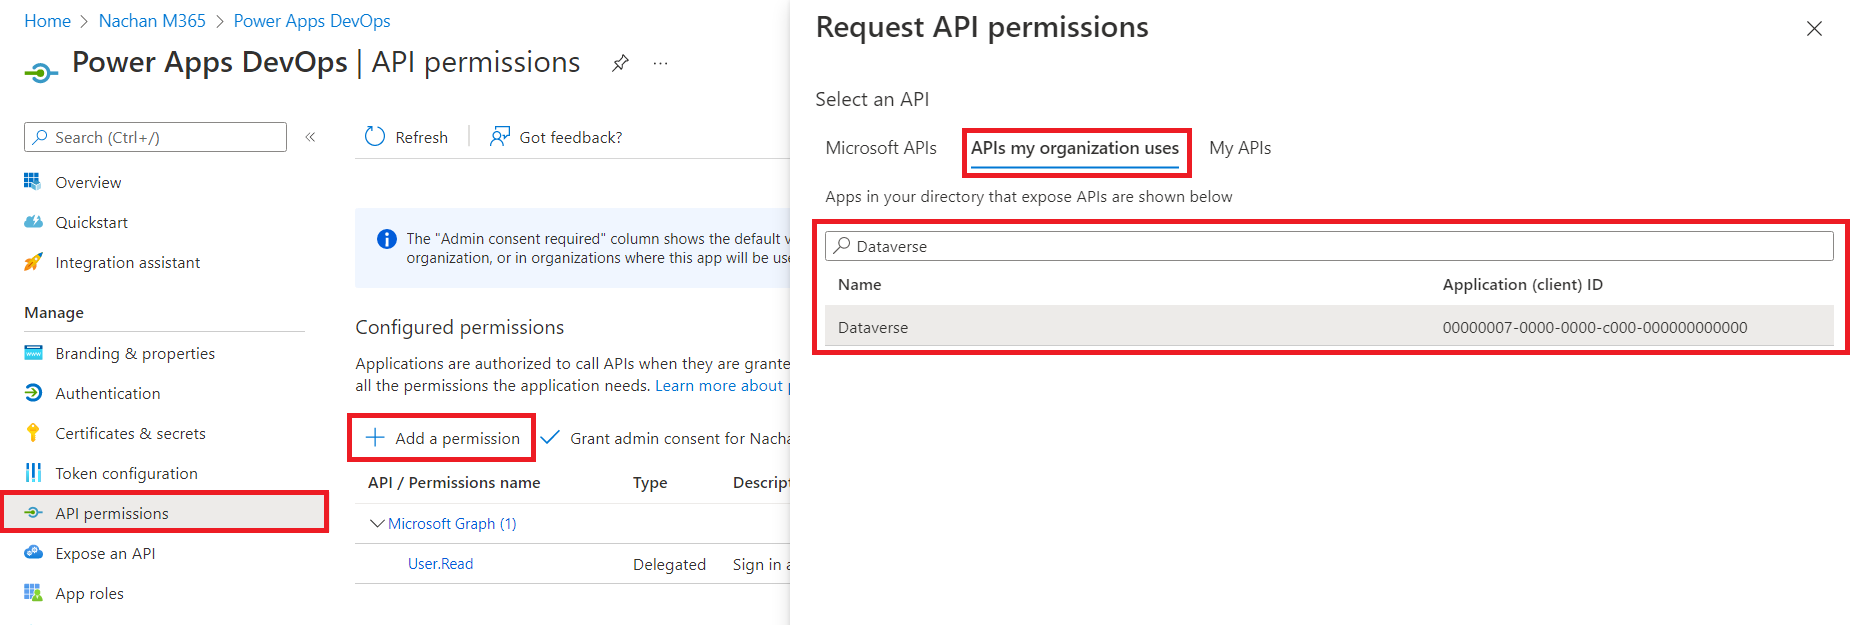
-
Select the delegated permissions and Add permissions.
Generate client secret
- From left menu, click Certificates & secrets
-
Click + New client secret.
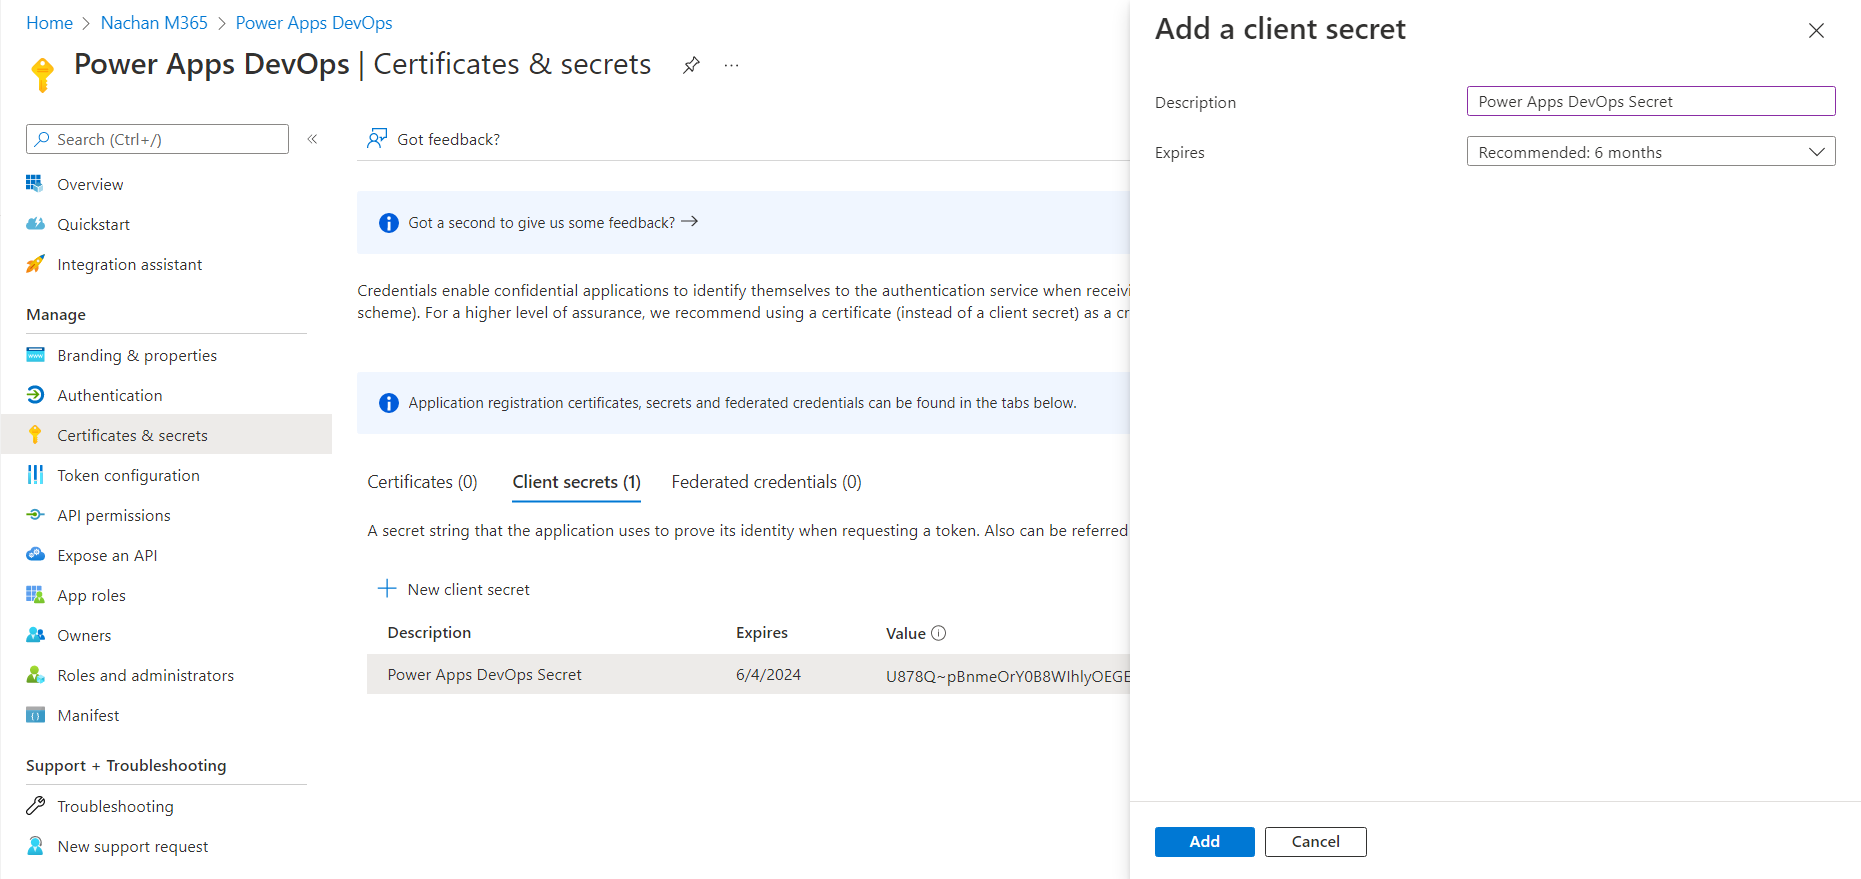
- Note down the secret value.
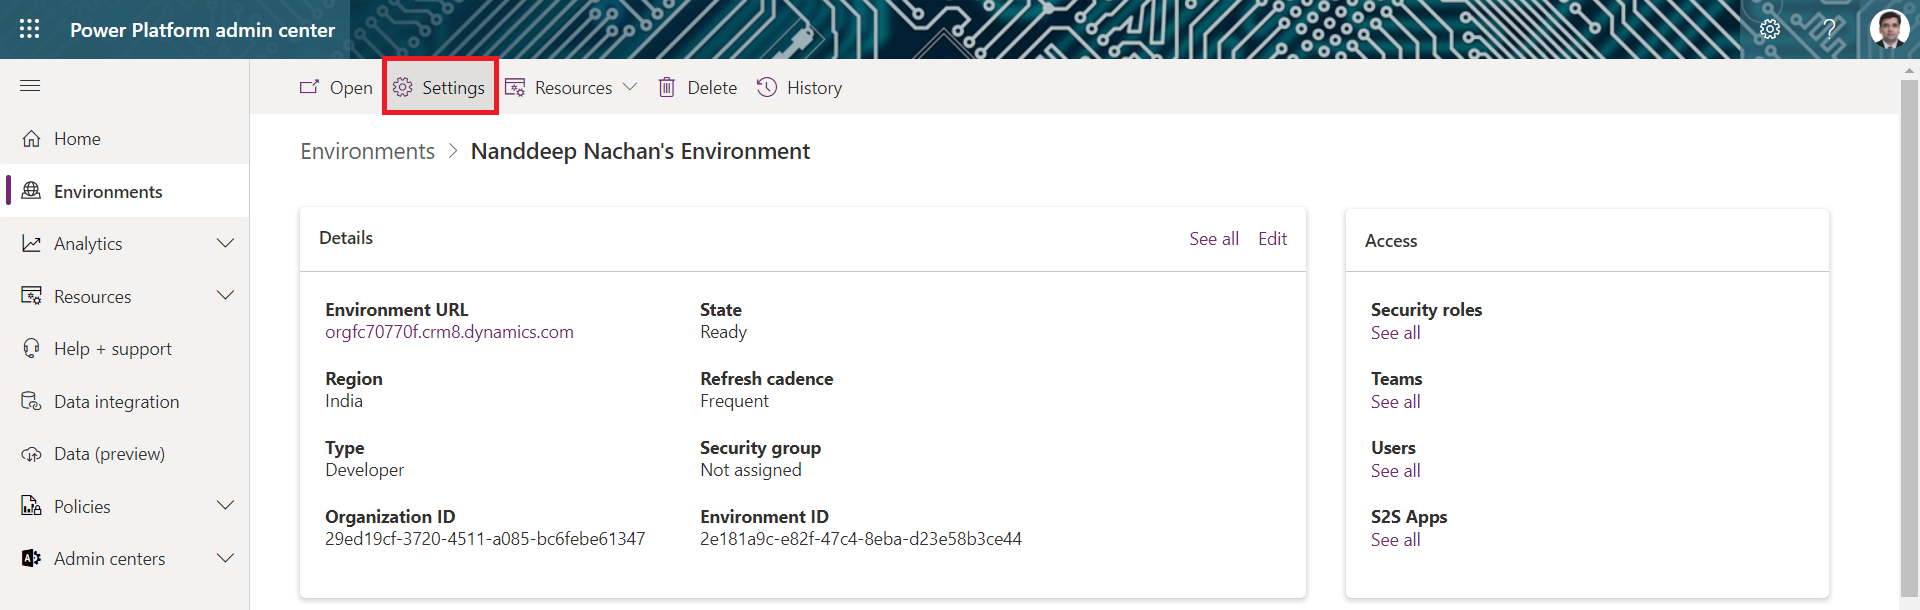
Create system user in Dataverse pointing to Azure AD App registration
- Open Power Platform Admin center.
- Navigate to your environment.
-
Click Settings.
-
Under Users + permissions , click Users.
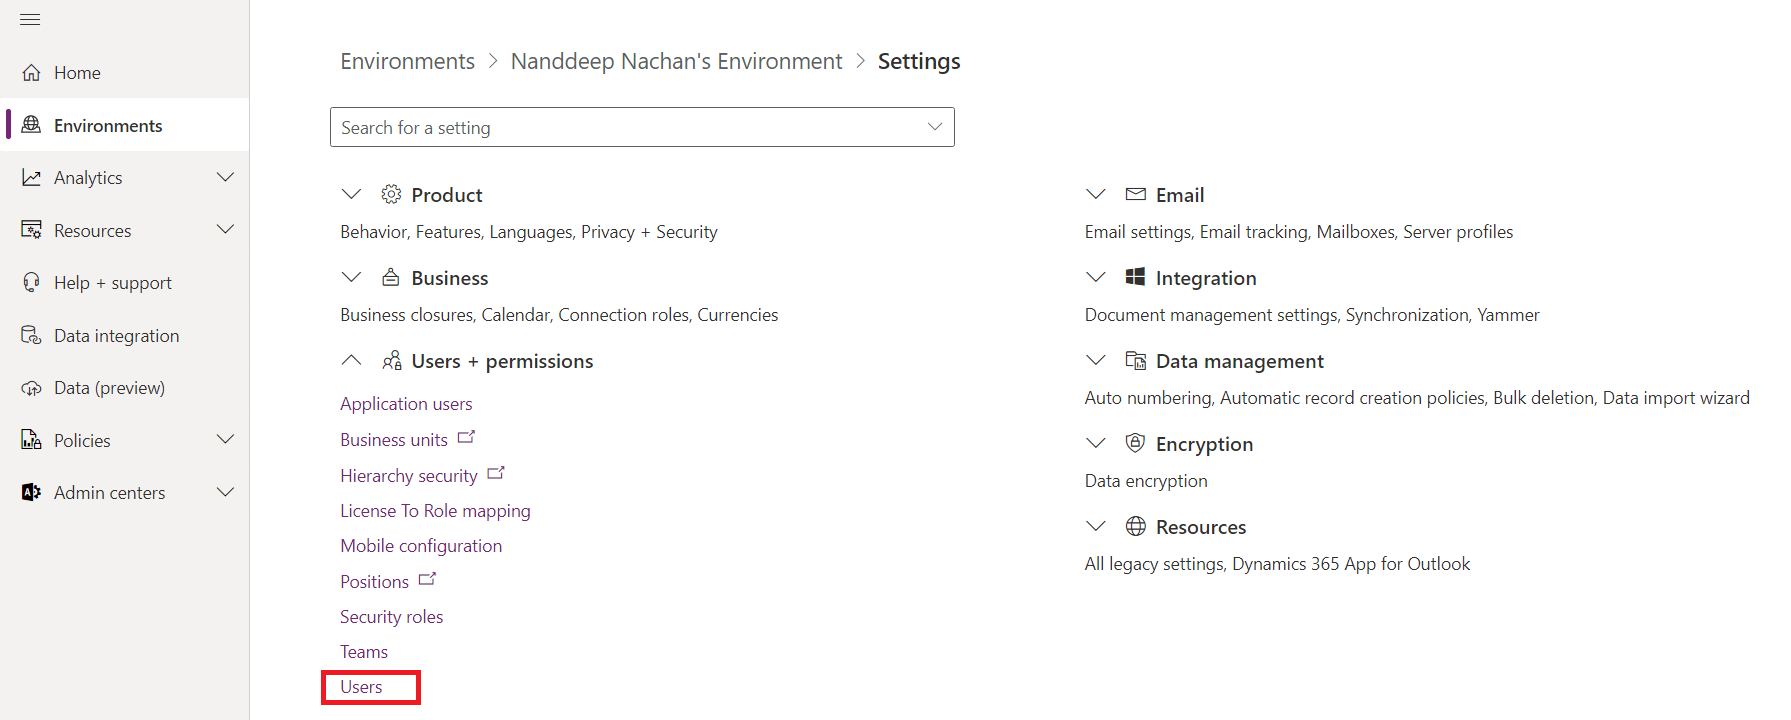
-
Click the app users list.
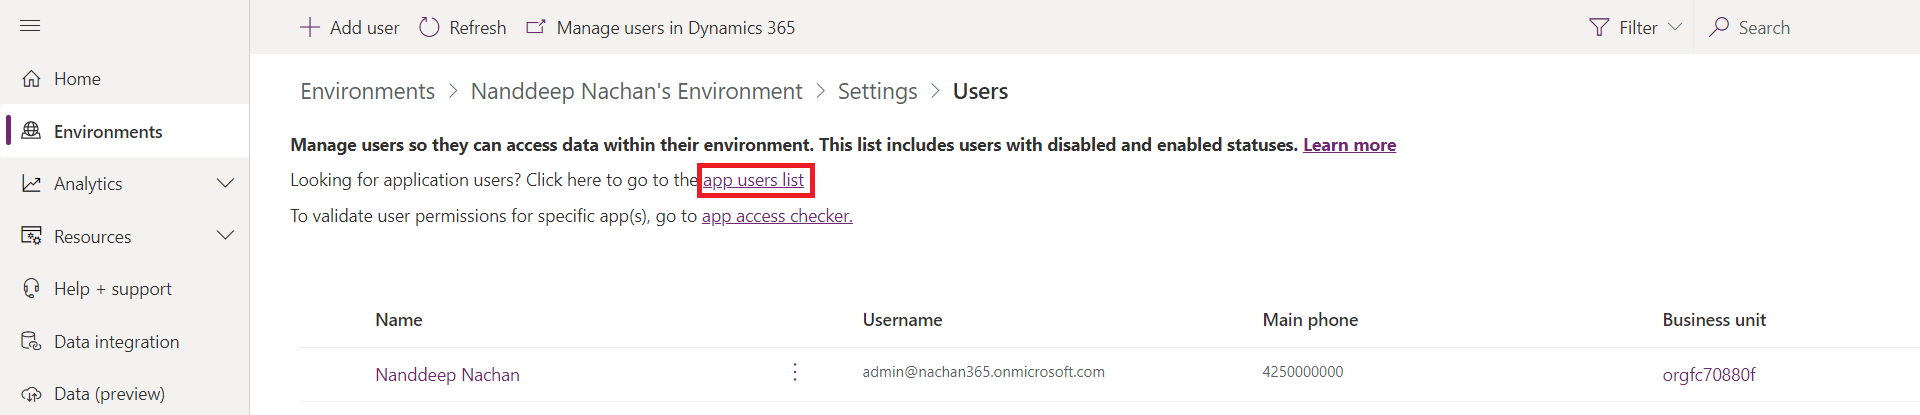
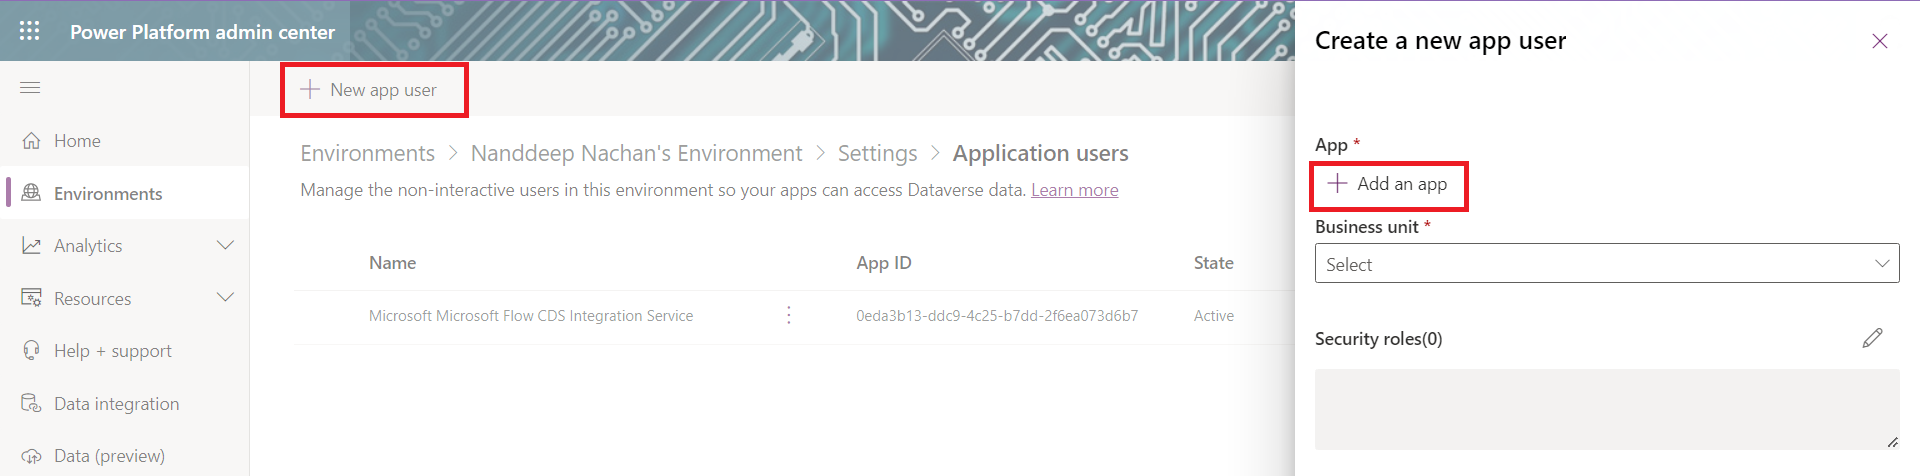
- Click + New app user.
-
Click + Add an app.
-
Select the previously created Azure AD app from the list.
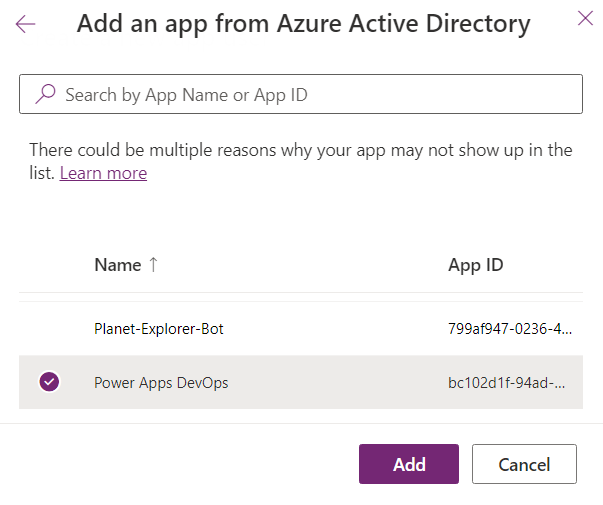
- Click Add.
- Select the Business unit.
-
Under Security roles , select System Administrator.
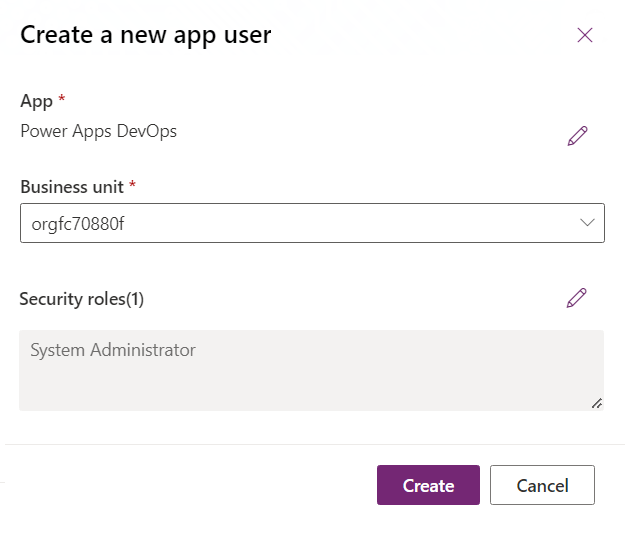
- Click Create.
Install Power Platform Build Tools extension
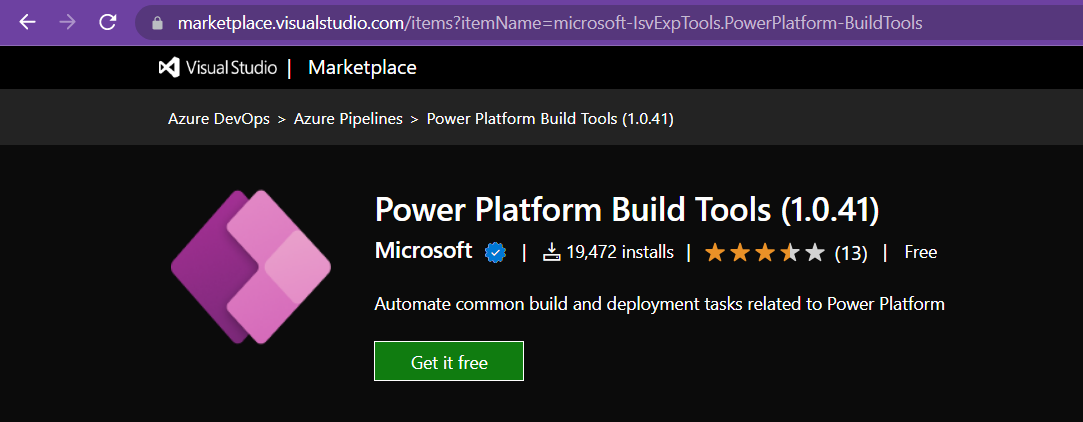
To perform Power Platform operations from Azure DevOps, you first need to install the Power Platform Build Tools extension from the Visual Studio Marketplace. This extension will add Power Platform service connection and Azure Pipeline tasks.
- Browse to the extension.
-
Click Get it free.
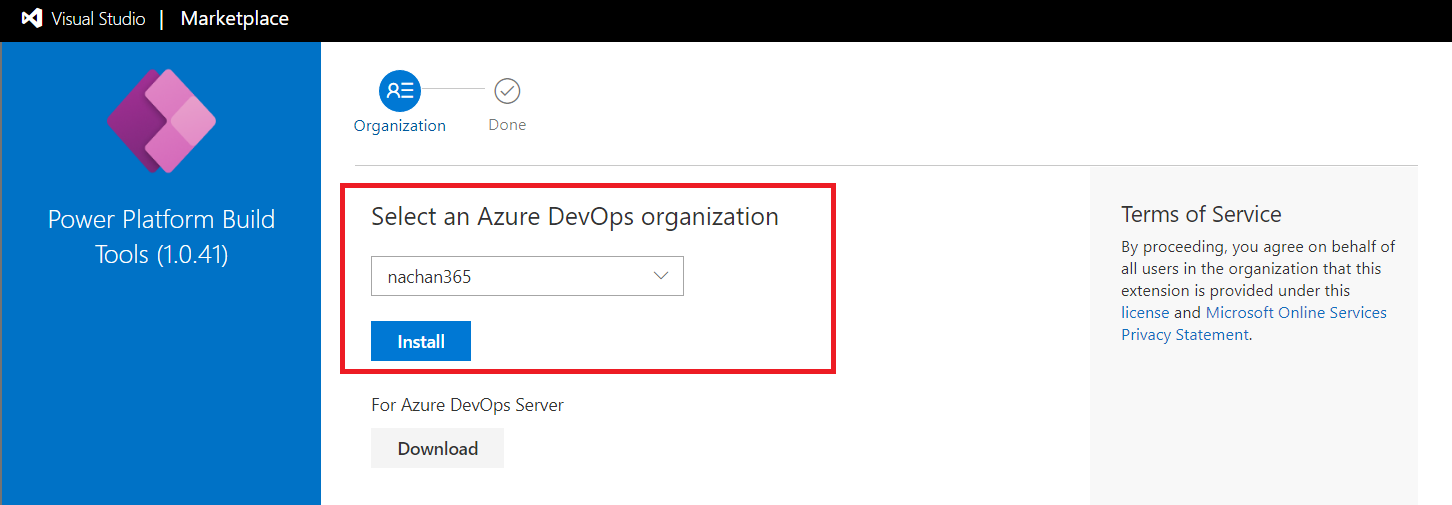
- Select your Azure DevOps organization.
-
Click Install.
Create Azure DevOps Pipeline
- In the Azure DevOps navigate to your project.
- From the bottom left, click Project settings.
- Under Pipelines , click Service connections.
- Click Create service connection.
-
Search and select Power Platform.

- Click Next.
-
Provide the service connection details from previous configurations.
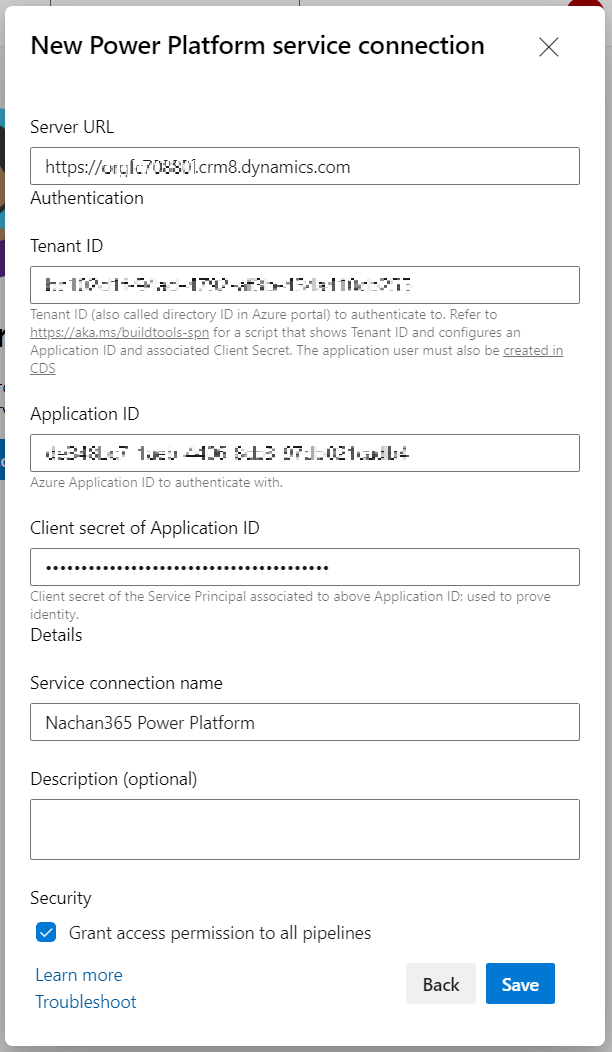
- Click Save.
Create Pipeline
Follow below steps to create a pipeline:
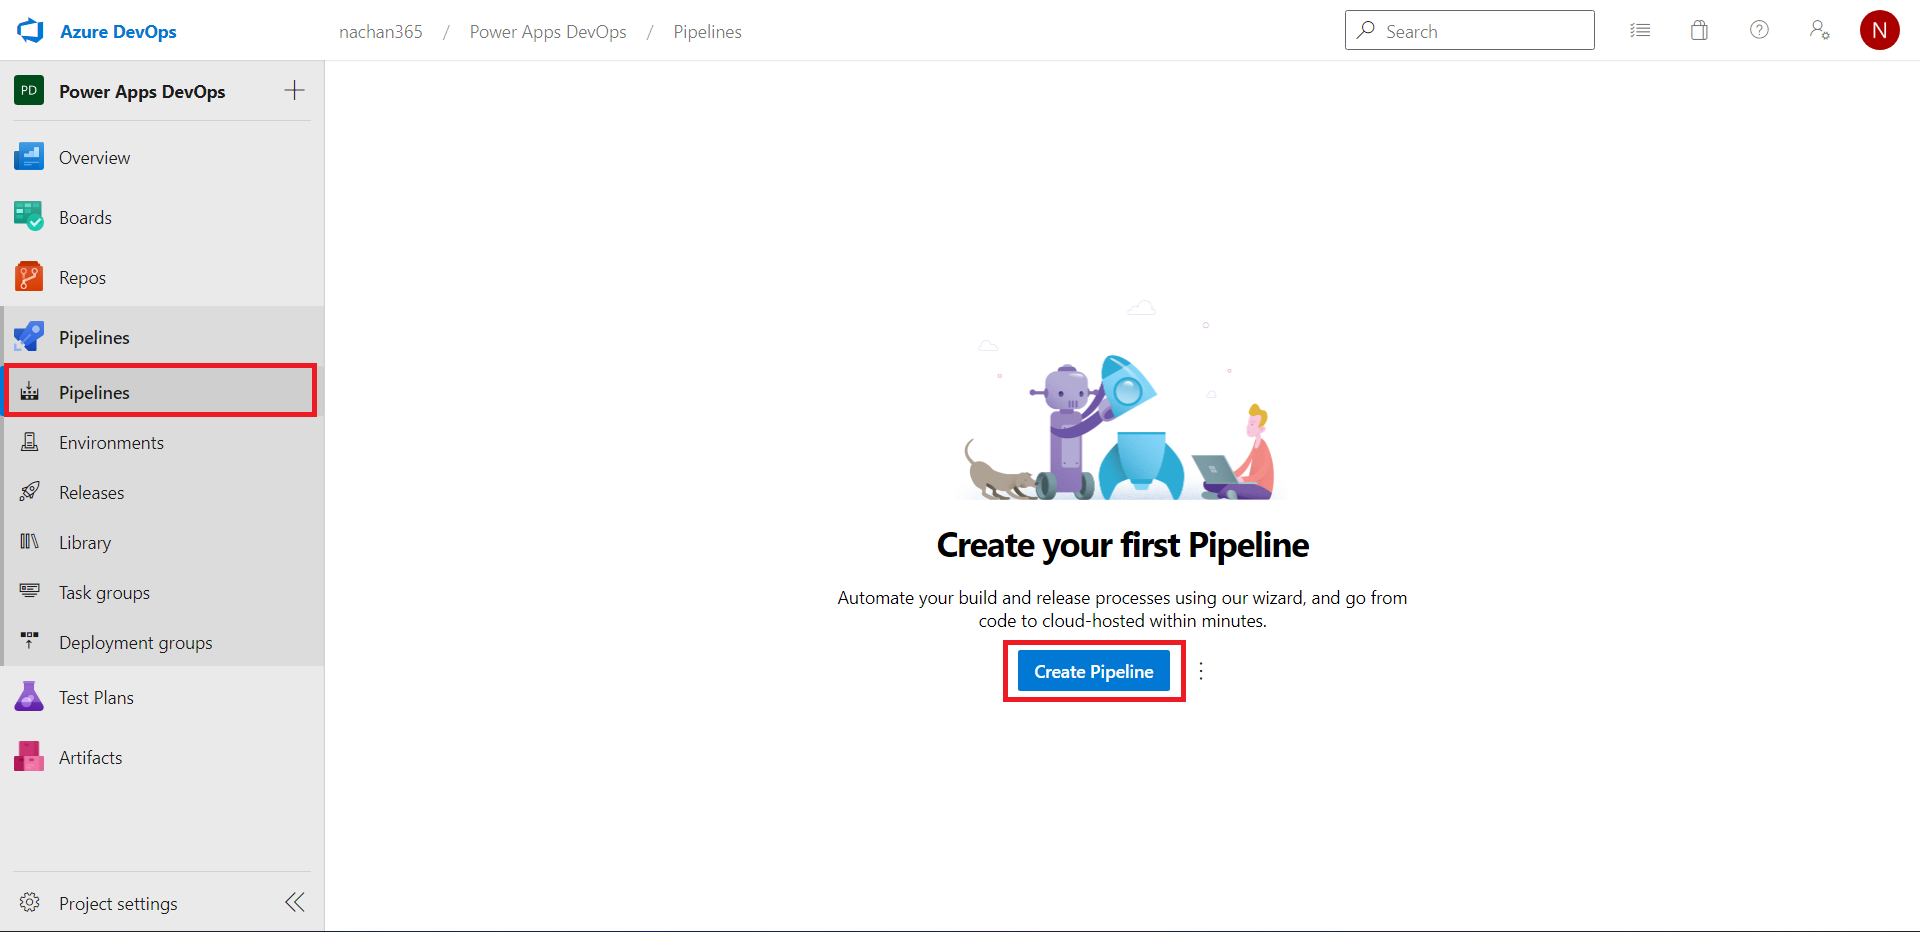
- In the Azure DevOps project, click Pipelines.
-
Click Create Pipeline.
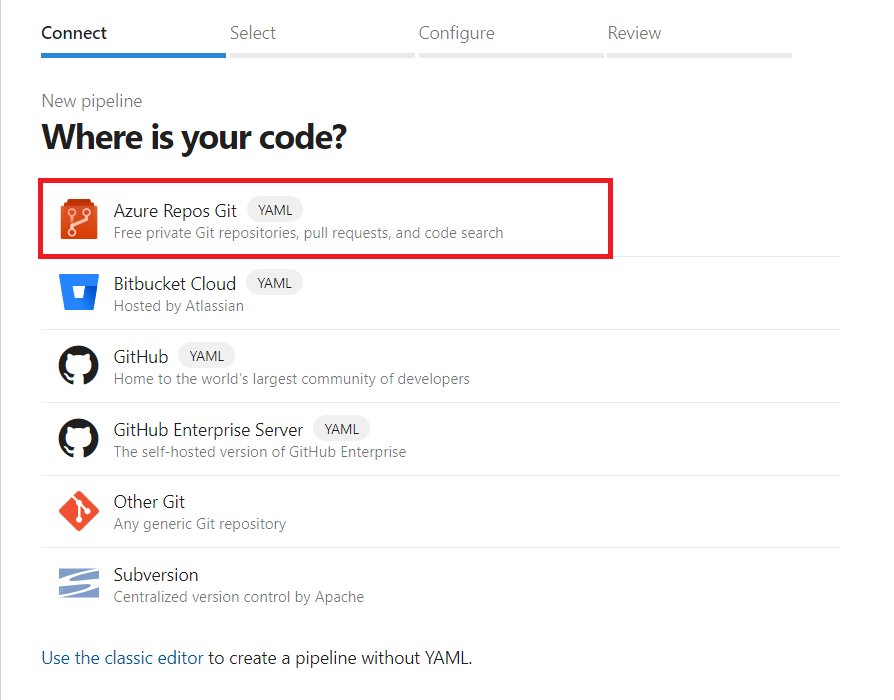
-
Select Azure Repos Git.
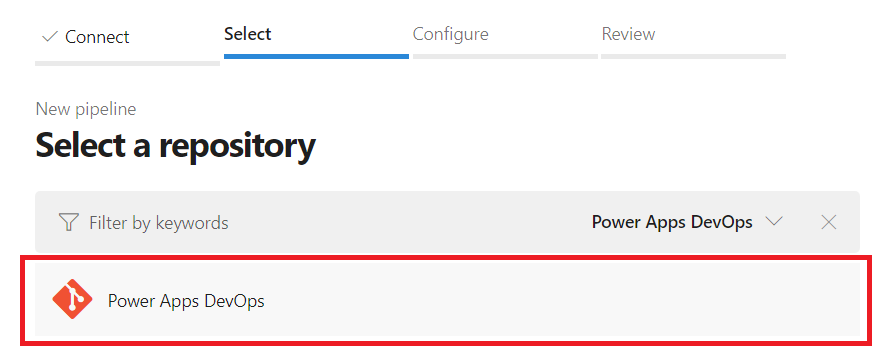
-
Select your repository.
- Select Starter pipeline.

Add tasks to the pipeline
Add below tasks to your pipeline.
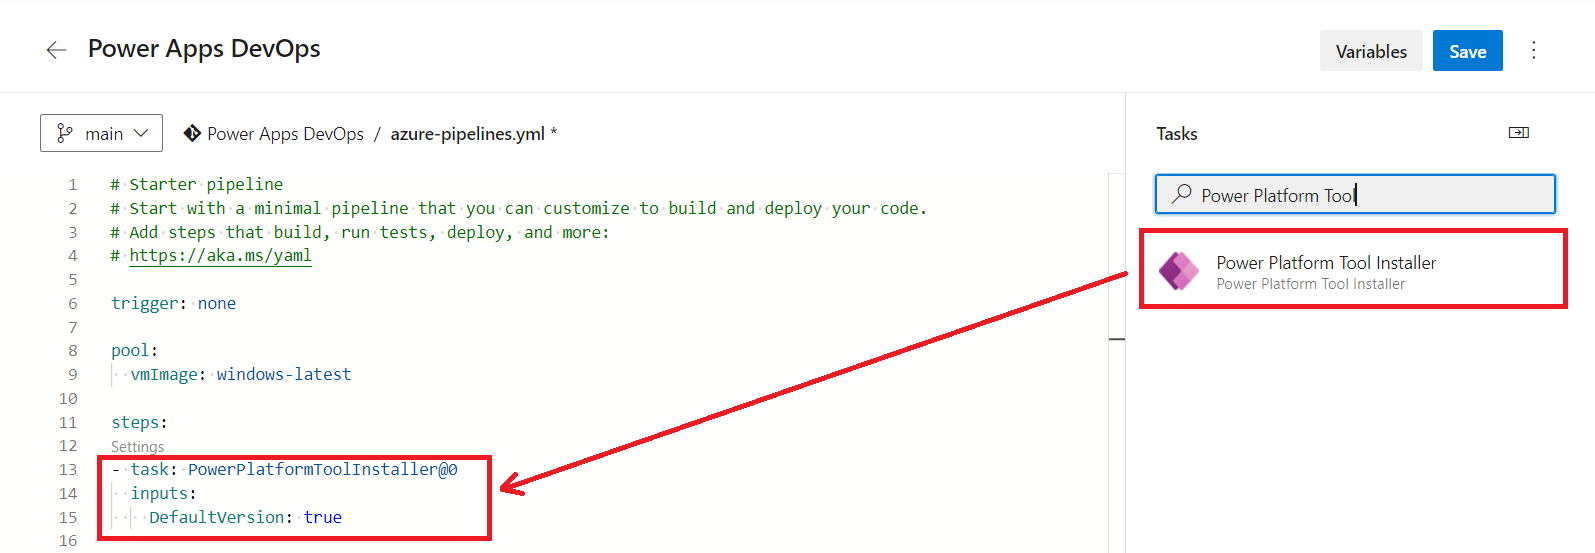
Task #1: Power Platform Tool Installer
This will install the Power Platform Build Tools.
Task #2: Power Platform Who Am I
This will send a request to the Dynamics CRM instance and get information of the authenticated user.

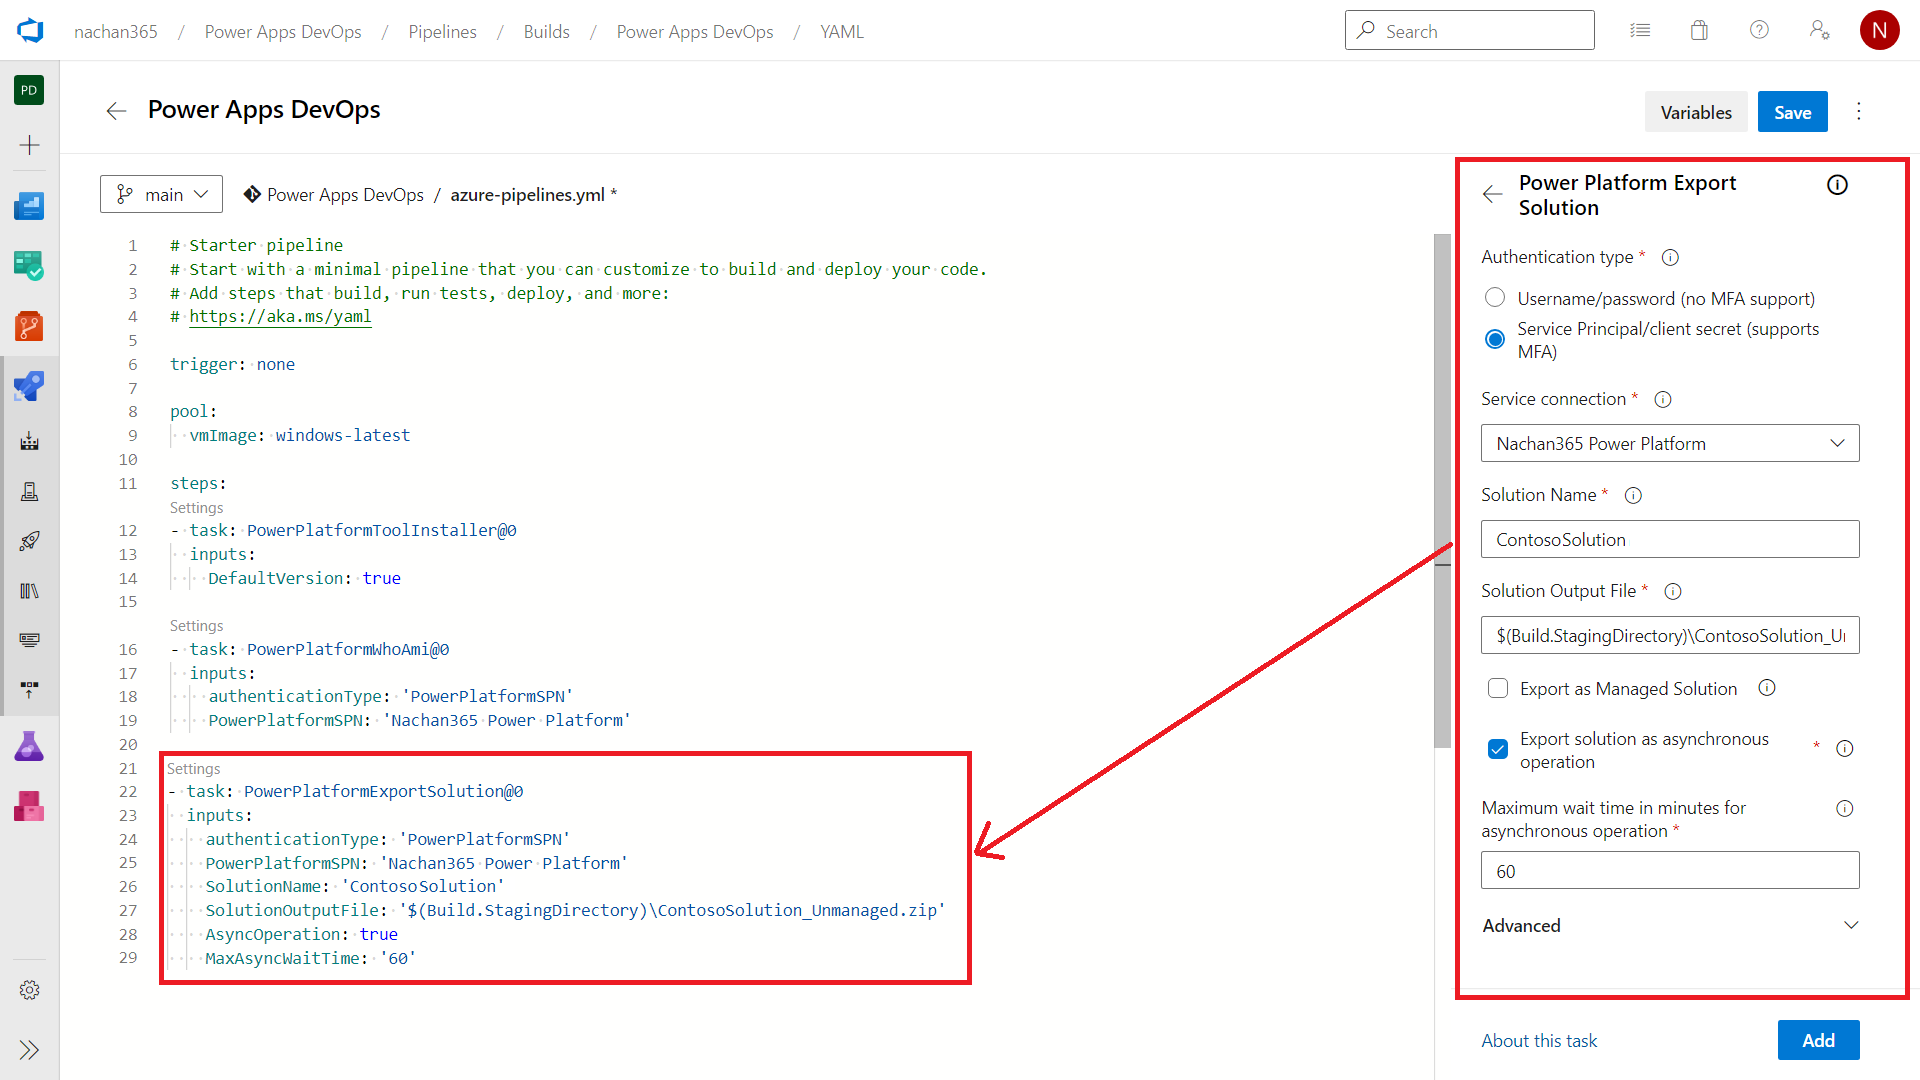
Task #3: Power Platform Export Solution
This will help to export an existing solution.
- Select Service connection.
- Specify the solution name to export.
- Specify path and zip file name as solution output file.
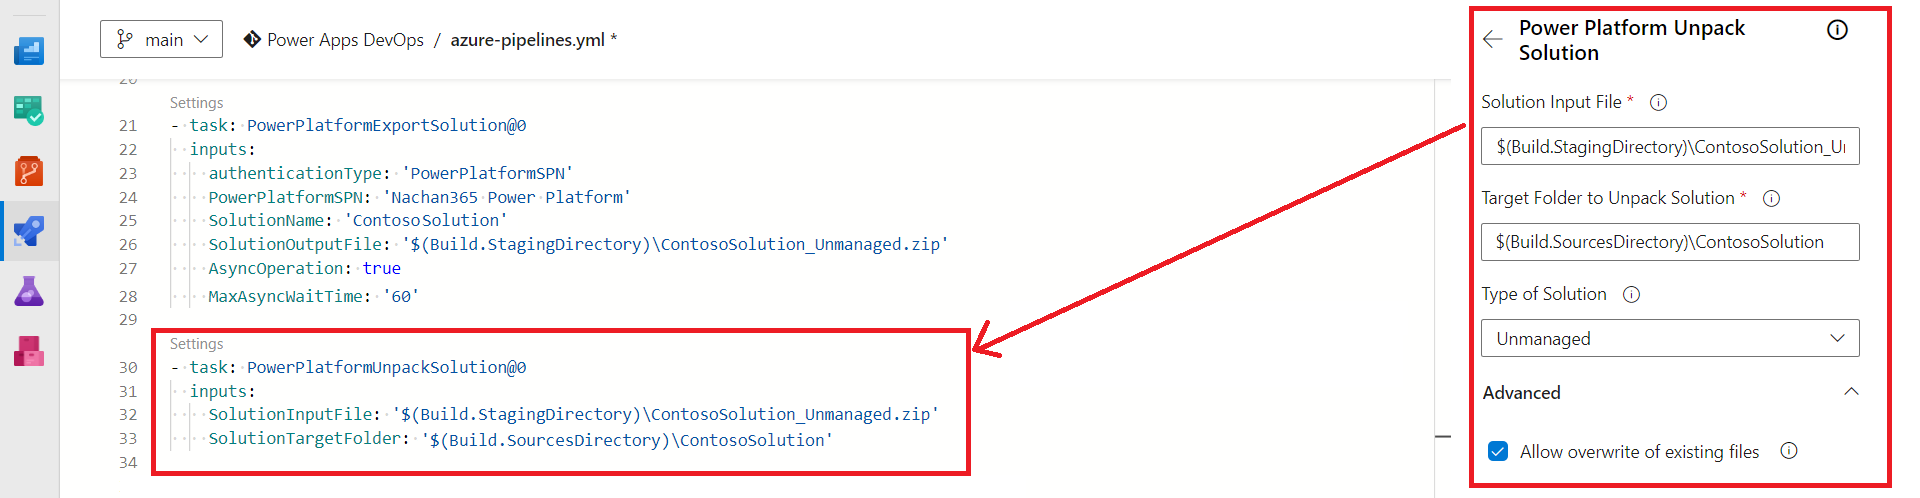
Task #4: Power Platform Unpack Solution
This task takes a compressed solution file and decomposes it into multiple XML files so that these files can be more easily read and managed by a source control system.
- Specify the Solution Input File as the file exported in the previous step.
- In the Target Folder to Unpack Solution , specify the path to unpack the solution.
- Select the type of solution.
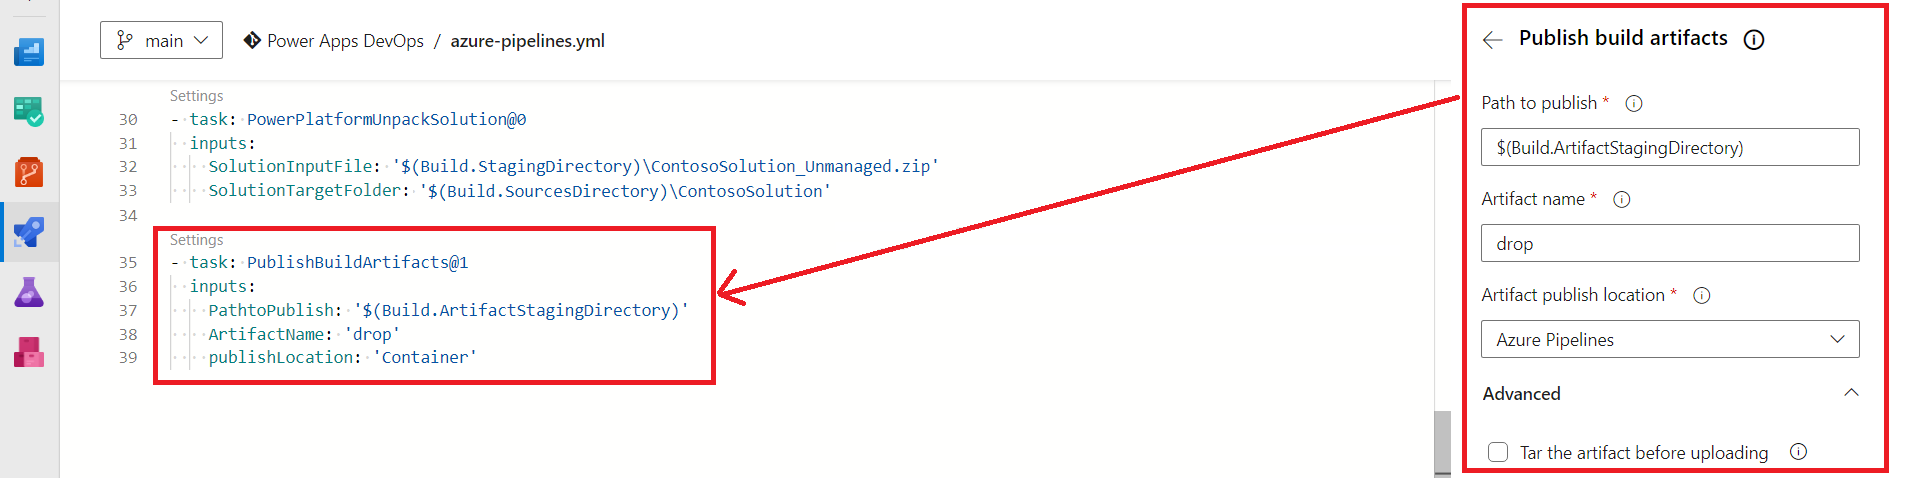
Task #5: Publish build artifacts
This will make the artifacts available at the specified path.
Task #6: Command line
This will help to check-in the solution to the git repository.
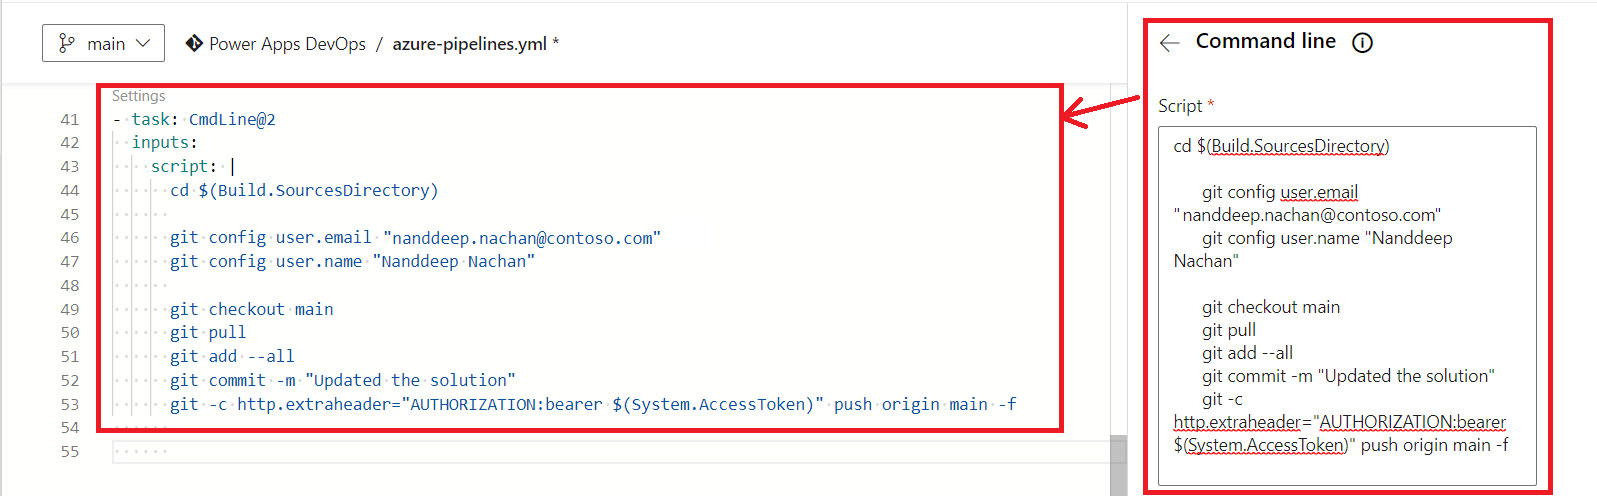
cd $(Build.SourcesDirectory)

# Set a per-project email address and username
git config user.email "nanddeep.nachan@contoso.com"
git config user.name "Nanddeep Nachan"

# Navigate to the main branch
git checkout main

# Update the local version of a repository from a remote
git pull

# Add all files to the Git repository
git add --all

# Record the changes in the repository
git commit -m "Updated the solution"

# Authenticate against a git repository in a build process
git -c http.extraheader="AUTHORIZATION: bearer $(System.AccessToken)" push --set-upstream origin $exportBranchName
The full YAML pipeline can be downloaded from here.
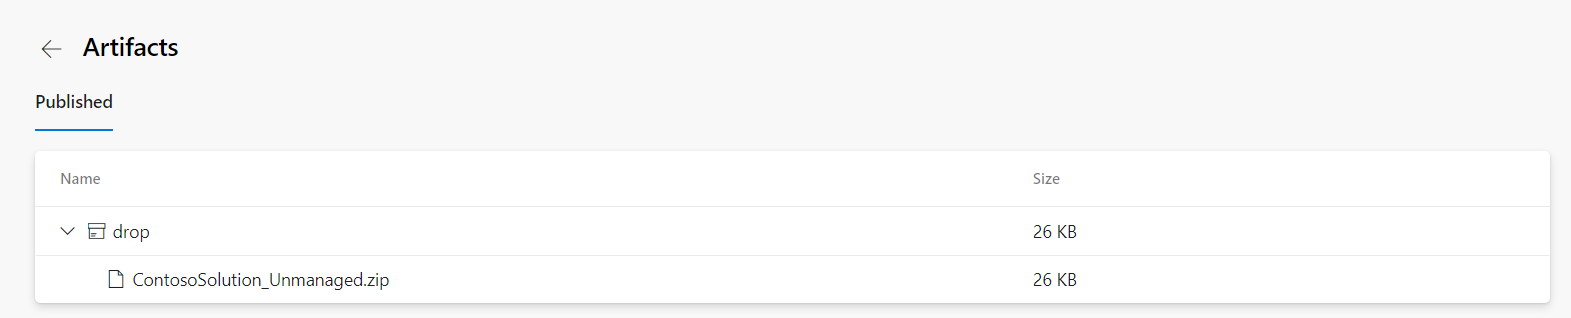
Locate the Build Artifacts
To see the artifacts published as an output of pipeline execution follow the below steps:
- Click on the finished build.
-
In the Summary , under the Related section, click published.

The published files will be available under the drop folder.
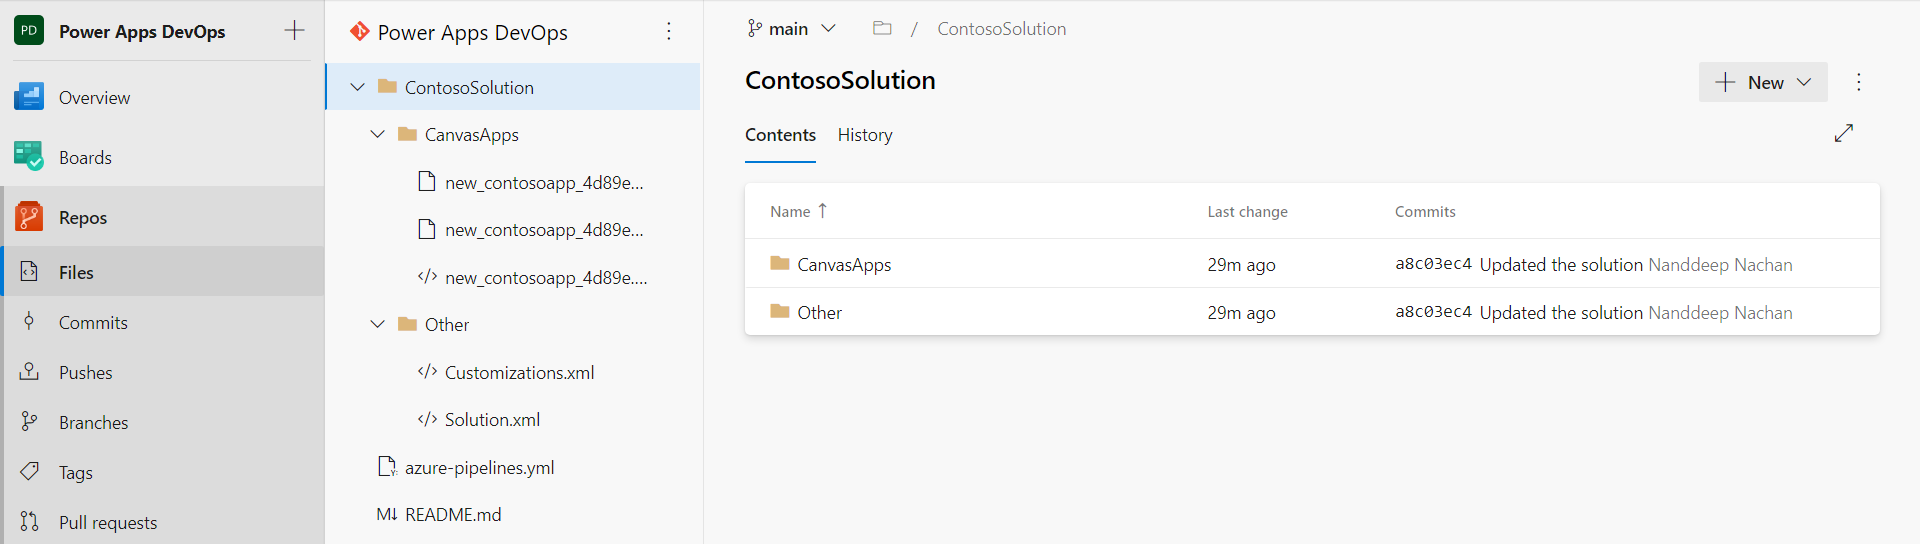
Repository
The repository will have the solution checked-in.
In the next article, we will import the exported solution to another environment.
Summary
Azure DevOps pipelines make it easy to automate to move your solutions from one environment to other. Power Platform Build Tools tasks help to automate common build and deployment tasks in Azure DevOps pipelines.


Leave a comment