
Analyze User Feedback in SharePoint Online with Sentiment Analysis API and Power Automate
Overview
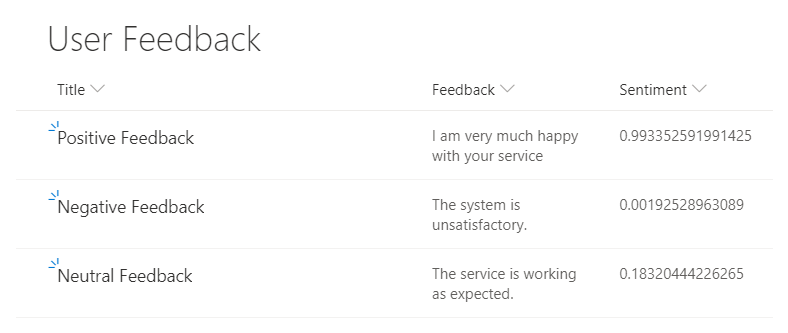
The Sentiment analysis API provided by MS Azure helps to evaluate the user input and returns the sentiment score in the range of 0 (negative) to 1 (positive). This helps in analyzing the user feedback for any service.
In this article, we will use a SharePoint list as a backend to collect user feedback. The feedback will be then sent to Azure Sentiment analysis using Power Automate and store back the response in the SharePoint list.
Set up Sentiment Analysis API in MS Azure
Let us start by building our first building block in MS Azure Cognitive Services by creating Sentiment Analysis API. Follow the below steps to set up Sentiment Analysis API.
Create a resource
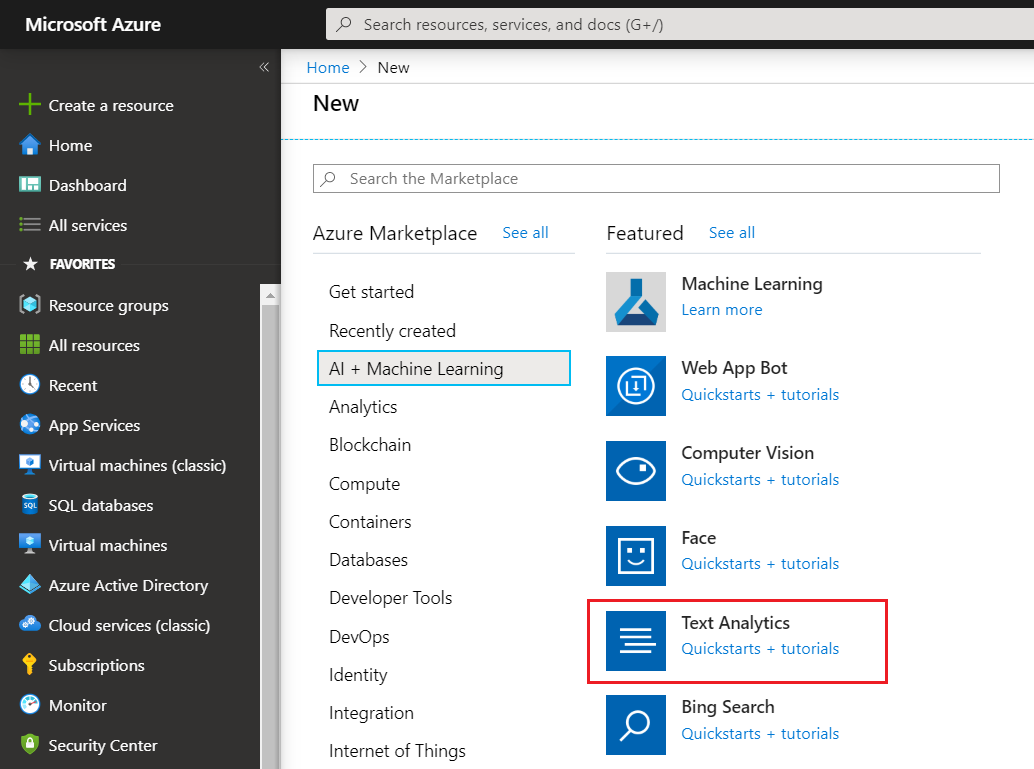
- Login to Microsoft Azure Portal (https://portal.azure.com).
- Click Create a resource.
- Select AI + Machine Learning
- Select Text Analytics.
Create a Text Analytics
-
Fill in the details to create the Text analytics API.

The parameters are as follows:
- Name: Unique name of Text analytics API.
- Subscription: Select Azure subscription to create Text analytics under it.
- Location: The location to host Text analytics API.
- Pricing tier: Select tier as per features you want to use. More details at https://azure.microsoft.com/en-us/pricing/details/cognitive-services/text-analytics/
- Resource group: Select an existing or create a new resource group.
- Click Create.
-
Once the deployment finishes, the Text analytics resource will be available to use.
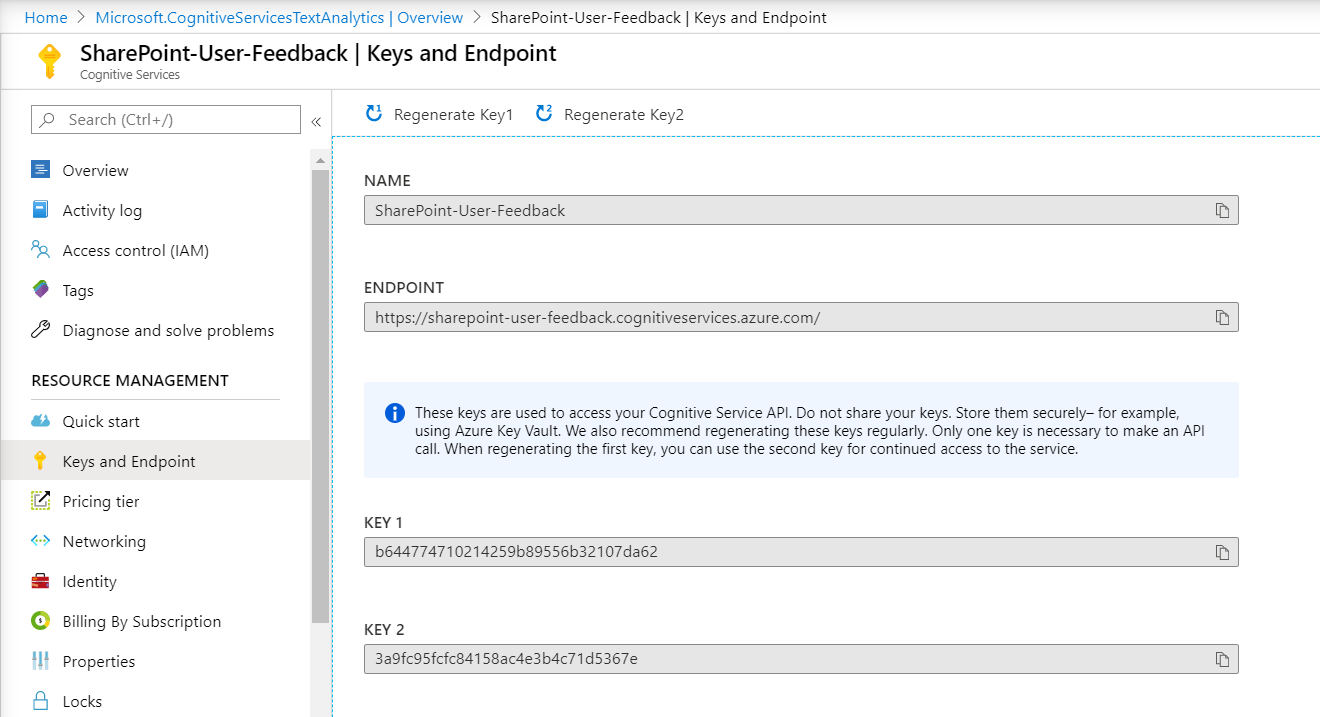
- Note down the API Key and endpoint to authenticate your applications and start sending calls to the service.
Test the Computer Vision
We will use the API Console to quickly try the API without writing any code.
- From the left menu, select Quick start.
- Click API Console (V2).
-
Select the testing console in the region where you created your resource.

- The selection of the region will form the request URL.
- Specify the resource name and query parameters.
-
Specify the API key in Headers.

-
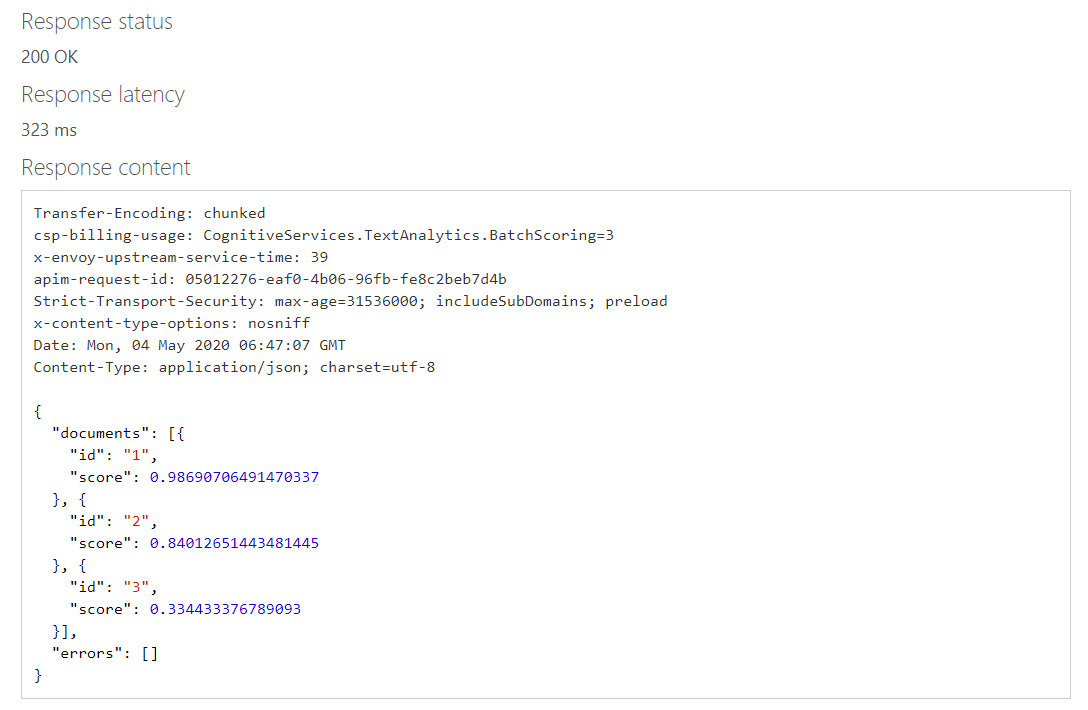
In the request body, provide the custom text to analyze or use the default one.
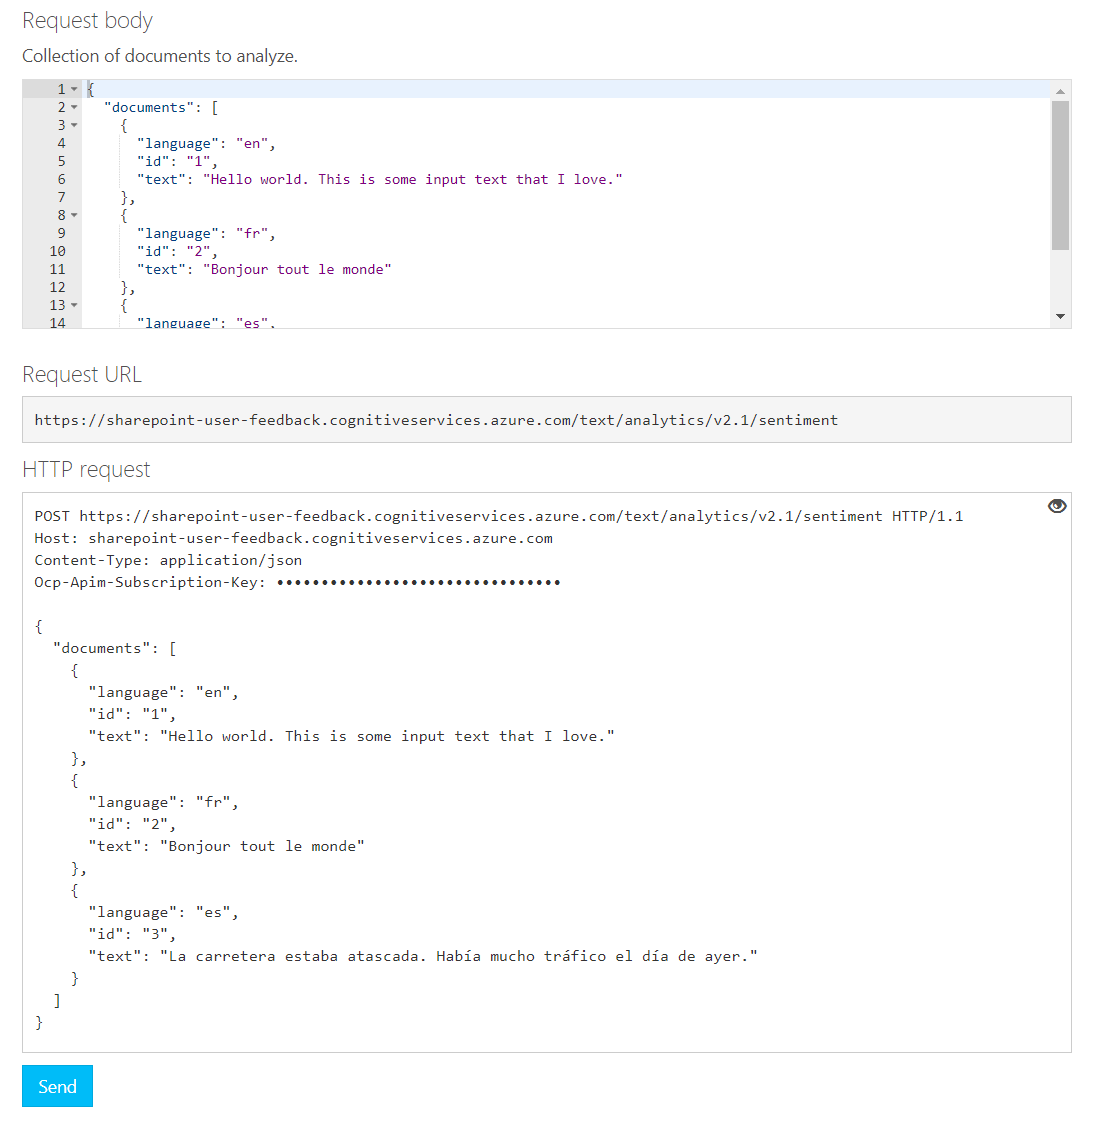
- Click Send.
- The response will be shown as follows:
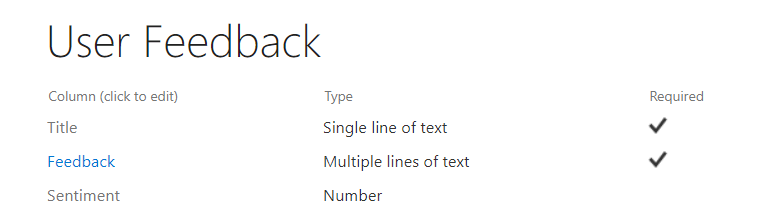
Set up SharePoint list
Create a SharePoint list with below schema:
Set up Power Automate Flow
Now we will set up Power Automate flow to integrate Text analysis API for analyzing user feedback submitted to the SharePoint list.
Follow the below steps to set up Power Automate flow:
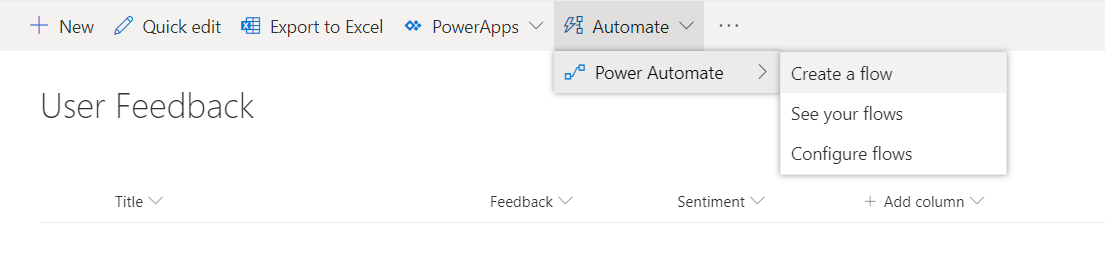
-
On the SharePoint list, click Automate > Power Automate > Create a flow.
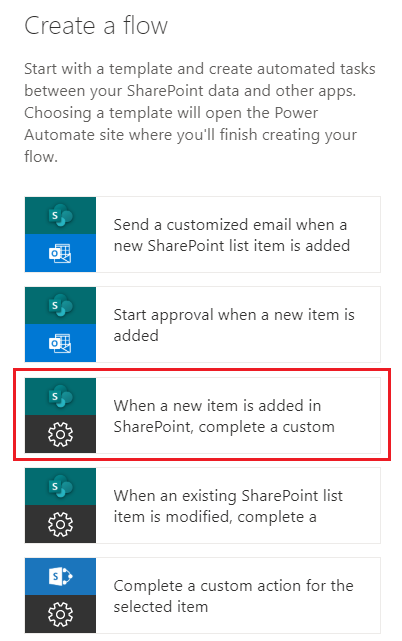
-
Select a template “When a new item is added in SharePoint, complete a custom”.
-
Verify your connection to SharePoint.
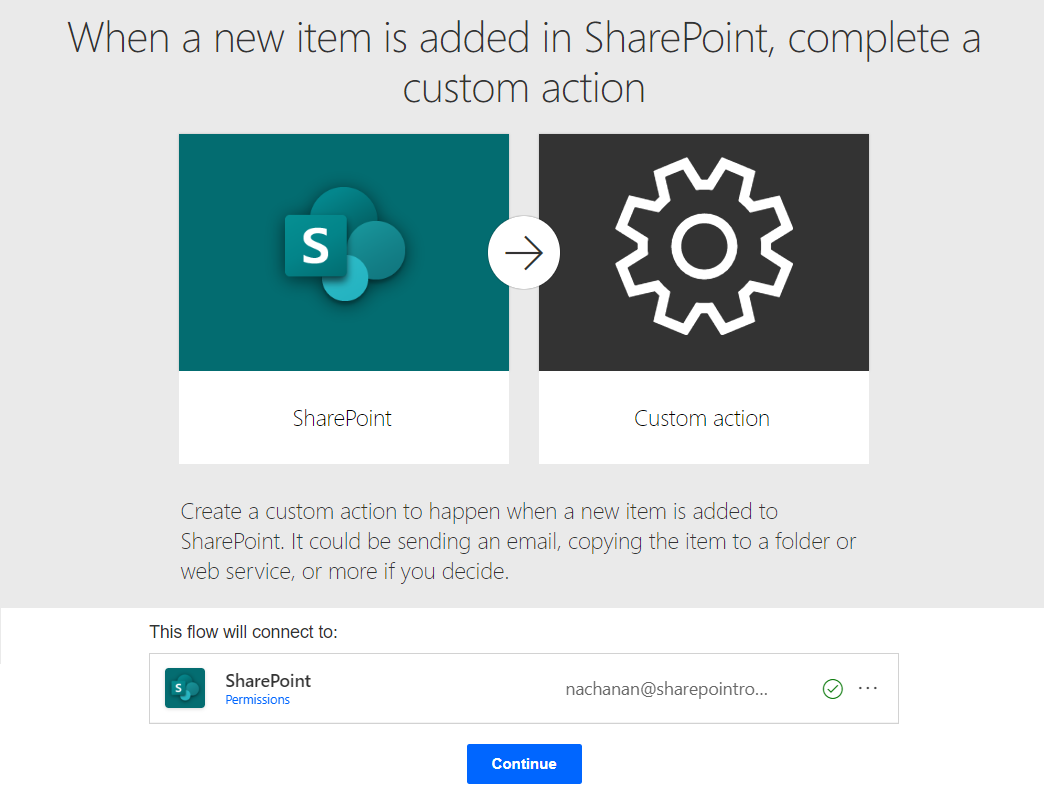
- Click Continue.
-
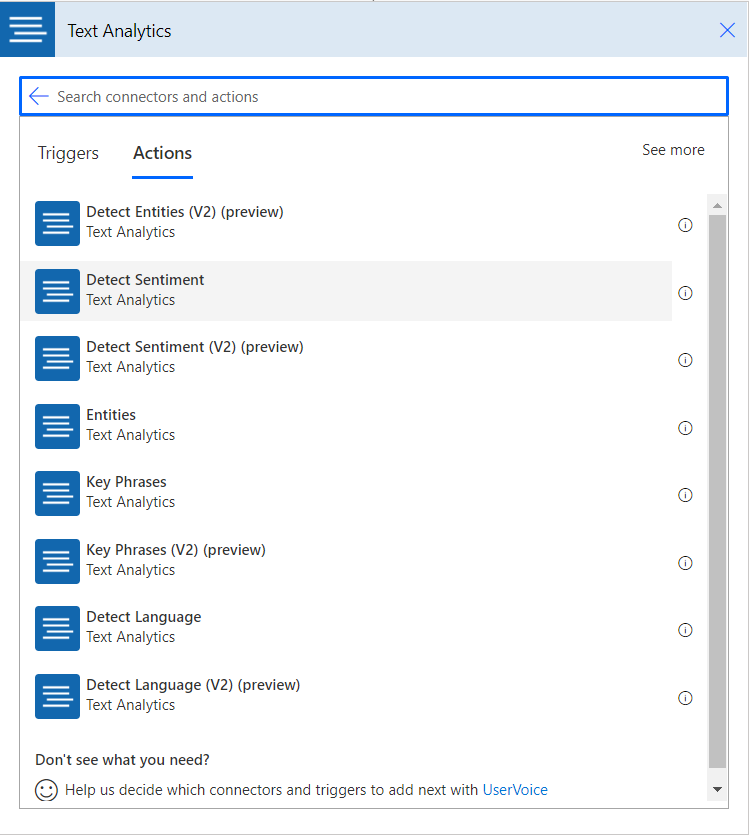
Add an activity “Text Analytics”, select action “Detect Sentiment”.
-
Specify the connection name, Key from Azure and Azure endpoint.
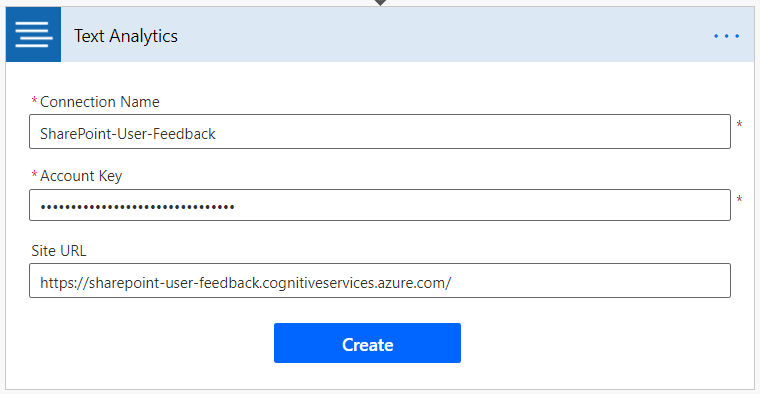
- Click Create.
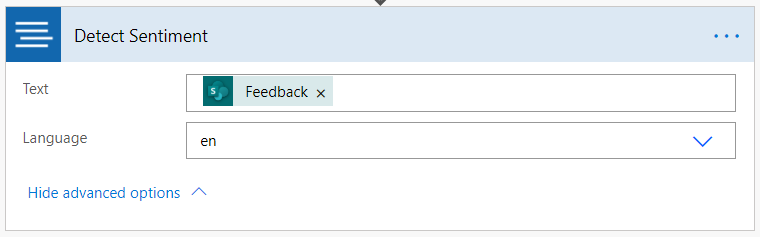
-
Specify the SharePoint list column Feedback as Text. Optionally specify the language of feedback.
-
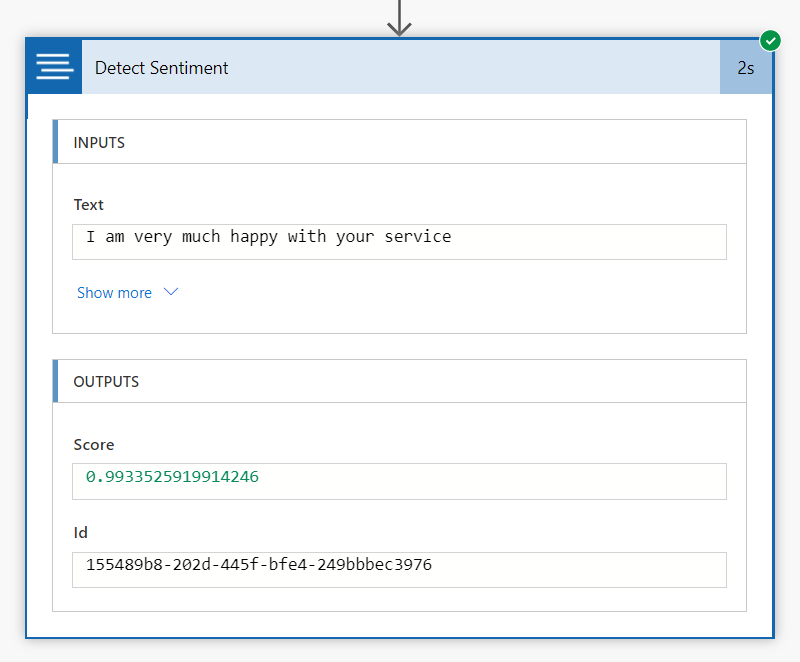
Add an entry to the SharePoint list. This will trigger a flow. The OUTPUTS section will show the Score from Text Analytics API.
- Add an activity Update item available under the SharePoint category.
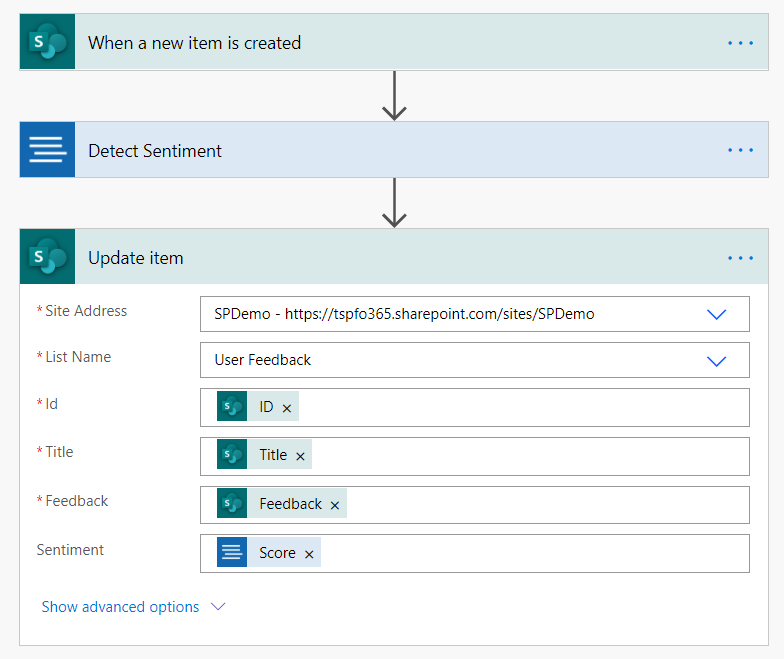
Test the Solution
In the SharePoint library, add a new item as user feedback. This will trigger a flow. A flow will call Sentiment analysis API for analyzing the feedback submitted to SharePoint. The flow will then update the returned metadata to the SharePoint column inside the list with a sentiment score.
Use Cases
The sentiment analysis can be useful in below scenarios:
- Product reviews
- Social media analytics (e.g. Tweets targeted to a hashtag)
- Intellectual Property
Summary
Azure Sentiment analysis API helps to analyze the text input submitted to SharePoint and evaluate the user input and returns the sentiment score in the range of 0 (negative) to 1 (positive).


Leave a comment