
Configure Multi-Factor Authentication (MFA) for Office 365
Overview
Authentication to Office 365 is driven by Azure Active Directory (shortly known as Azure AD). It manages identities and authentication for Office 365. Each user can access Office 365 resources using the credentials (a combination of username and password). Multi-factor authentication adds a layer of security on top of it.
In this article, we will explore the concept of Multi-factor authentication (MFA) and how to enable it in Office 365.
Issues with Traditional Password Approach
The major shortcoming of using username and password is that it can be compromised easily or with some efforts because of several reasons.
- Users tend to use the same password across multiple applications.
- Store all passwords at one single location.
- Easy to remember passwords makes it easy to guess.
With various tricks, attackers can easily target these scenarios to crack the password.
Multi-factor authentication (MFA)
Multi-factor authentication by the name itself denotes more than one authentication factor for successful authentication or combination of multiple authenticators which provides multiple factors. It can be a combination of any of below:
- Software (Password, PIN)
- Hardware (Token, Key)
- User identity (Biometric data)
Multi-factor authentication adds an extra layer of protection on top of username and password.
Set up Multi-factor Authentication
- Open Office 365 Admin Center (https://admin.microsoft.com).
-
From the left menu, click Users > Active users.
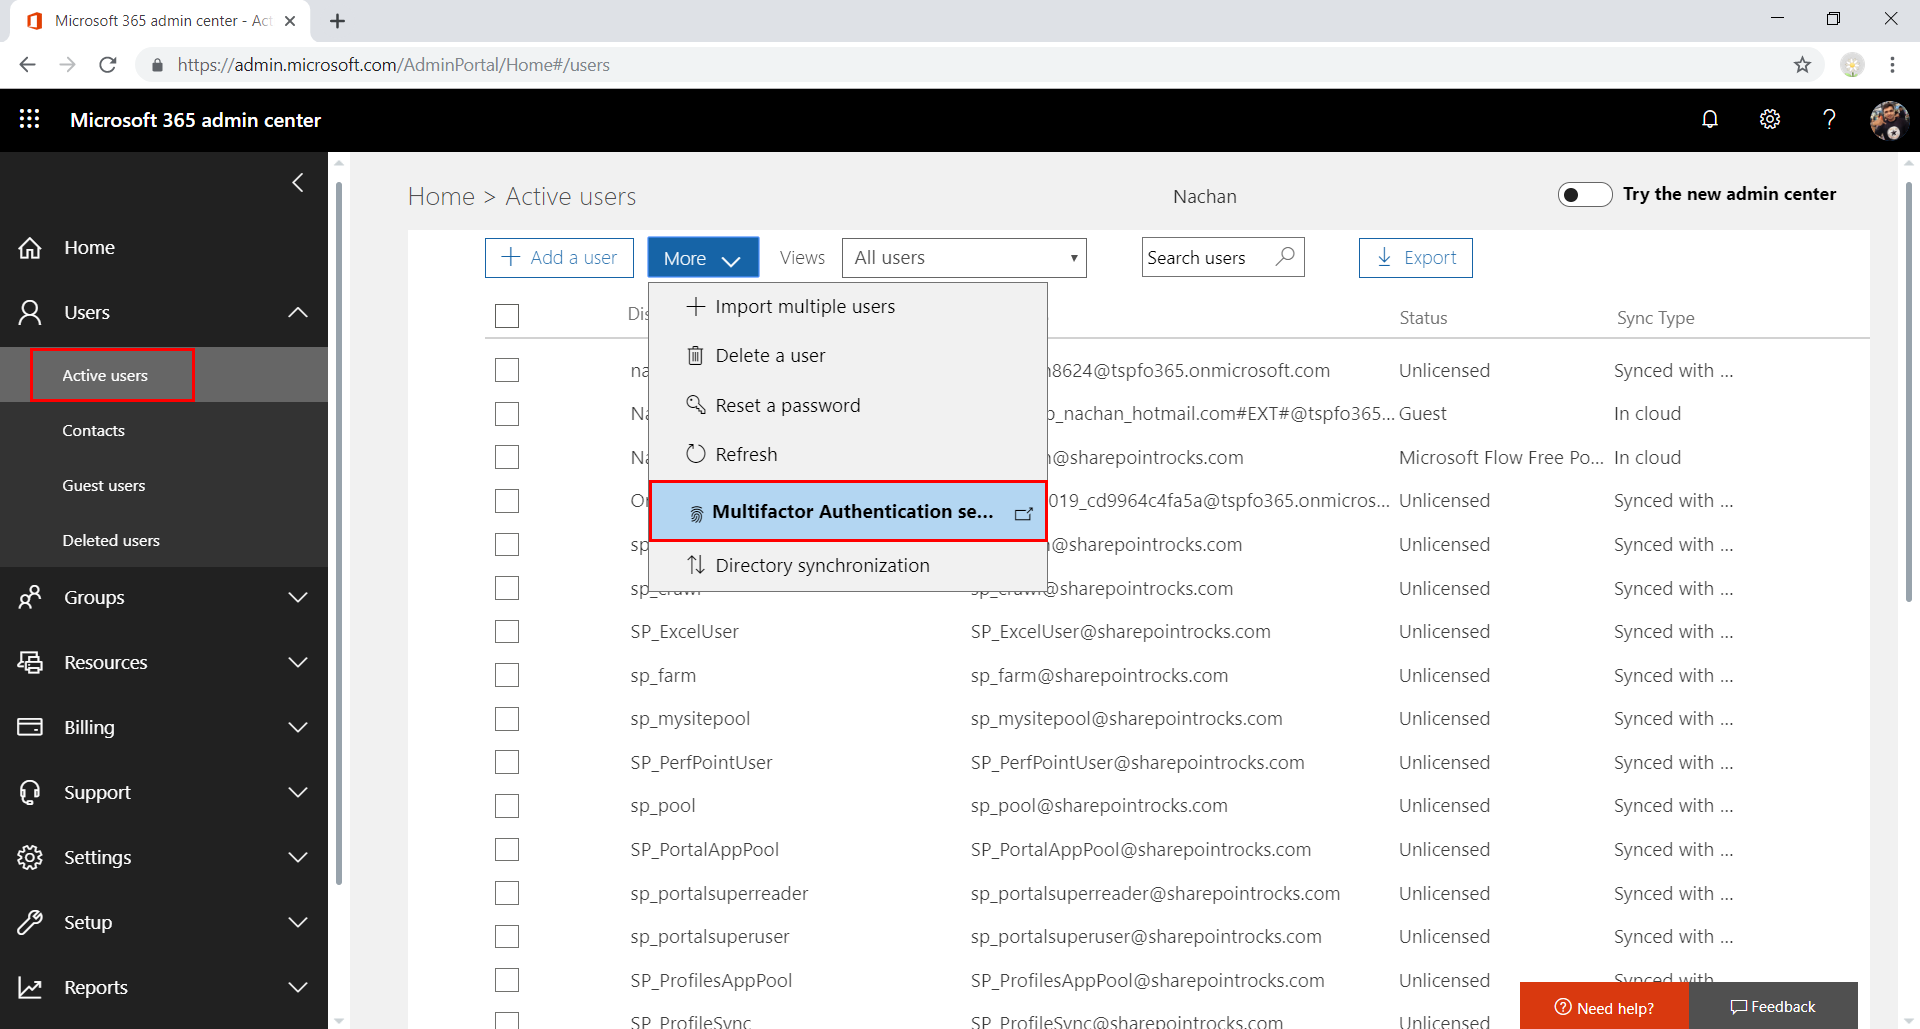
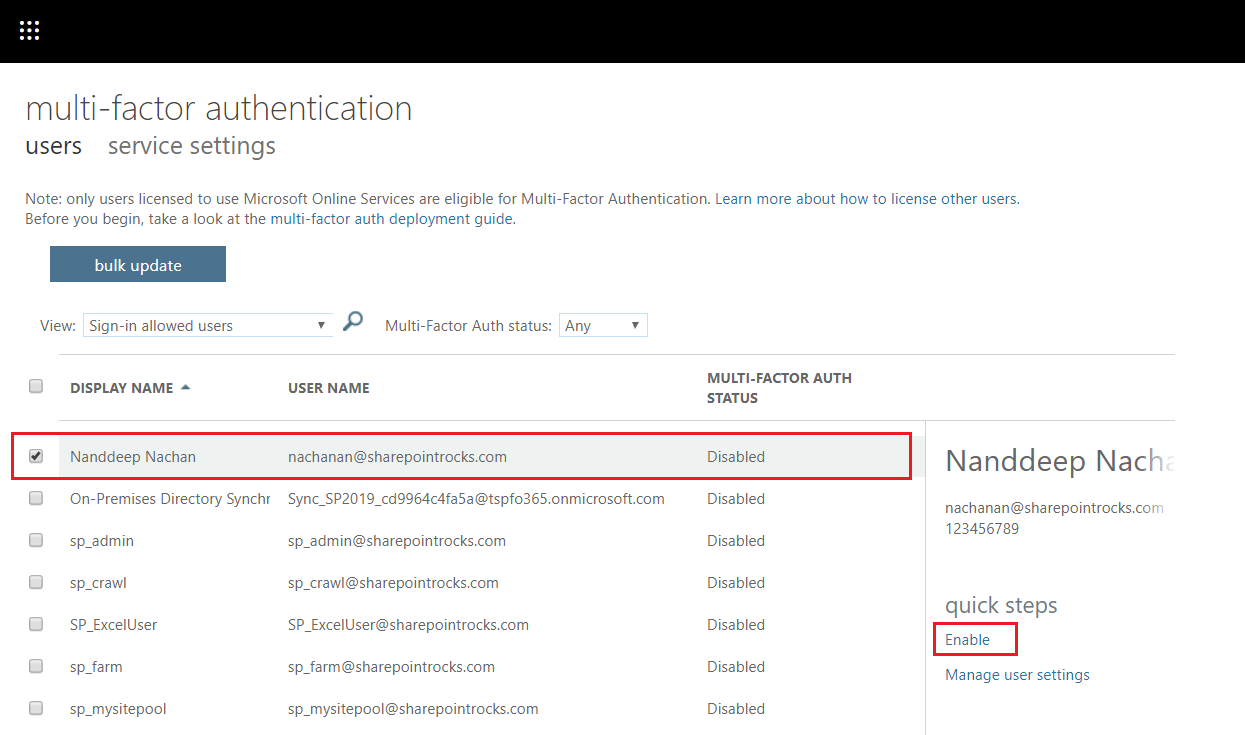
- Select the users to enable MFA.
-
Click Enable.
-
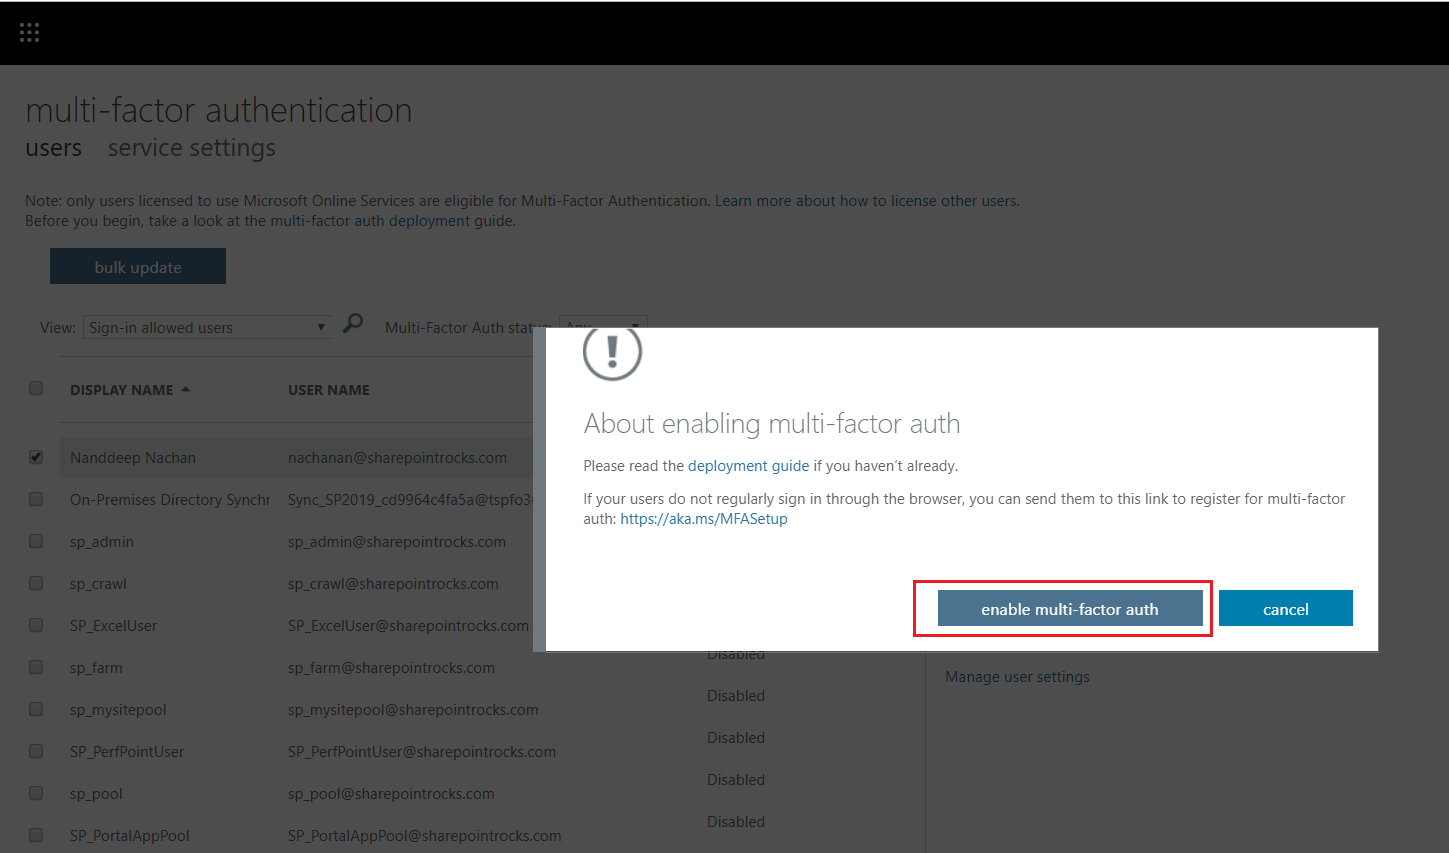
Click enable multi-factor auth.
-
Multi-factor auth is now enabled for the selected accounts.
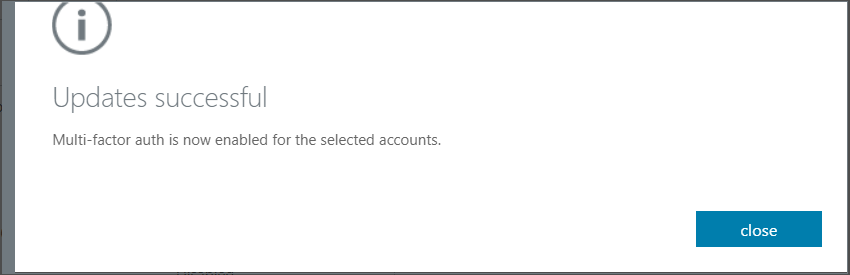
- Click close.
Multi-Factor Auth Status
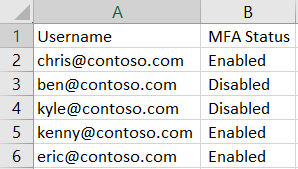
MFA status of users is one of below values.
- Disabled: MFA is not enabled for the user.
- Enabled: The user is enrolled for MFA but has not completed the registration process.
- Enforced: The user may not have completed registration.
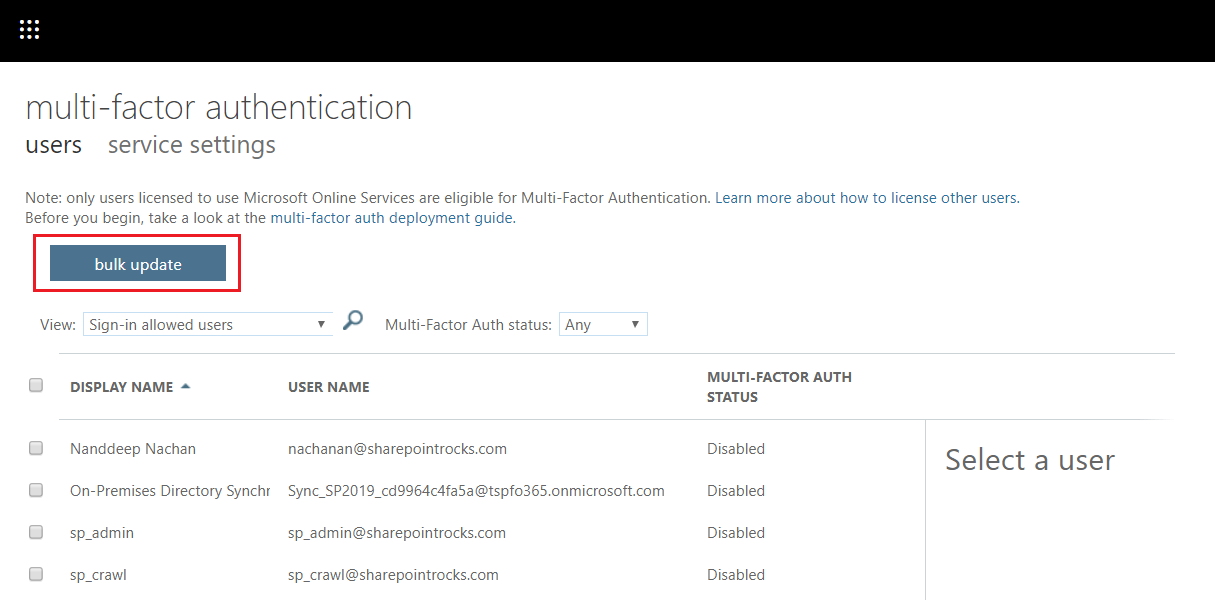
Bulk Update the users for MFA
The users can be updated in bulk to enable or disable MFA. This can be handled using a CSV file.
- Login as a global administrator.
-
On Multi-factor authentication page, click bulk update.
-
Click Download a sample file to download sample CSV.

-
Modify this file to include users to enable or disable MFA.
- From BROWSE FOR FILE… dialogue, upload the file with records to enable or disable MFA.
- Click next arrow.
- Once the file is verified, click next to update the accounts.
- Once finished, click Done.
Please note new users cannot be added using this approach.
Test the MFA
- In the browser, open Office 365 portal (http://portal.office.com)
- Provide the sign-in credentials
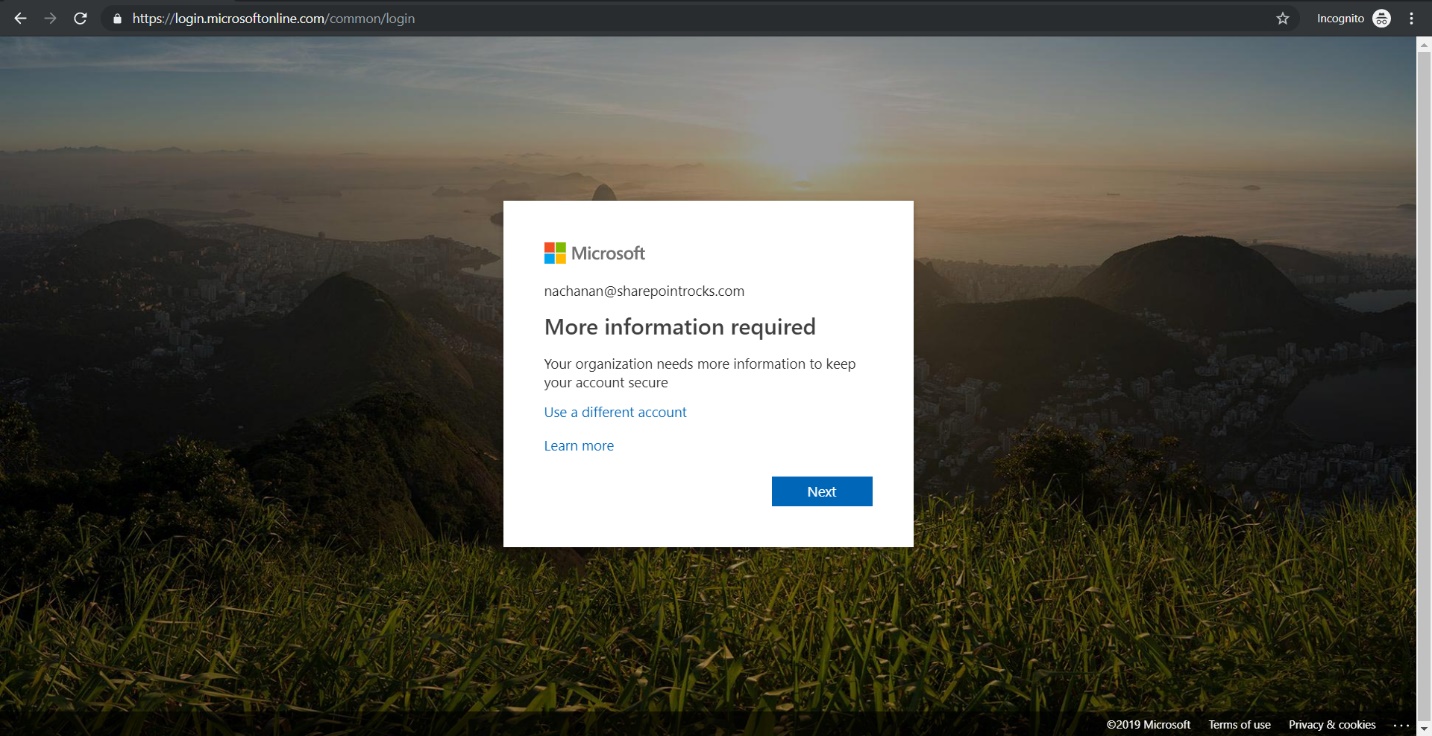
-
The sign-in window will ask for more information.
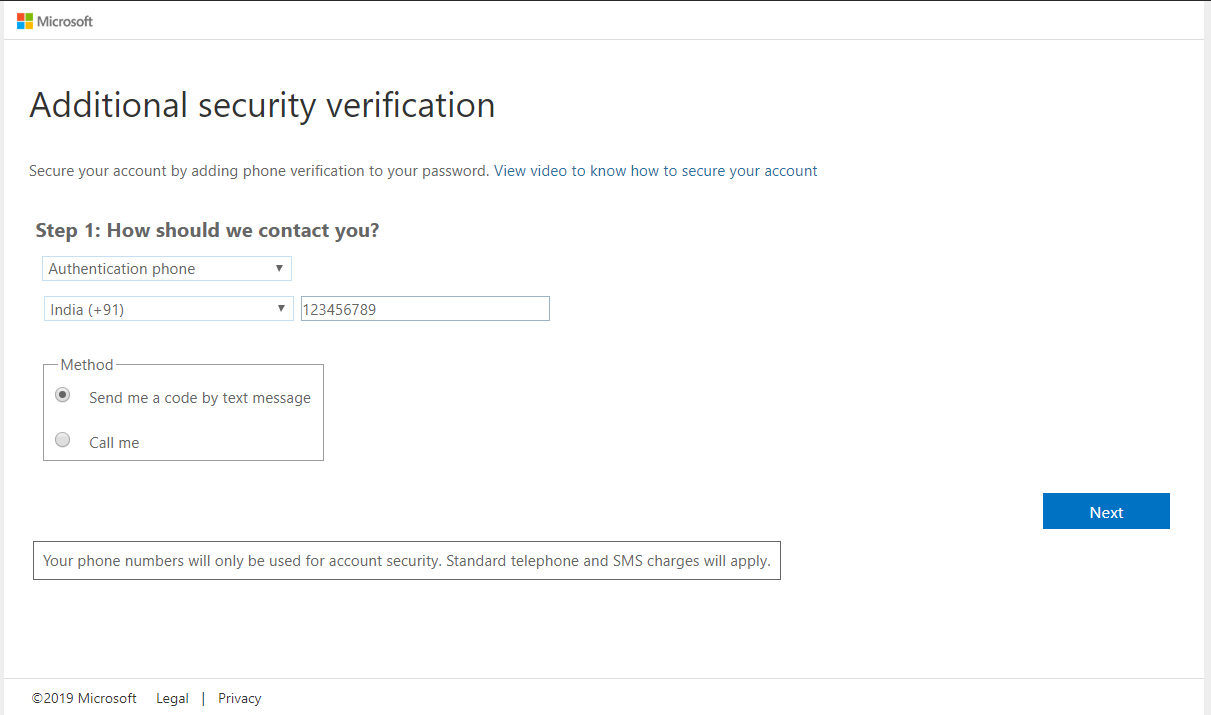
- Click Next.
-
Select the method to contact (either call or text message) to authenticate.
-
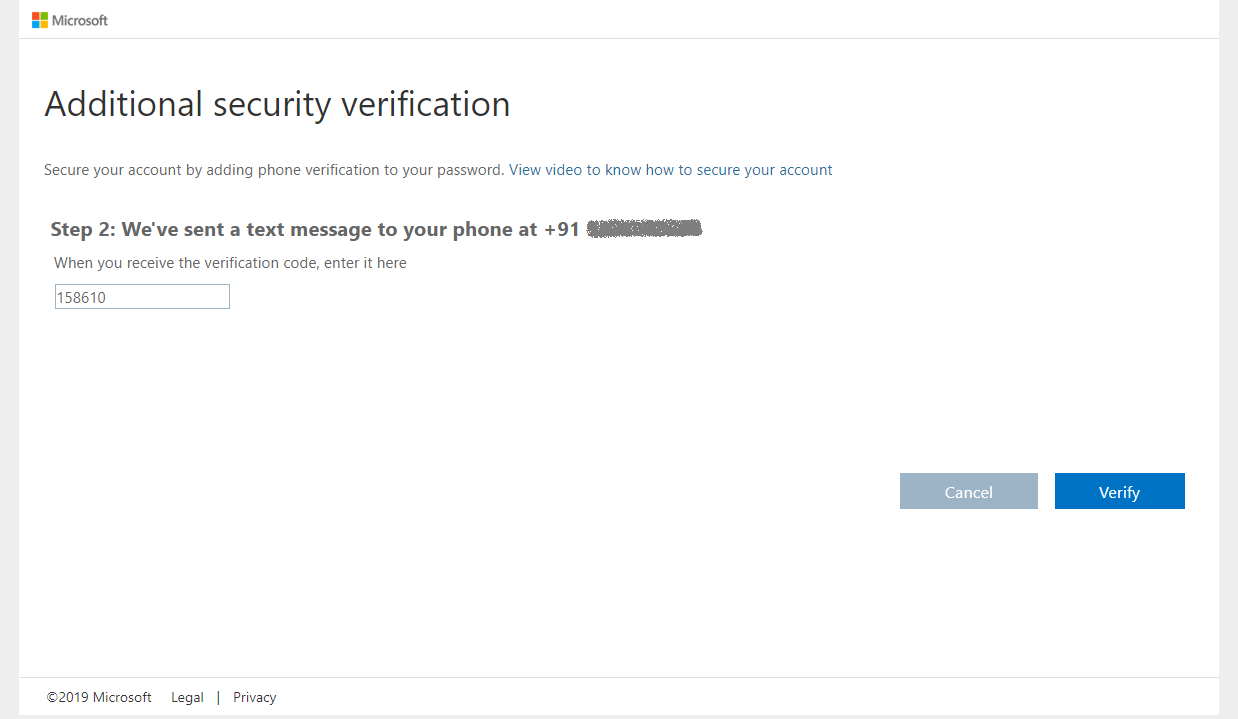
In case you have opted to receive the code by text message, enter the received code.

- Click Verify.
-
The next screen will provide the app password. In some apps, like Outlook, Apple Mail, and Microsoft Office, you can’t use a phone to secure your account. To use these apps, you’ll need to create a new “app password” to use in place of your work or school account password.
- Click Done.
The user will be logged in to Office 365 portal using MFA.
Summary
Static password can be compromised by an attacker. Multi-factor authentication adds an extra layer of protection on top of username and password. Office 365 used Azure AD for authentication. MFA can be easily setup per user or as a bulk. Only Global administrator can enable or disable MFA.
This content was originally posted here.


Leave a comment