
Implement CI / CD for SharePoint Framework - Part II
Overview
CI and CD are common acronyms in modern software development practices. It helps developers to deliver the product faster with transparency. In the previous article, we learned the CI, CD concepts and set up the build process to achieve Continuous Integration.
Continuous Deployment
Continuous Deployment (CD) takes package from build and deploys it to designated environment. Successful and failed deployments can be tracked by developers.
Continuous Deployment with SharePoint Framework involves below steps
- Create the Release Definition
- Link the Build Artifact
- Create the Environment
- Install NodeJS
- Install Office 365 CLI
- Connect to App Catalog
- Add Solution Package to App Catalog
- Deploy the App
- Set Environment Variables
Create the Release Definition
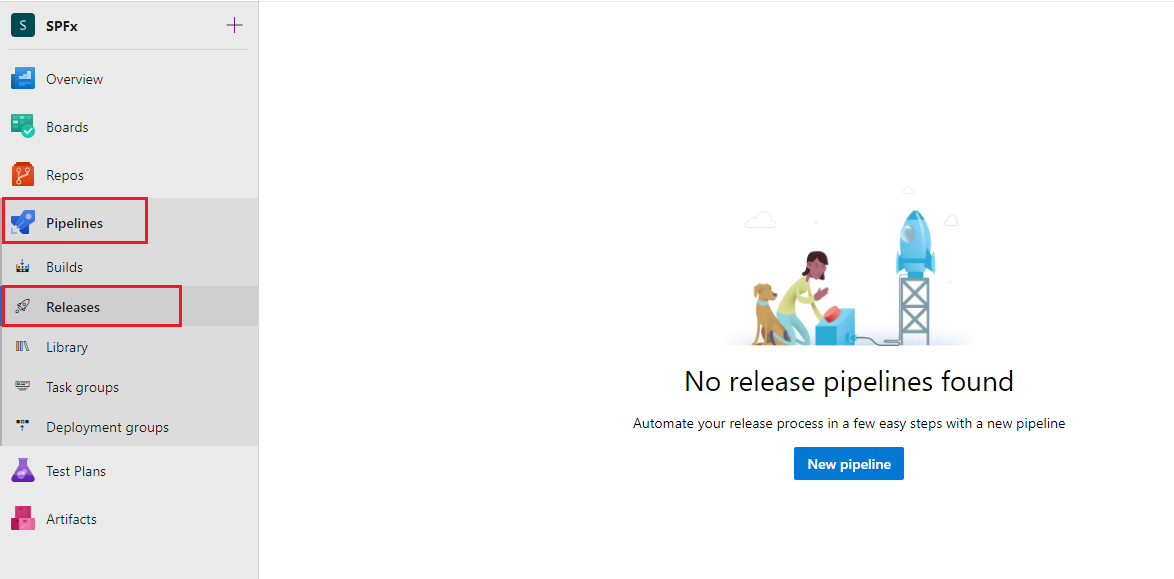
- From left navigation, click Pipelines > Releases.
-
Click New pipeline.
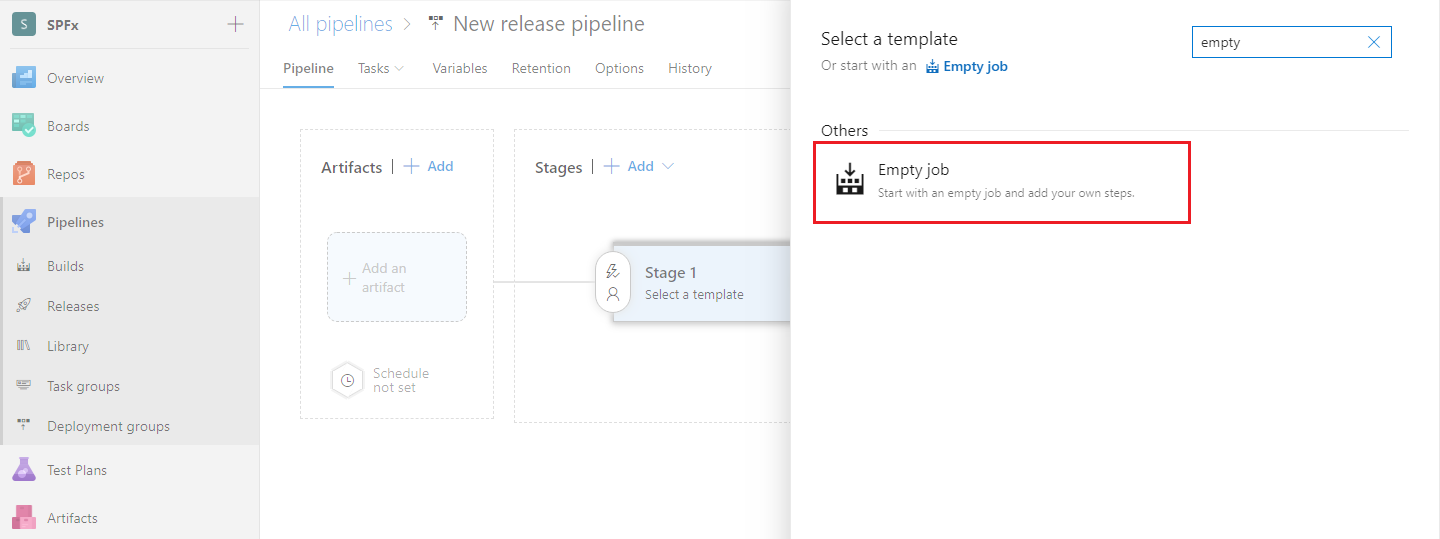
-
Create a new release definition with empty template.
Link the Build Artifact
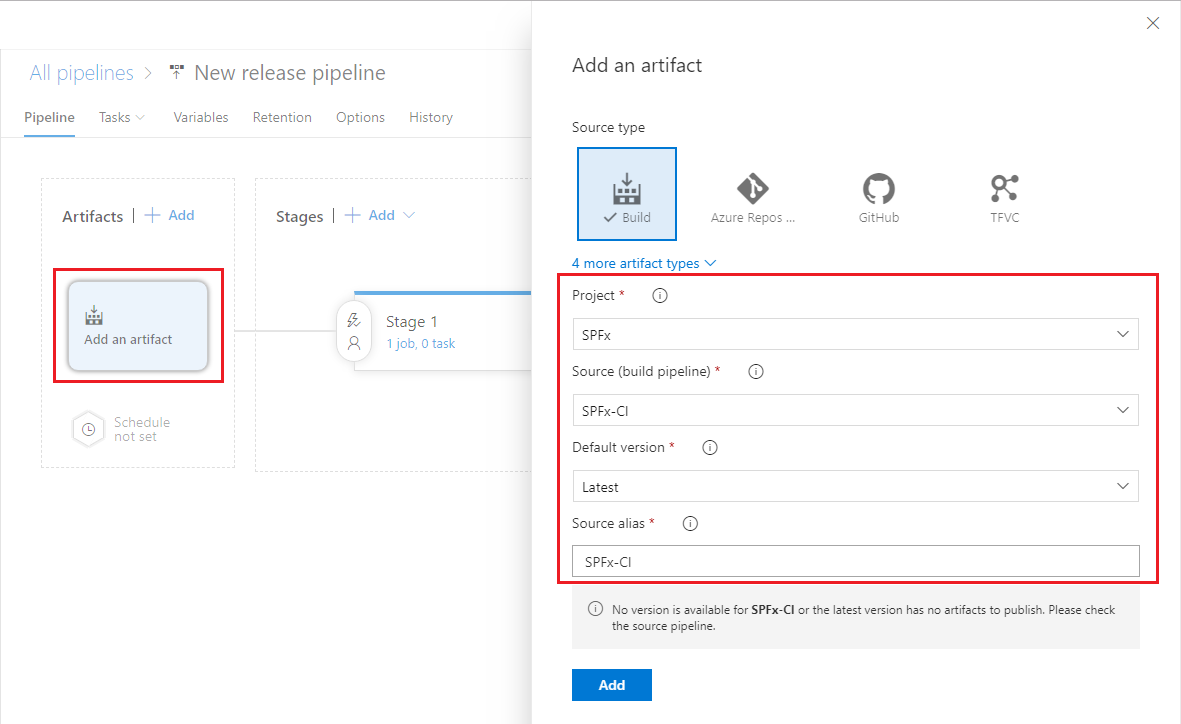
- Click Add an artifact
- Under Source (build pipeline), select the previously created build definition
- Note down Source alias for future use.
- Click Add.
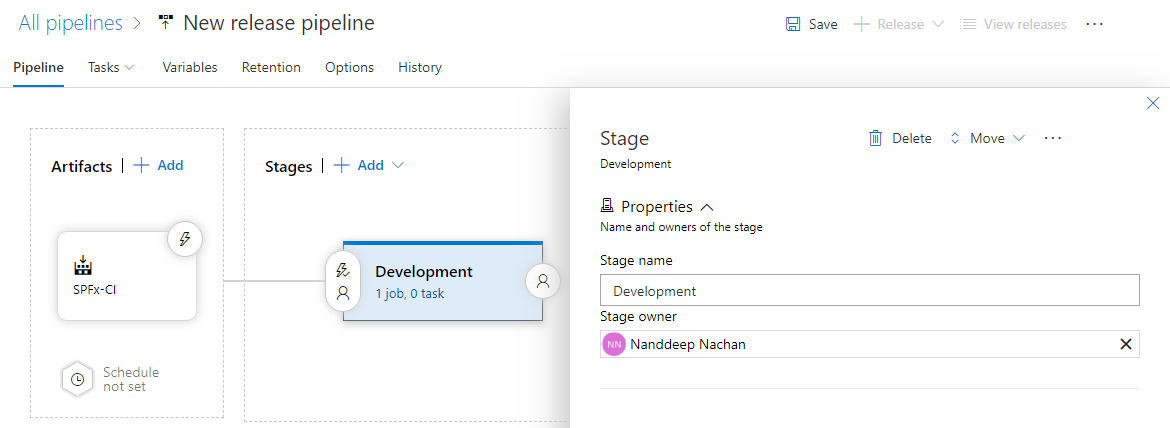
Create the Environment
Define an environment to deploy the build artifacts.
- Under Stages, click Stage 1.
- Name your environment.
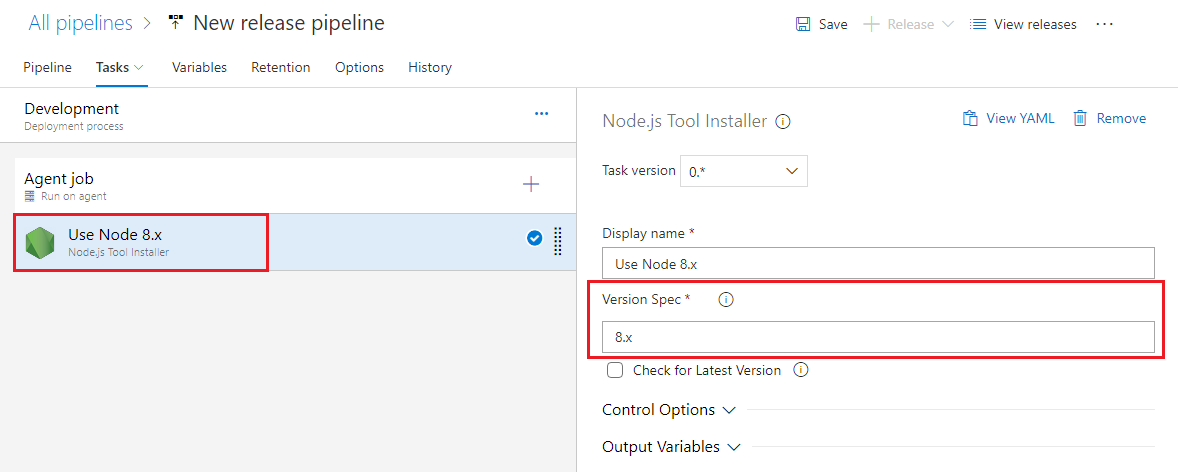
Install NodeJS
- Under environment, click 1 job, 0 task.
- The task configuration window will appear, same as in build definition.
- On the default agent, click + sign.
- Search for Node.
- Add Node.js tool installer.
- Specify the version as 8.x, since SharePoint Framework supports Node version 8.x.
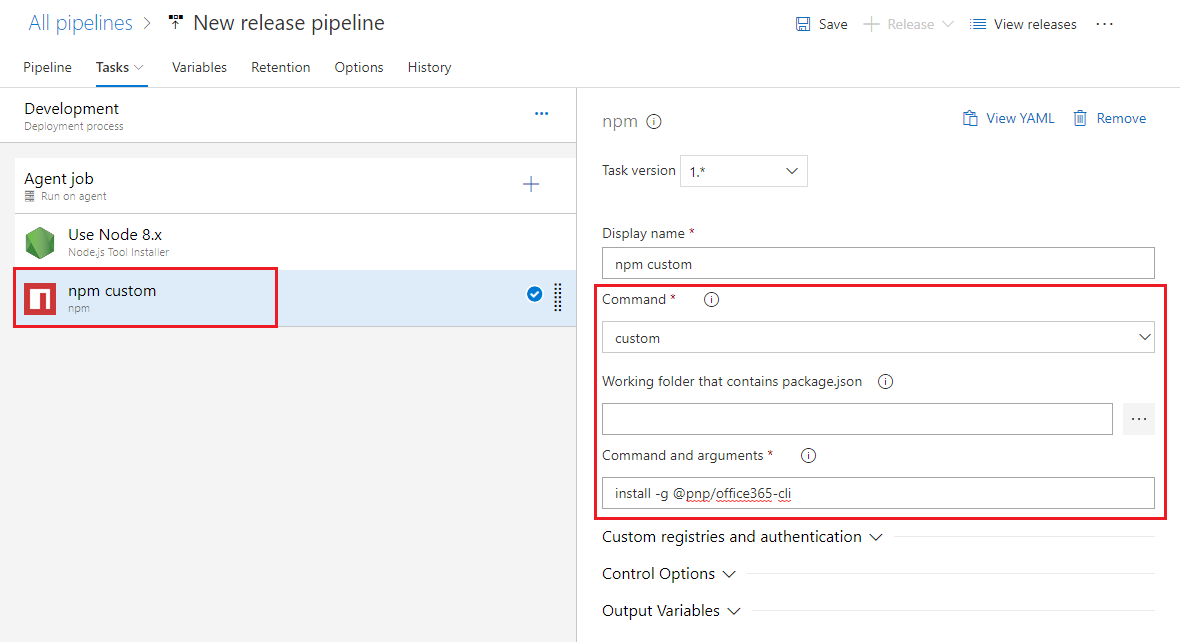
Install Office 365 CLI
Office 365 Common Language Interface (CLI) is an open source project from OfficeDev PnP Community.
- Add npm task.
- Under Command, select custom.
- In the Command and Arguments, type
install -g @pnp/office365-cli.
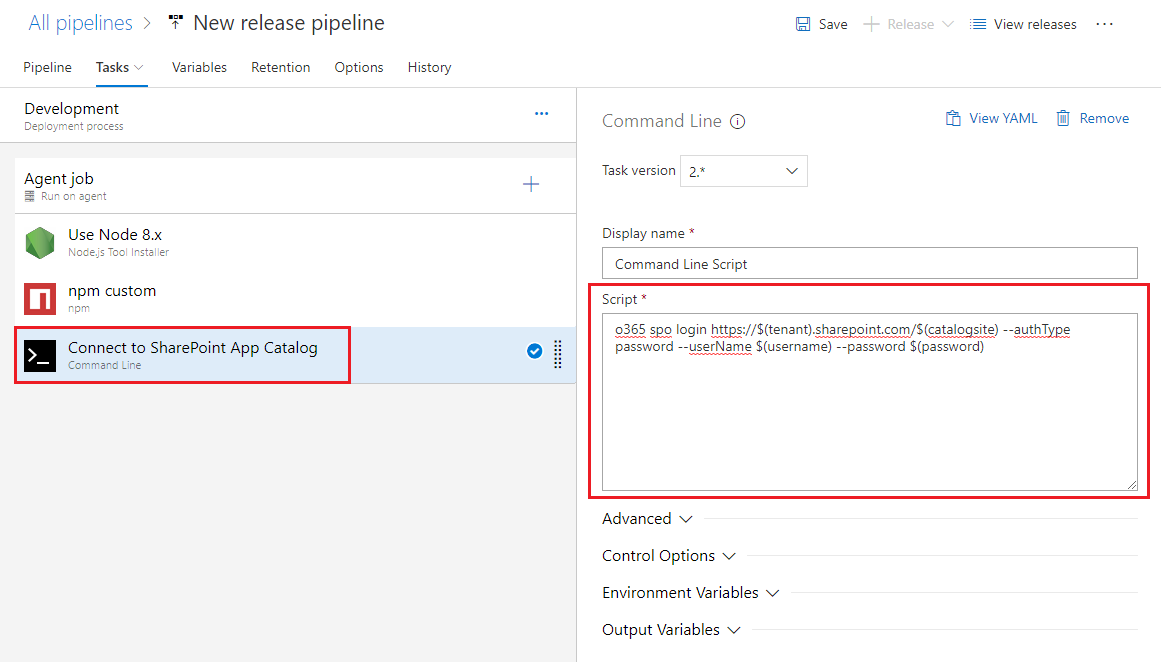
Connect to App Catalog
We need to authenticate against App Catalog of our tenant.
- Add Command Line task.
- In the Script field, type in below command
o365 spo login https://$(tenant).sharepoint.com/$(catalogsite) --authType password --userName $(username) --password $(password)
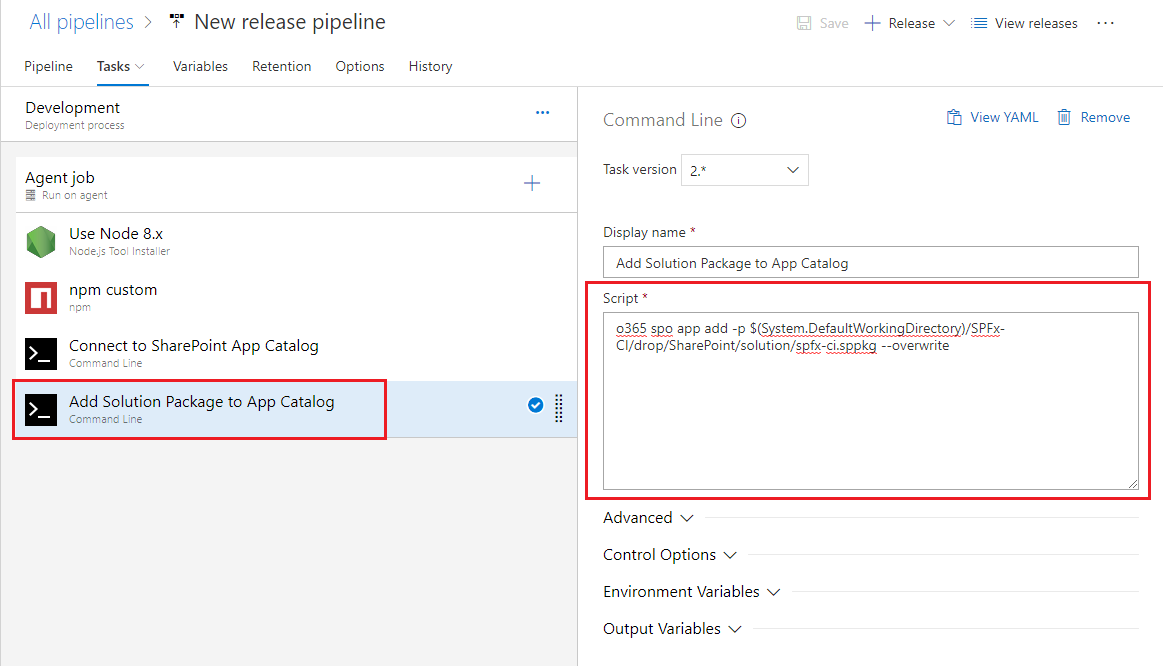
Add Solution Package to App Catalog
Now, we need to upload the solution package to app catalog.
- Add Command Line task.
- In the Script field, type in below command.
o365 spo app add -p $(System.DefaultWorkingDirectory)/SPFx-CI/drop/SharePoint/solution/spfx-ci.sppkg --overwrite
Where SPFx-CI is source alias setup during Link the Build Artifact step.
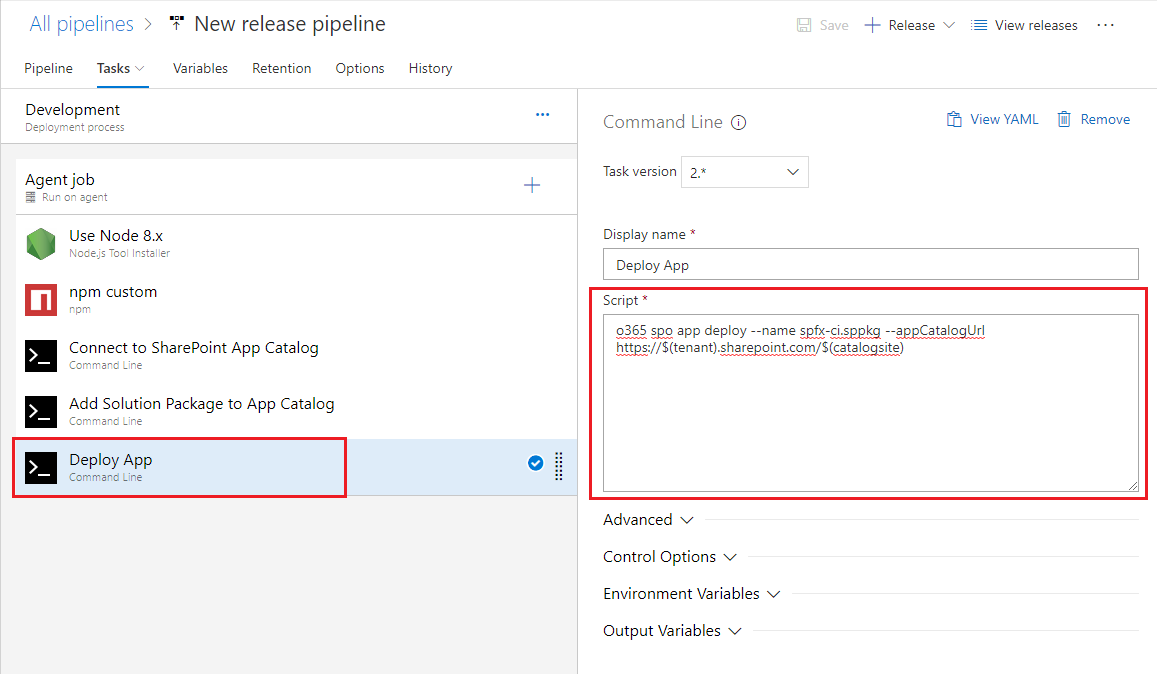
Deploy the App
We need to deploy the app to App Catalog to make it available to all site collections within the tenant.
- Add Command Line task.
- In the Script field, type in below command.
o365 spo app deploy --name spfx-ci.sppkg --appCatalogUrl https://$(tenant).sharepoint.com/$(catalogsite)
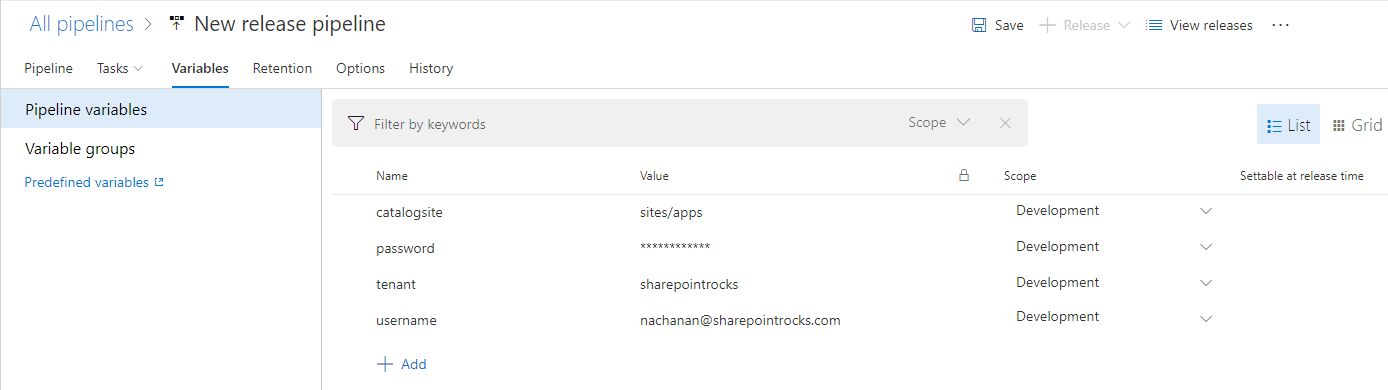
Set Environment Variables
We need to define the process variables used in earlier steps.
- Click Variables tab.
- Under Pipeline variables, add below variables.
Test Continuous Deployment
Follow below steps to test the continuous deployment.
- Under Pipelines click Builds.
-
Click Queue.

-
Select the branch. Click Queue.

-
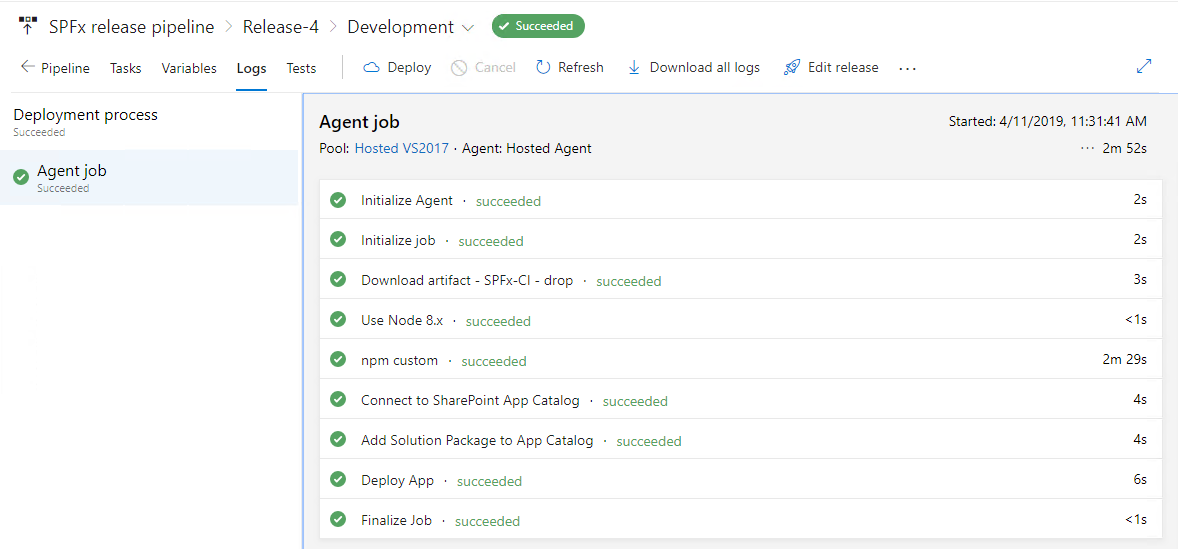
Once the build runs, see the logs and fix the issues if any.
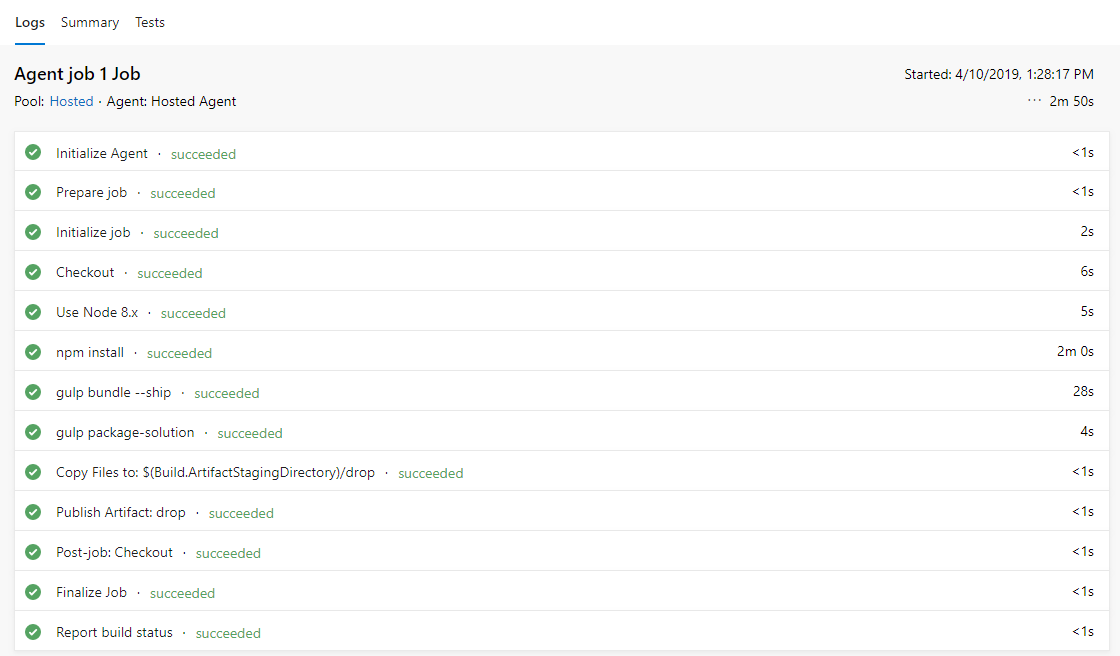
-
Once the build is successful, auto deployment will trigger (if configured). Once the deployment runs, see the logs and fix the issues if any.
- Verify the app (.sppkg) is deployed to SharePoint app catalog.
Setup Trigger for Deployment
We can manually trigger the deployment. However the ideal scenario is to trigger the deployment on successful build completion. Follow below steps to setup trigger.
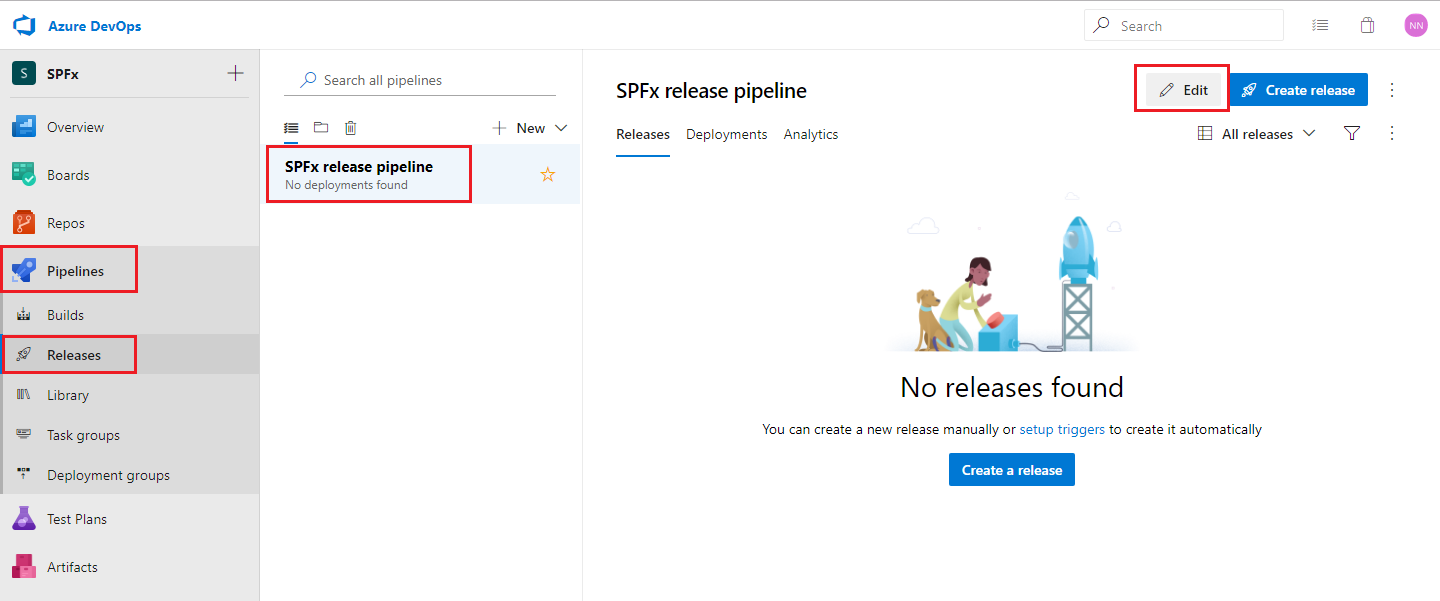
- From the left menu, click Pipelines > Releases.
- Open our release pipeline, we created earlier.
-
Click Edit.
- Under Artifacts, click Continuous deployment trigger.
-
Enable the continuous deployment.
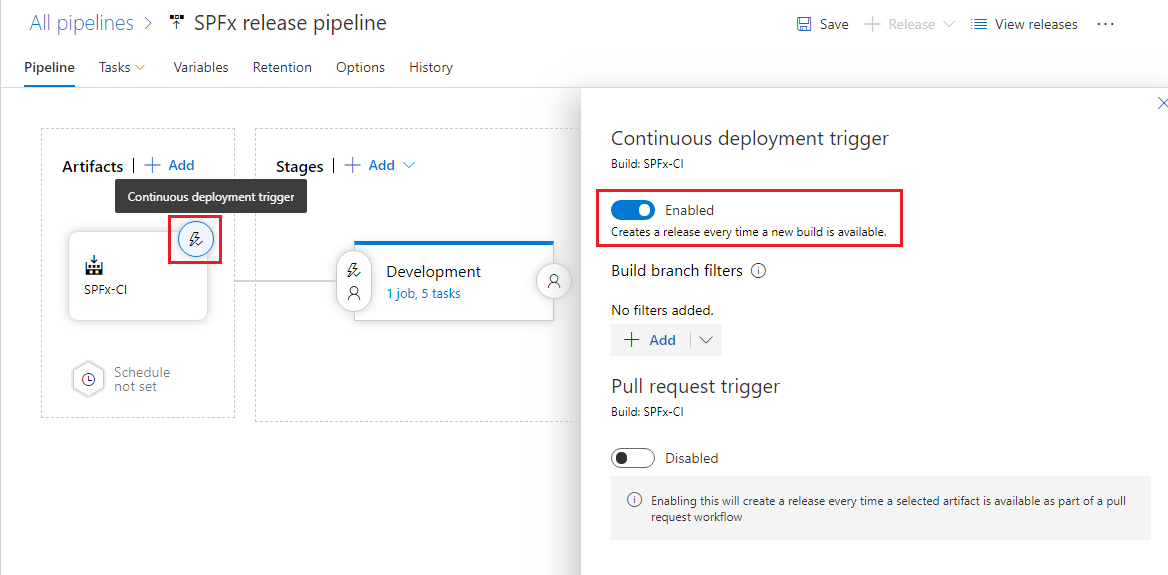
- Click Save.
Summary
CI/CD helps to automate the build and deployment process when a solution being worked on by the team is undergoing continuous changes. Azure DevOps helps to automate SPFx solution builds and deployment.
This content was originally posted here.


Leave a comment