
SharePoint Framework - Handle Web Part Property Changes
Overview
SharePoint web parts from its existence (since Classic SharePoint era) supports properties. They are generally referred as web part properties, which allows to configure the web part behavior based on value specified. We are gradually moving towards Modern SharePoint. SharePoint Framework (SPFx) based web parts are also supporting web part properties. As Modern SharePoint is based on HTML and JavaScript, it offers more flexibility to control the behavior of SharePoint Framework client web parts.
In this article, we will explore how we can handle the property changes in SharePoint Framework client web parts.
Develop SharePoint Framework Web Part
-
Open command prompt. Create a directory for SPFx solution.
md spfx-handle-property-changes -
Navigate to above created directory.
cd spfx-handle-property-changes -
Run Yeoman SharePoint Generator to create the solution.
yo @microsoft/sharepoint -
Yeoman generator will present you with the wizard by asking questions about the solution to be created.
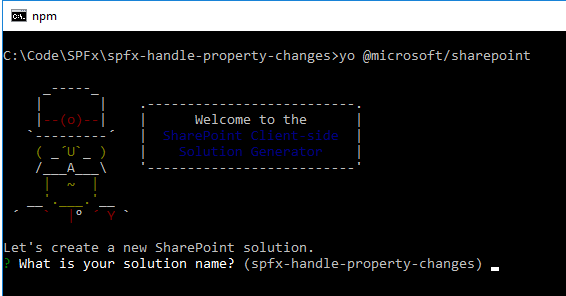
- Solution Name: Hit enter to have default name (spfx-handle-property-changes in this case) or type in any other name for your solution.
- Selected choice: Hit enter
- Target for component: Here we can select the target environment where we are planning to deploy the client webpart i.e. SharePoint Online or SharePoint OnPremise (SharePoint 2016 onwards).
- Selected choice: SharePoint Online only (latest)
- Place of files: We may choose to use the same folder or create a subfolder for our solution.
- Selected choice: Same folder
- Deployment option: Selecting Y will allow the app to deployed instantly to all sites and will be accessible everywhere.
- Selected choice: N (install on each site explicitly)
- Type of client-side component to create: We can choose to create client side webpart or an extension. Choose webpart option.
- Selected choice: WebPart
- Web part name: Hit enter to select the default name or type in any other name.
- Selected choice: HandlePropertyPaneChanges
- Web part description: Hit enter to select the default description or type in any other value.
- Selected choice: Handle property pane changes in SPFx
- Framework to use: Select any JavaScript framework to develop the component. Available choices are (No JavaScript Framework, React, and Knockout)
- Selected choice: No JavaScript Framework
- Solution Name: Hit enter to have default name (spfx-handle-property-changes in this case) or type in any other name for your solution.
- Yeoman generator will perform scaffolding process to generate the solution. The scaffolding process will take significant amount of time.
-
Once the scaffolding process is completed, lock down the version of project dependencies by running below command.
npm shrinkwrap -
On the command prompt type below command to open the solution in code editor of your choice.
code .
Run the SPFx WebPart
- On the command prompt, type
gulp serve. - Open SharePoint site.
- Navigate to /_layouts/15/workbench.aspx
-
Add the webpart to page.
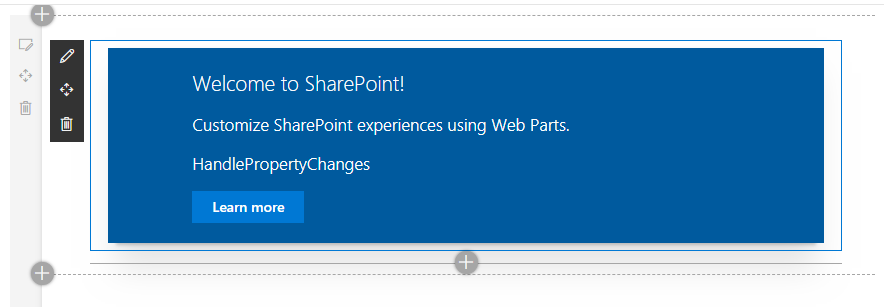
-
Edit the web part and update description property.
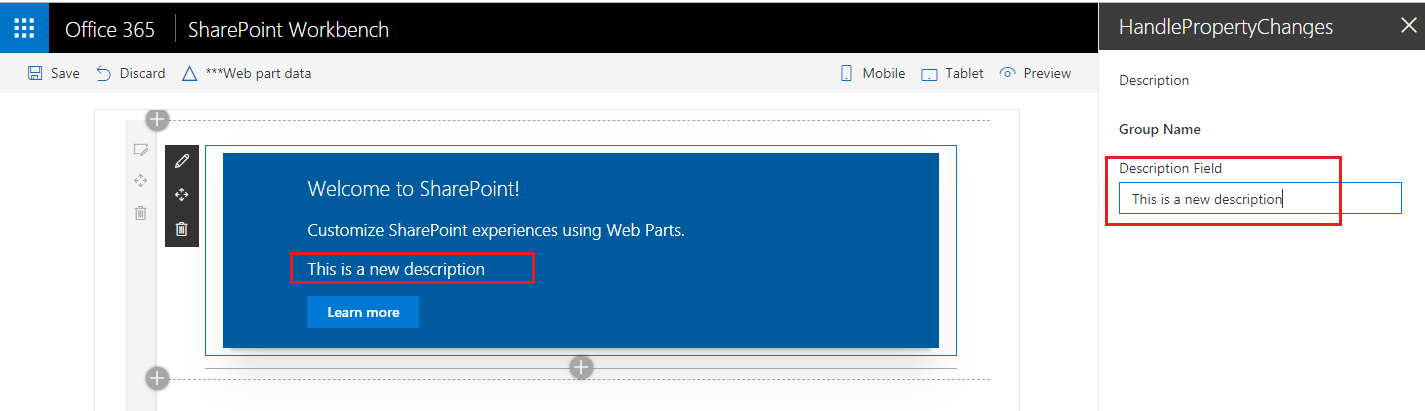
You will notice that, as we type in the values for description it is getting reflected right away in web part. For a Hello World kind of webparts it is fine. However always we do not want to fire events on each key down and update the webpart. This situation can be handled by some tweak in webpart.
Handle the web part property changes
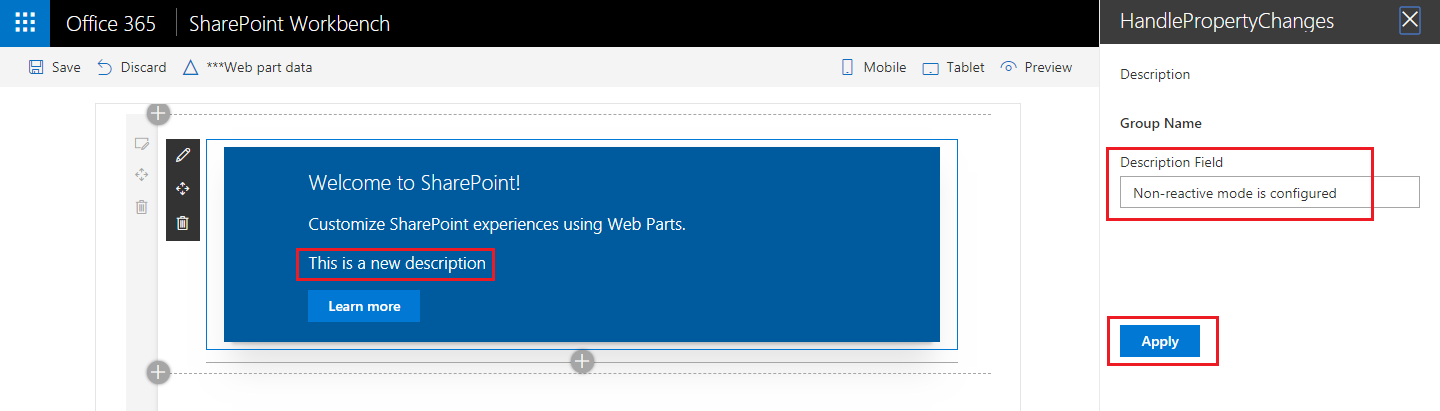
Property pane has two interaction modes:
- Reactive: When property field is modified, a change event is triggered and it updates the webpart with new values
- Non-reactive: It updates web part with new values only after user confirmation by clicking Apply button from property pane.
Code the WebPart
- Open our web part class - HandlePropertyChangesWebPart.ts under “\src\webparts\handlePropertyChanges" folder.
-
Add below method.
 protected get disableReactivePropertyChanges(): boolean {
 return true;
 }
While the gulp serve is running refresh the page and edit the webpart. The changes to property fields are now non-reactive and user has to click Apply button to see the changes reflected in web part.
Summary
While reactive mode is spontaneous to reflect the web part property changes, in some cases we need to have non-reactive mode to allow user to select the values for property fields and confirm the changes. Having disableReactivePropertyChanges implemented in SPFx web part will allow to control this behavior.
This content was originally posted here.


Leave a comment