
Collect responses from Adaptive Cards on MS Teams using Power Automate
Overview
Adaptive cards are platform agnostic snippets of UI authored in json format. Adaptive cards can be sent from Power Automate to MS Teams to collect the information and the response can be recorded from the users.
In this article, we will explore to send Adaptive cards to MS Teams and collect the responses to Microsoft Excel stored in SharePoint or OneDrive.
Send Adaptive Card to MS Teams
To send an Adaptive Card on MS Teams using Power Automate, follow below steps:
- Open Power Automate.
-
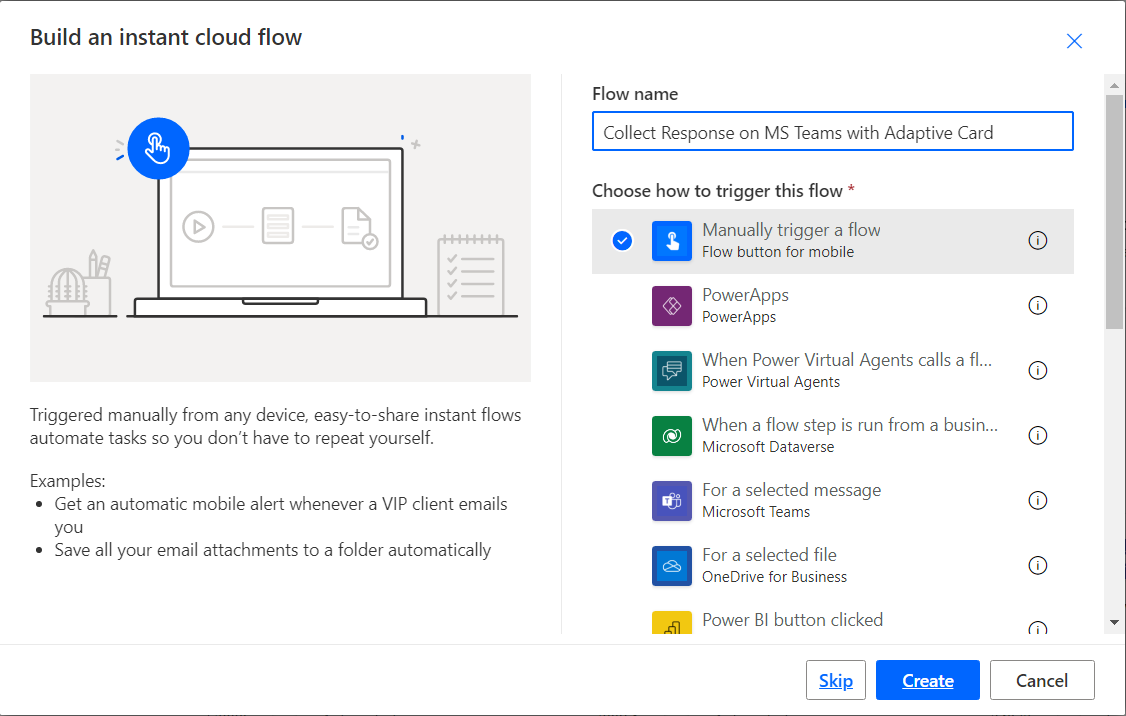
Create a flow based on your trigger preference. To keep it simple, let us create Instant cloud flow.
- Add an action Post adaptive card and wait for a response.
-
Specify the Post in as Chat with Flow bot and Recipient details to post an adaptive card to. Please note, you can specify a single name or email address. To send the adaptive card to multiple recipients, loop through all recipients.

-
Add below Adaptive card json as Message on the above added action.
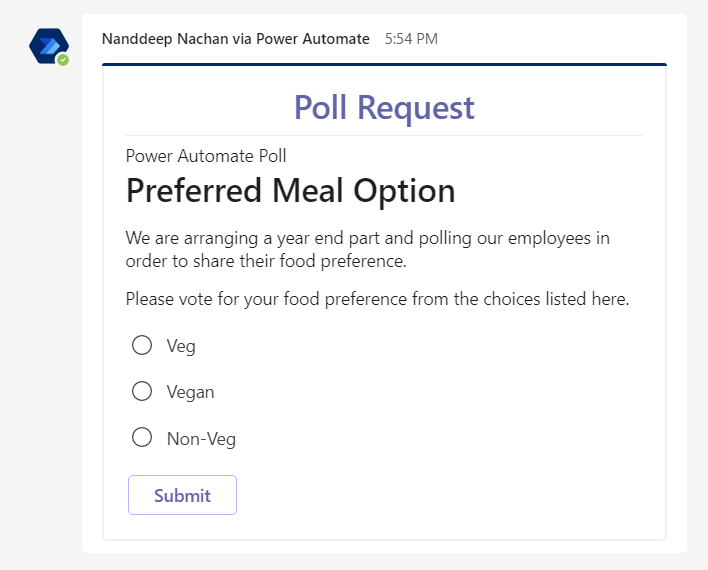
 {
     "$schema": "http://adaptivecards.io/schemas/adaptive-card.json",
     "type": "AdaptiveCard",
     "version": "1.0",
     "body": [
         {
             "type": "TextBlock",
             "text": "Poll Request",
             "id": "Title",
             "spacing": "Medium",
             "horizontalAlignment": "Center",
             "size": "ExtraLarge",
             "weight": "Bolder",
             "color": "Accent"
         },
         {
             "type": "TextBlock",
             "text": "Power Automate Poll",
             "id": "acHeaderTagLine",
             "separator": true
         },
         {
             "type": "TextBlock",
             "text": "Preferred Meal Option",
             "weight": "Bolder",
             "size": "ExtraLarge",
             "spacing": "None",
             "id": "acHeader"
         },
         {
             "type": "TextBlock",
             "text": "We are arranging a year end part and polling our employees in order to share their food preference.",
             "id": "acInstructions",
             "wrap": true
         },
         {
             "type": "TextBlock",
             "text": "Please vote for your food preference from the choices listed here.",
             "id": "acPollQuestion"
         },
         {
             "type": "Input.ChoiceSet",
             "placeholder": "Select from these choices",
             "choices": [
                 {
                     "title": "Veg",
                     "value": "Veg"
                 },
                 {
                     "title": "Vegan",
                     "value": "Vegan"
                 },
                 {
                     "title": "Non-Veg",
                     "value": "Non-Veg"
                 }
             ],
             "id": "acPollChoices",
             "style": "expanded"
         }
     ],
     "actions": [
         {
             "type": "Action.Submit",
             "title": "Submit",
             "id": "btnSubmit"
         }
     ]
 }
You can design your Adaptive card with designer. The update message will be shown to the user when they will submit their choice on the adaptive card. This functionality eases the developer life, because now they do not need to send the update card.
Record user responses to Excel file
Once the Poll is sent to the recipients as an adaptive card, the team members will respond to it. We need to collect their responses to process further and take the actions.
Follow the below steps to create and configure an Excel file in OneDrive:
- Create an Excel file named Poll Responses.xlsx in your OneDrive.
-
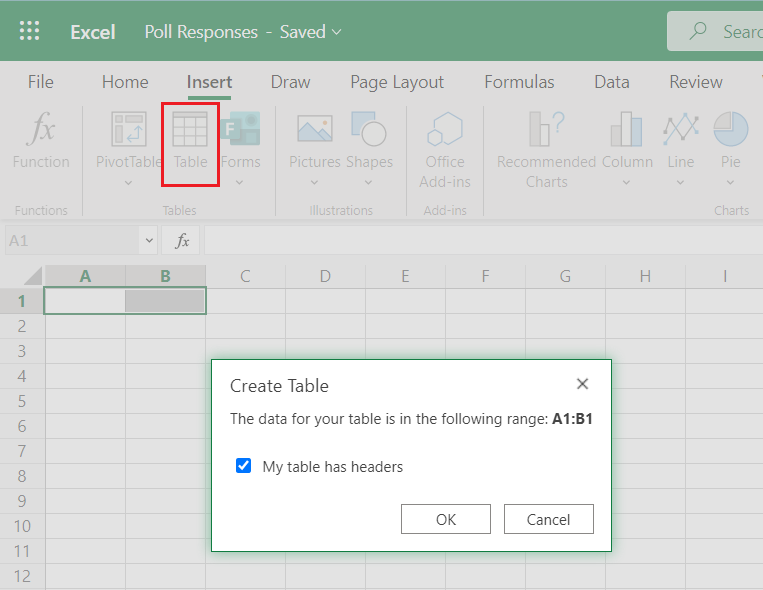
In this file, insert a table with two columns (use the Insert > Table function of Excel).
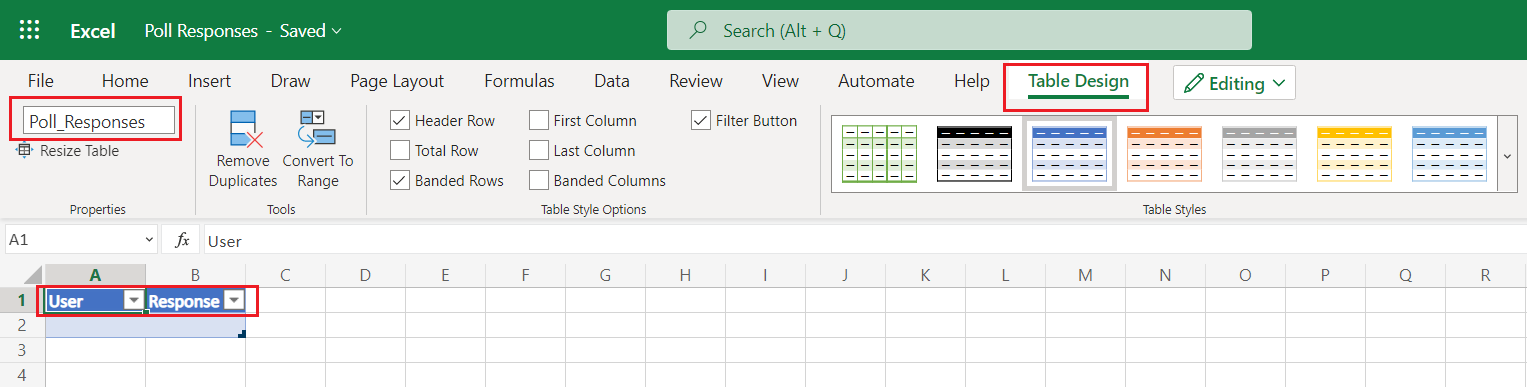
- Optionally, name your table from Table Design menu.
-
Optionally, rename the columns.
- Save and close the Excel file.
Follow the below steps to record the responses in an Excel file stored in OneDrive:
- Navigate to previously created Power Automate flow.
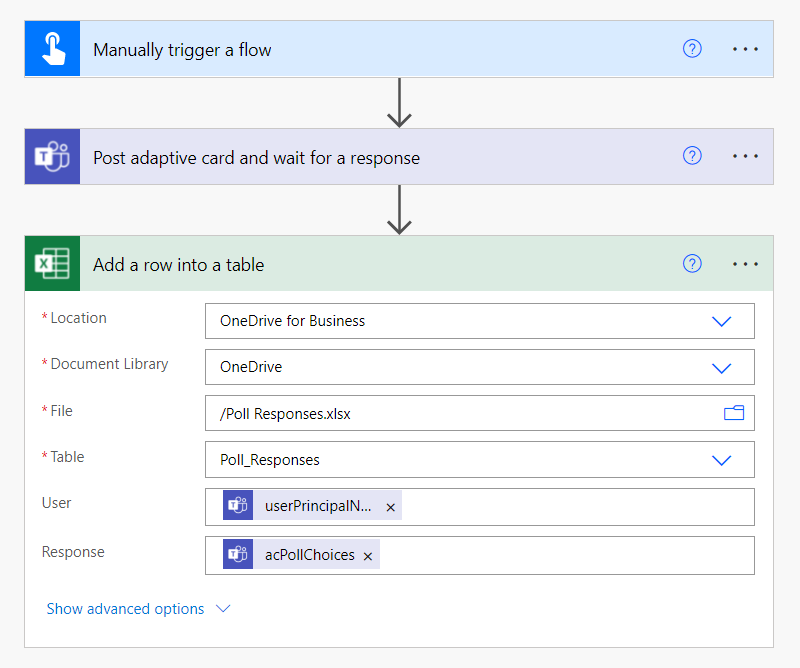
- Add an action Add a row into a table under Excel Online.
- Specify the location to Excel file stored in OneDrive.
-
Select the Table and columns from Excel file.
- Save the flow.
Test the functionality
To test the functionality, follow below steps:
- Execute the Power Automate flow manually.
-
An adaptive card will be sent to the recipients.
- Make your selection in Adaptive card, click Submit.
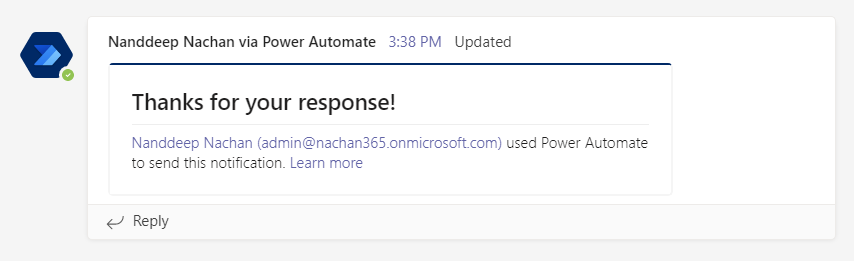
-
The configured update message will be shown to the user.
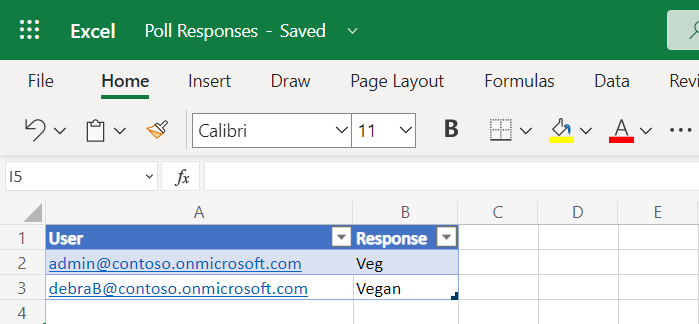
-
The Excel file in OneDrive should have the responses recorded.
Summary
Adaptive cards can be sent from Power Automate to MS Teams to collect the information and the response can be recorded from the users.


Leave a comment