
SharePoint Framework 1.8 - Library Component Type (Beta)
Overview
SharePoint Framework is offering newer capabilities with every release of it. The SPFx release of version 1.8 has introduced library component type which presents nice option to develop a shared code.
In this article, we will understand the concept of library component and start developing our own library component for code sharing.
Library Component
Developing a common code which can be shared by various components is always a good idea. SharePoint Framework supported creating common services that can be consumed by multiple webparts, which brings in more of separation of concerns (SoC).
Library component type is yet another alternative option to create shared code, which can be independently versioned and deployed. The beauty of library component is that it can be referenced across all components in the tenant.
- Only one library component version can be hosted in tenant at a time.
- A solution containing library component type should not contain any other component types.
- To bundle solutions dependent on library component, reference it during development from package manager or use npm link.
Important to note that this feature is still in preview mode and should not be used in production.
Upgrade to SPFx 1.8 Version
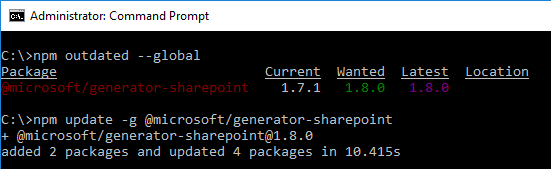
SPFx version 1.8 is recently released. Run the below command to see your installed SPFx version and latest available SPFx version.
npm outdated --global
Run the below command to upgrade to latest SPFx version.
npm update -g @microsoft/generator-sharepoint
Create Library Component Type
-
Open command prompt. Create a directory for SPFx solution.
md spfx-library-component-beta -
Navigate to above created directory.
cd spfx-library-component-beta -
Run Yeoman SharePoint Generator to create the solution using –plusbeta option, as the library component type is still in preview (beta) mode.
yo @microsoft/sharepoint --plusbeta -
Yeoman generator will present you with the wizard by asking questions about the solution to be created.
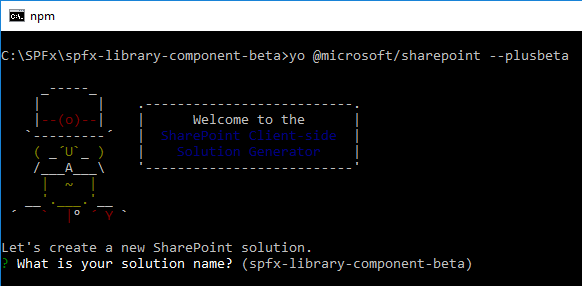
- Solution Name: Hit enter to have default name (spfx-library-component-beta in this case) or type in any other name for your solution.
- Selected choice: Hit enter
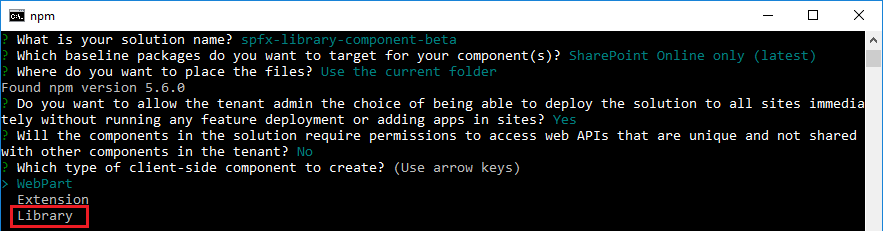
- Target for component: Here we can select the target environment where we are planning to deploy the client webpart i.e. SharePoint Online or SharePoint OnPremise (SharePoint 2016 or 2019 onwards).
- Selected choice: SharePoint Online only (latest)
- Place of files: We may choose to use the same folder or create a subfolder for our solution.
- Selected choice: Use the current folder
- Deployment option: Selecting Y will allow the app to deployed instantly to all sites and will be accessible everywhere.
- Selected choice: Y
- Permissions to access web APIs: Choose if the components in the solution require permissions to access web APIs that are unique and not shared with other components in the tenant.
- Selected choice: N (solution contains unique permissions)
- Type of client-side component to create: We can choose to create client side webpart or an extension or Library.
- Selected choice: Library
- Library Name: Specify the name of the library
- Selected choice: CommonLibrary
- Library Description: Specify the library description
- Solution Name: Hit enter to have default name (spfx-library-component-beta in this case) or type in any other name for your solution.
Code the Library
-
On the command prompt type below command to open the solution in code editor of your choice.
code . -
Open manifest.json (src\CommonLibraryLibrary.manifest.json) to verify the library component.
{ "id": "8fb3b4f6-2429-478b-8fd1-7c05037c8909", "alias": "CommonLibraryLibrary", "componentType": "Library", // The "*" signifies that the version should be taken from the package.json "version": "*", "manifestVersion": 2 } -
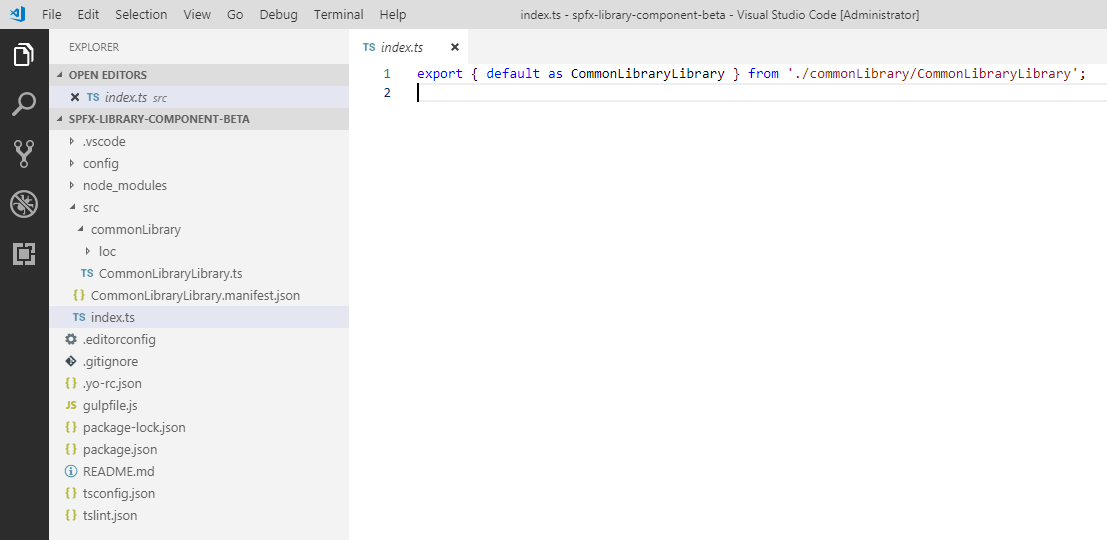
The library component type is listed in index.ts file referencing to our library class.
- Open src\commonLibrary\CommonLibraryLibrary.ts
-
The library component has default method name, which simply returns the name of library component. Let’s implement our own method.
export default class CommonLibraryLibrary { public name(): string { return 'CommonLibraryLibrary'; } public getRandomNumber(): string { // Generate and return random number between 1 to 100 let randomNumber = Math.floor(Math.random() * 100) + 1; return 'Random number returned from the common library is ' + randomNumber; } } - On the command prompt, type gulp to verify the library code compiles without any error.
Consume Library in SPFx WebPart
-
On the command prompt, navigate to the root directory of library solution. Type below command.
npm link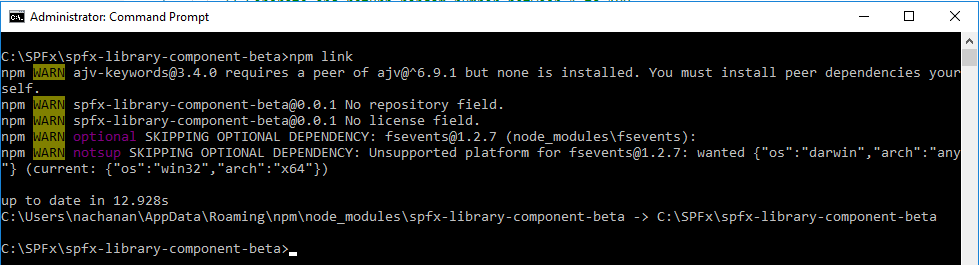
This will create a local npm link to the library.
- Create a web part project in a separate project folder, not in library project folder structure.
-
On the command prompt type below command.
yo @microsoft/sharepoint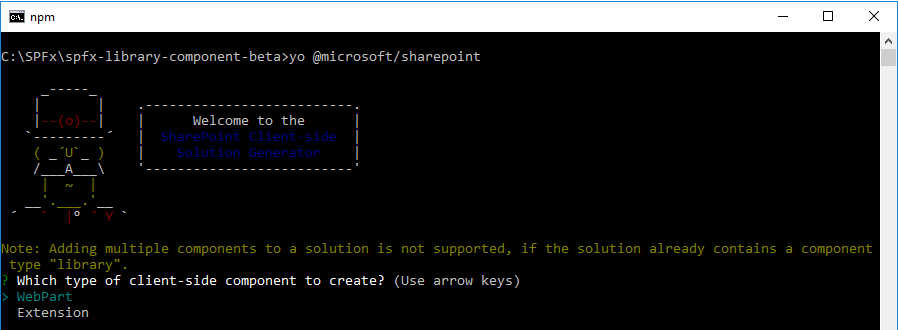
- Type of client-side component to create: WebPart
- Name of the web part: LibraryConsumerWebPart
- Description of the web part: Consuming the common library
- Framework to use: No JavaScript framework
-
On the command prompt, navigate to the root of new web part folder (i.e. \src\webparts\libraryConsumerWebPart) and run below command.
npm link spfx-library-component-beta
-
On the command prompt type below command to open the solution in code editor of your choice.
code . - From the web part solution, open the web part file
src\webparts\libraryConsumerWebPart\LibraryConsumerWebPartWebPart.ts. -
Import the library to use.
import * as myCommonLibrary from 'spfx-library-component-beta'; -
Implement the render method.
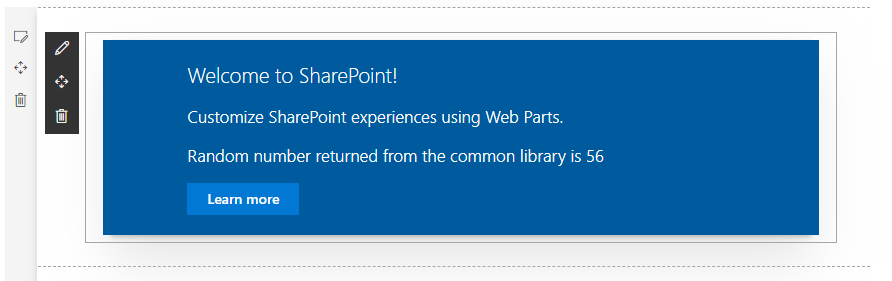
 public render(): void {
   const myInstance = new myCommonLibrary.CommonLibraryLibrary();

   this.domElement.innerHTML = `
     <div class="${ styles.libraryConsumerWebPart }">
       <div class="${ styles.container }">
         <div class="${ styles.row }">
           <div class="${ styles.column }">
             <span class="${ styles.title }">Welcome to SharePoint!</span>
             <p class="${ styles.subTitle }">Customize SharePoint experiences using Web Parts.</p>
             <p>${myInstance.getRandomNumber()}</p>
             <a href="https://aka.ms/spfx" class="${ styles.button }">
               <span class="${ styles.label }">Learn more</span>
             </a>
           </div>
         </div>
       </div>
     </div>`;
 }
Test the WebPart
- On the command prompt, type
gulp serve. - Open SharePoint site
- Navigate to /_layouts/15/workbench.aspx
- Locate and add the webpart to page.
Summary
SharePoint Framework version 1.8 has brought in some cool features. Library component type is one of them. It is still in beta mode. It is an alternative option to create shared code. Please do not use it in production yet.
This content was originally posted here.


Leave a comment