
SharePoint Framework Extensions - ListView Command Set Overview
Overview
SharePoint Framework (SPFx) Extensions are client side components which allows extending the SharePoint user experience.
In this article, we will explore the ListView Command Set of SharePoint extensions.
Brief about Field Customizer
ListView Command Set allows to extend command surfaces of SharePoint to add new actions. It supports toolbar and context menu.
In the classic SharePoint, we used to add the new actions to SharePoint list by implementing custom actions. In the modern SharePoint, the ListView Command Set helps to implement these scenarios.
Create SPFx Solution
-
Open command prompt. Create a directory for SPFx solution.
md spfx-extensions-listviewcommandset -
Navigate to above created directory.
cd spfx-extensions-listviewcommandset -
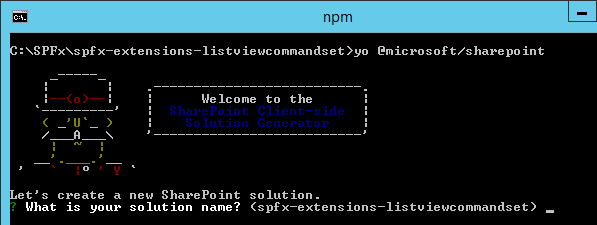
Run Yeoman SharePoint Generator to create the solution.
yo @microsoft/sharepoint -
Yeoman generator will present you with the wizard by asking questions about the solution to be created.
- Solution Name: Hit enter to have default name (spfx-extensions-listviewcommandset in this case) or type in any other name for your solution.
- Selected choice: Hit enter
- Target for component: Here we can select the target environment where we are planning to deploy the client webpart i.e. SharePoint Online or SharePoint OnPremise (SharePoint 2016 onwards).
- Selected choice: SharePoint Online only (latest)
- Place of files: We may choose to use the same folder or create a subfolder for our solution.
- Selected choice: Same folder
- Deployment option: Selecting Y will allow the app to deployed instantly to all sites and will be accessible everywhere.
- Selected choice: N (install on each site explicitly)
- Type of client-side component to create: We can choose to create client side webpart or an extension.
- Selected choice: Extension
- Type of client-side extension to create: We can choose to create Application customizer, Field customizer, or ListView Command Set.
- Selected choice: ListView Command Set
- Command Set name: Hit enter to select the default name or type in any other name.
- Selected choice: ModalDialog
- Command Set description: Hit enter to select the default description or type in any other value.
- Selected choice: Displays modal dialog using listview command set extension
- Solution Name: Hit enter to have default name (spfx-extensions-listviewcommandset in this case) or type in any other name for your solution.
- Yeoman generator will perform scaffolding process to generate the solution. The scaffolding process will take significant amount of time.
-
Once the scaffolding process is completed, lock down the version of project dependencies by running below command.
npm shrinkwrap -
On the command prompt type below command to open the solution in code editor of your choice.
code .
Solution Structure
The solution structure is similar to client-side web parts with similar configuration options.
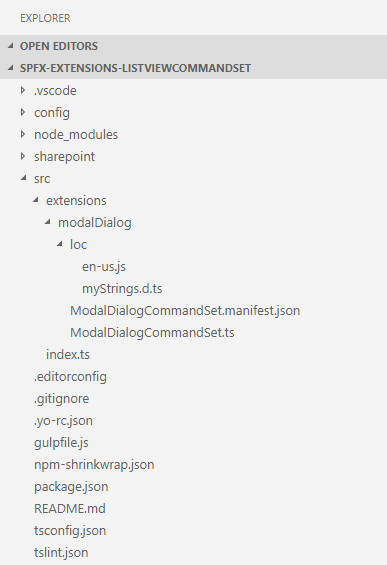
The file ModalDialogCommandSet.manifest.json inside the folder “\src\extensions\modalDialog" defines the extension type and unique identifier for the solution. Please note down the id. We will need it later for debugging purpose.
{
  "$schema": "https://developer.microsoft.com/json-schemas/spfx/command-set-extension-manifest.schema.json",

  "id": "78c7b88e-c176-4694-b95d-1b371279b6e8",
  "alias": "ModalDialogCommandSet",
  "componentType": "Extension",
  "extensionType": "ListViewCommandSet",

  // The "*" signifies that the version should be taken from the package.json
  "version": "*",
  "manifestVersion": 2,

  // If true, the component can only be installed on sites where Custom Script is allowed.
  // Components that allow authors to embed arbitrary script code should set this to true.
  // https://support.office.com/en-us/article/Turn-scripting-capabilities-on-or-off-1f2c515f-5d7e-448a-9fd7-835da935584f
  "requiresCustomScript": false,

  "items": {
    "COMMAND_1": {
      "title": { "default": "Command One" },
      "iconImageUrl": "icons/request.png",
      "type": "command"
    },
    "COMMAND_2": {
      "title": { "default": "Command Two" },
      "iconImageUrl": "icons/cancel.png",
      "type": "command"
    }
  }
}
Implement Field Customizer
Open ModalDialogCommandSet.ts under “\src\extensions\modalDialog" folder. The class has below important methods:
- onInit() event occurs before the page DOM is ready. It returns promise to perform asynchronous operations. onListViewUpdated() is not invoked until this promise is resolved.
- onListViewUpdated() event occurs separately for each command. The default implementation is as below.
public onListViewUpdated(event: IListViewCommandSetListViewUpdatedParameters): void {
    const compareOneCommand: Command = this.tryGetCommand('COMMAND_1');
    if (compareOneCommand) {
      // This command should be hidden unless exactly one row is selected.
      compareOneCommand.visible = event.selectedRows.length === 1;
    }
}
tryGetCommand helps to get the Command object, which is a representation of the command in UI.
- onExecute() method defines what happens when a command is executed. The default implementation is as below.
public onExecute(event: IListViewCommandSetExecuteEventParameters): void {
  switch (event.itemId) {
    case 'COMMAND_1':
      Dialog.alert(`${this.properties.sampleTextOne}`);
      break;
    case 'COMMAND_2':
      Dialog.alert(`${this.properties.sampleTextTwo}`);
      break;
    default:
      throw new Error('Unknown command');
  }
}
Debug Field Customizer
The SharePoint local workbench now cannot be used to test the field customizer as we will need an actual SharePoint site to create needed list and fields.
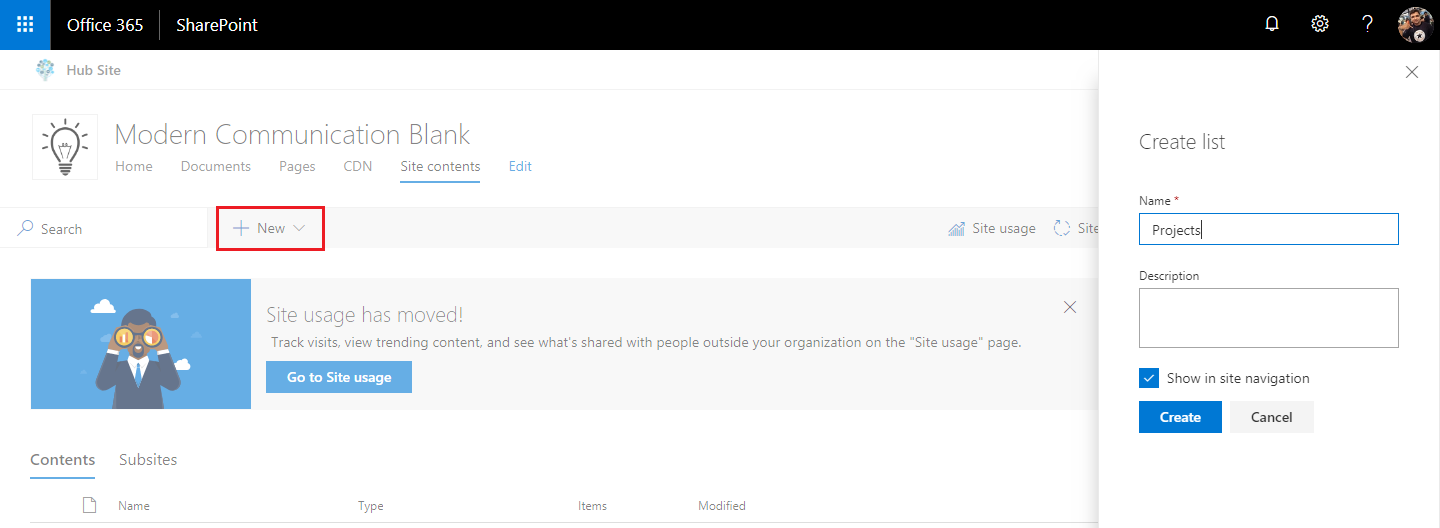
- Open SharePoint site.
-
From site contents create new list named Projects.
-
Click Add column to add a number field.
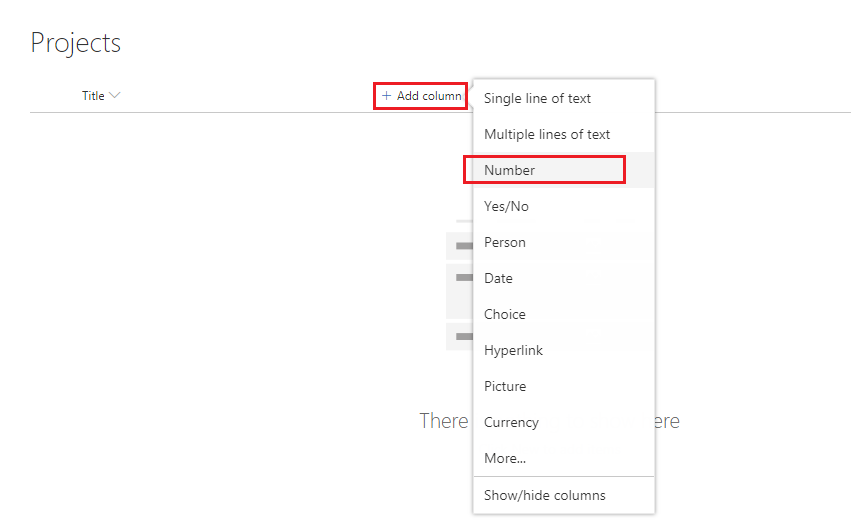
-
Name it as Completion.
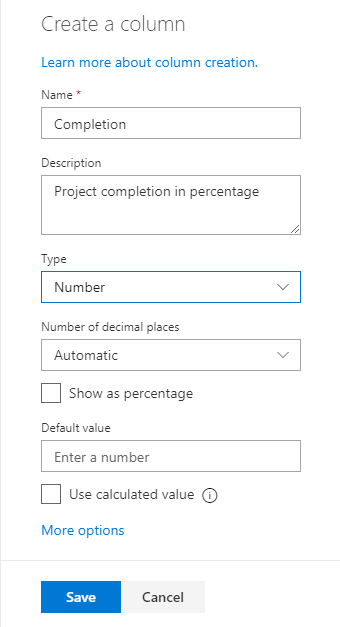
- Click Save.
-
Add some test data to the list.

Update the Solution for Field changes
-
Open serve.json file under config folder. Update PageUrl to the url of list we created in the previous step.
{ "$schema": "https://developer.microsoft.com/json-schemas/core-build/serve.schema.json", "port": 4321, "https": true, "serveConfigurations": { "default": { "pageUrl": "https://contoso.sharepoint.com/sites/ModernCommunicationBlank/Lists/Projects/AllItems.aspx", "customActions": { "78c7b88e-c176-4694-b95d-1b371279b6e8": { "location": "ClientSideExtension.ListViewCommandSet.CommandBar", "properties": { "sampleTextOne": "One item is selected in the list", "sampleTextTwo": "This command is always visible." } } } }, "modalDialog": { "pageUrl": "https://contoso.sharepoint.com/sites/ModernCommunicationBlank/Lists/Projects/AllItems.aspx", "customActions": { "78c7b88e-c176-4694-b95d-1b371279b6e8": { "location": "ClientSideExtension.ListViewCommandSet.CommandBar", "properties": { "sampleTextOne": "One item is selected in the list", "sampleTextTwo": "This command is always visible." } } } } } } -
In the command prompt, type below command to run the extension.
gulp serve -
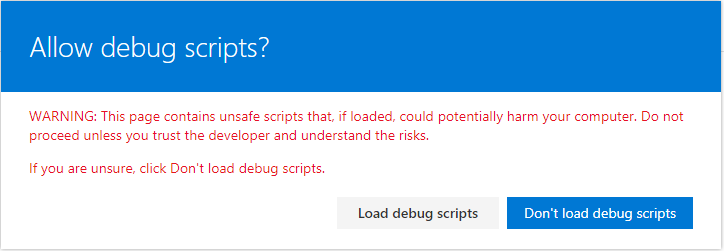
Accept loading of debug manifests by clicking Load debug scripts.
-
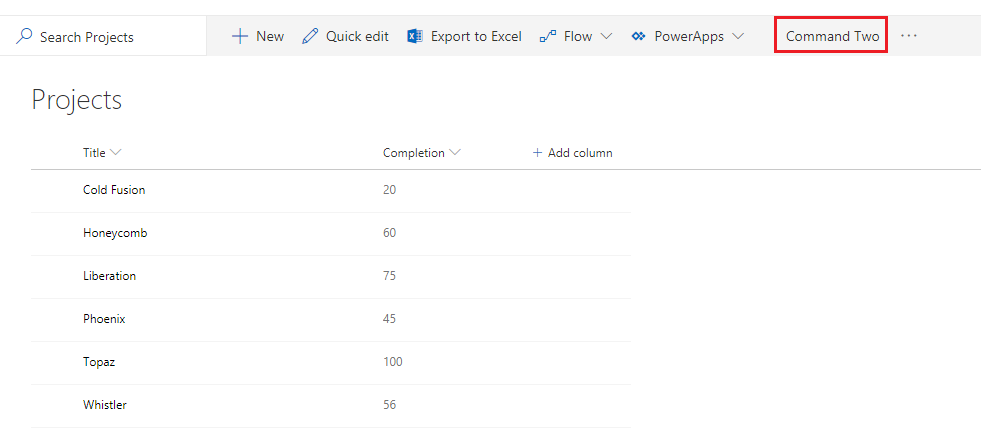
The Command Two button should appear in the toolbar.
-
Command One button is not visible until you select any list item.
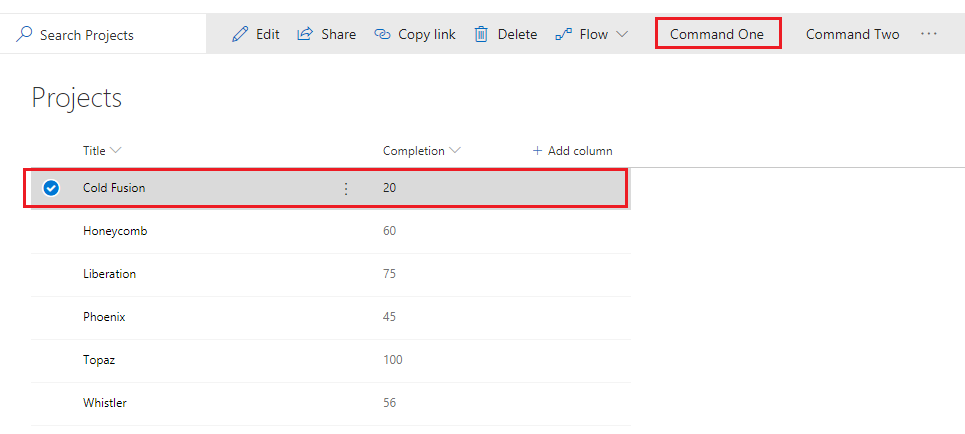
-
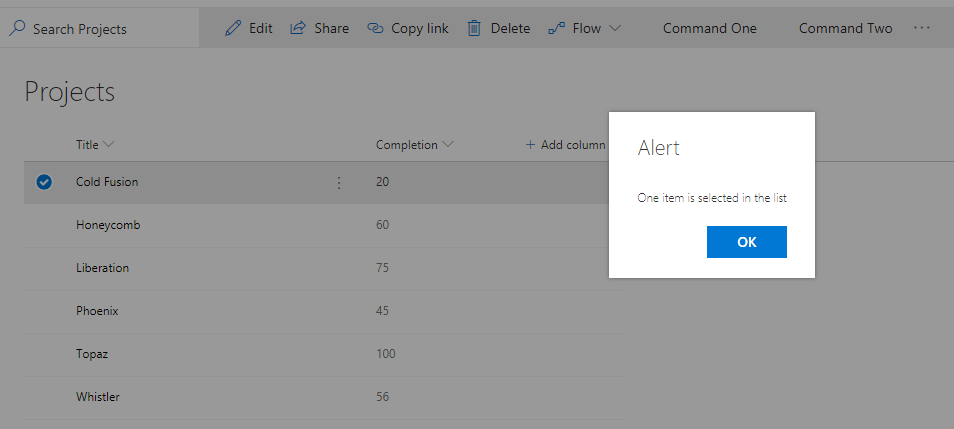
Click Command One button, it will display an alert.
Apply List View Command Set Customization
- Open ModalDialogCommandSet.ts file from “\src\extensions\modalDialog" folder.
-
Update onExecute method.
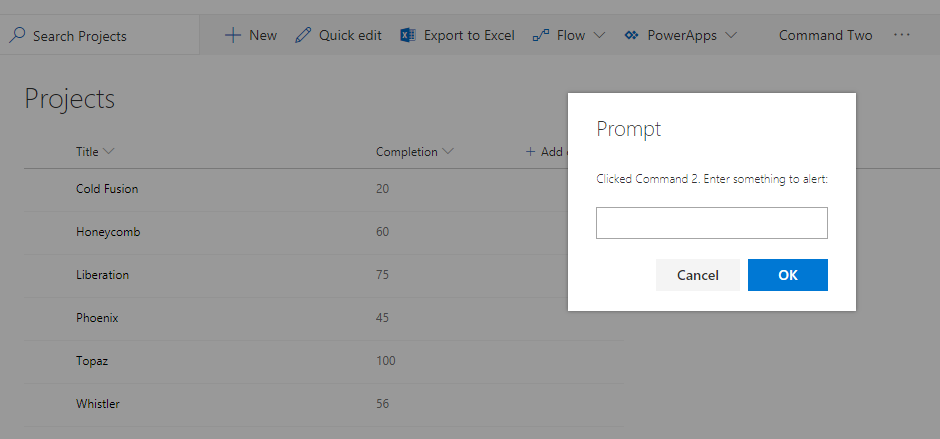
public onExecute(event: IListViewCommandSetExecuteEventParameters): void { switch (event.itemId) { case 'COMMAND_1': Dialog.alert(`Clicked ${this.properties.sampleTextOne}`); break; case 'COMMAND_2': Dialog.prompt(`Clicked ${strings.Command2}. Enter something to alert:`).then((value: string) => { Dialog.alert(value); }); break; default: throw new Error('Unknown command'); } } -
Make sure the gulp serve is running. Refresh the SharePoint list - Projects.
The ListView Command Set is now customized to show the prompt.
Summary
ListView Command Set SharePoint Framework extension helps to extend the toolbar of SharePoint list. This is an alternative to custom actions in the modern SharePoint sites.
This content was originally posted here.


Leave a comment