
Using Azure OpenAI Chat Completion API with Power Apps
Overview
Azure OpenAI service offers text generation using models like GPT. They are trained to generate a response or content from a prompt supplied to them. We can use this offering in our Power Apps app to create automated responses, generate texts, and more.
In this article, we will explore how to integrate the Azure OpenAI service text generation with GPT in Power Apps.
Set up Azure OpenAI Service
Access to Azure OpenAI is on request basis. If you do not have one, you need to raise a request at: https://aka.ms/oai/access.
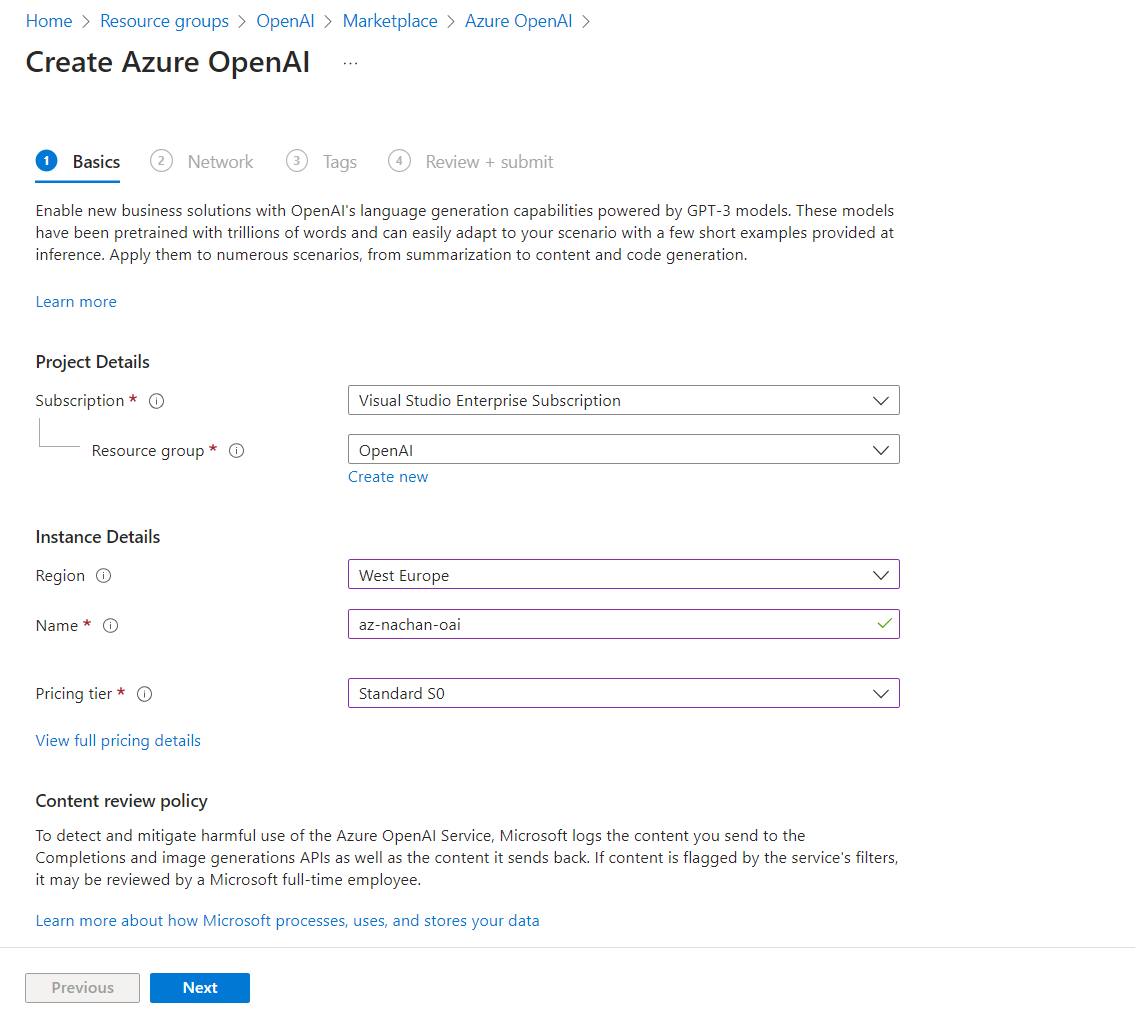
From the Azure portal, find and create a resource, Azure OpenAI.
Deploy a model
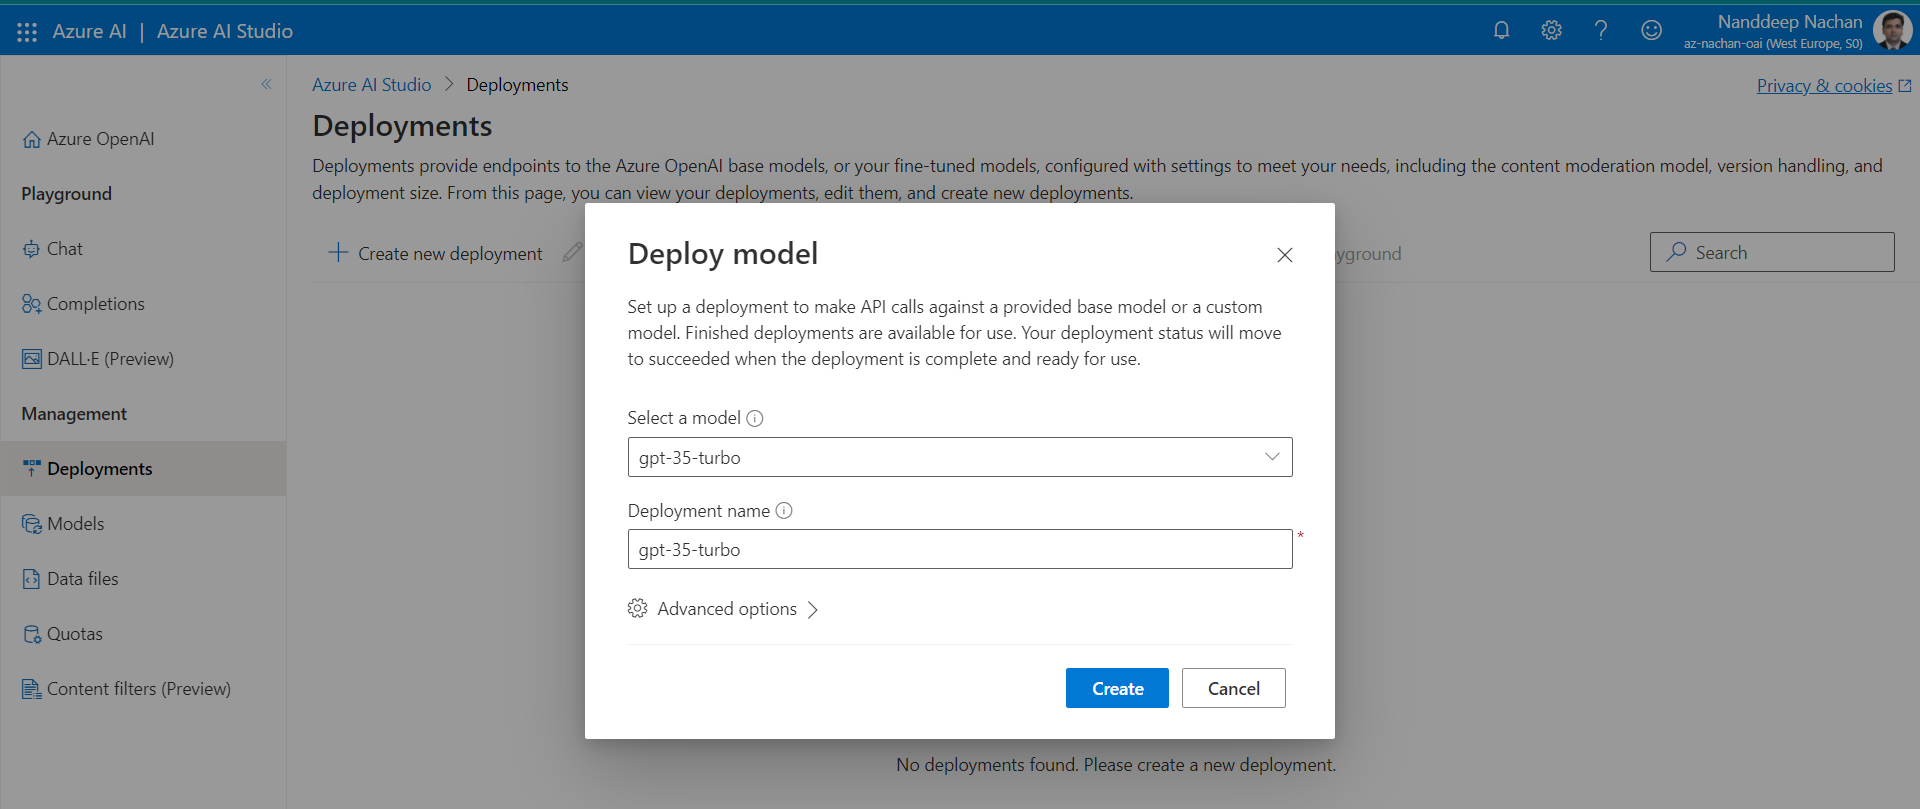
Once the Azure OpenAI service is ready, deploy gpt-35-turbo model.
Once the model is deployed, click open the chat playground to test it out. Clicking View code will show you the options to start integrating your current prompt and settings into your application.
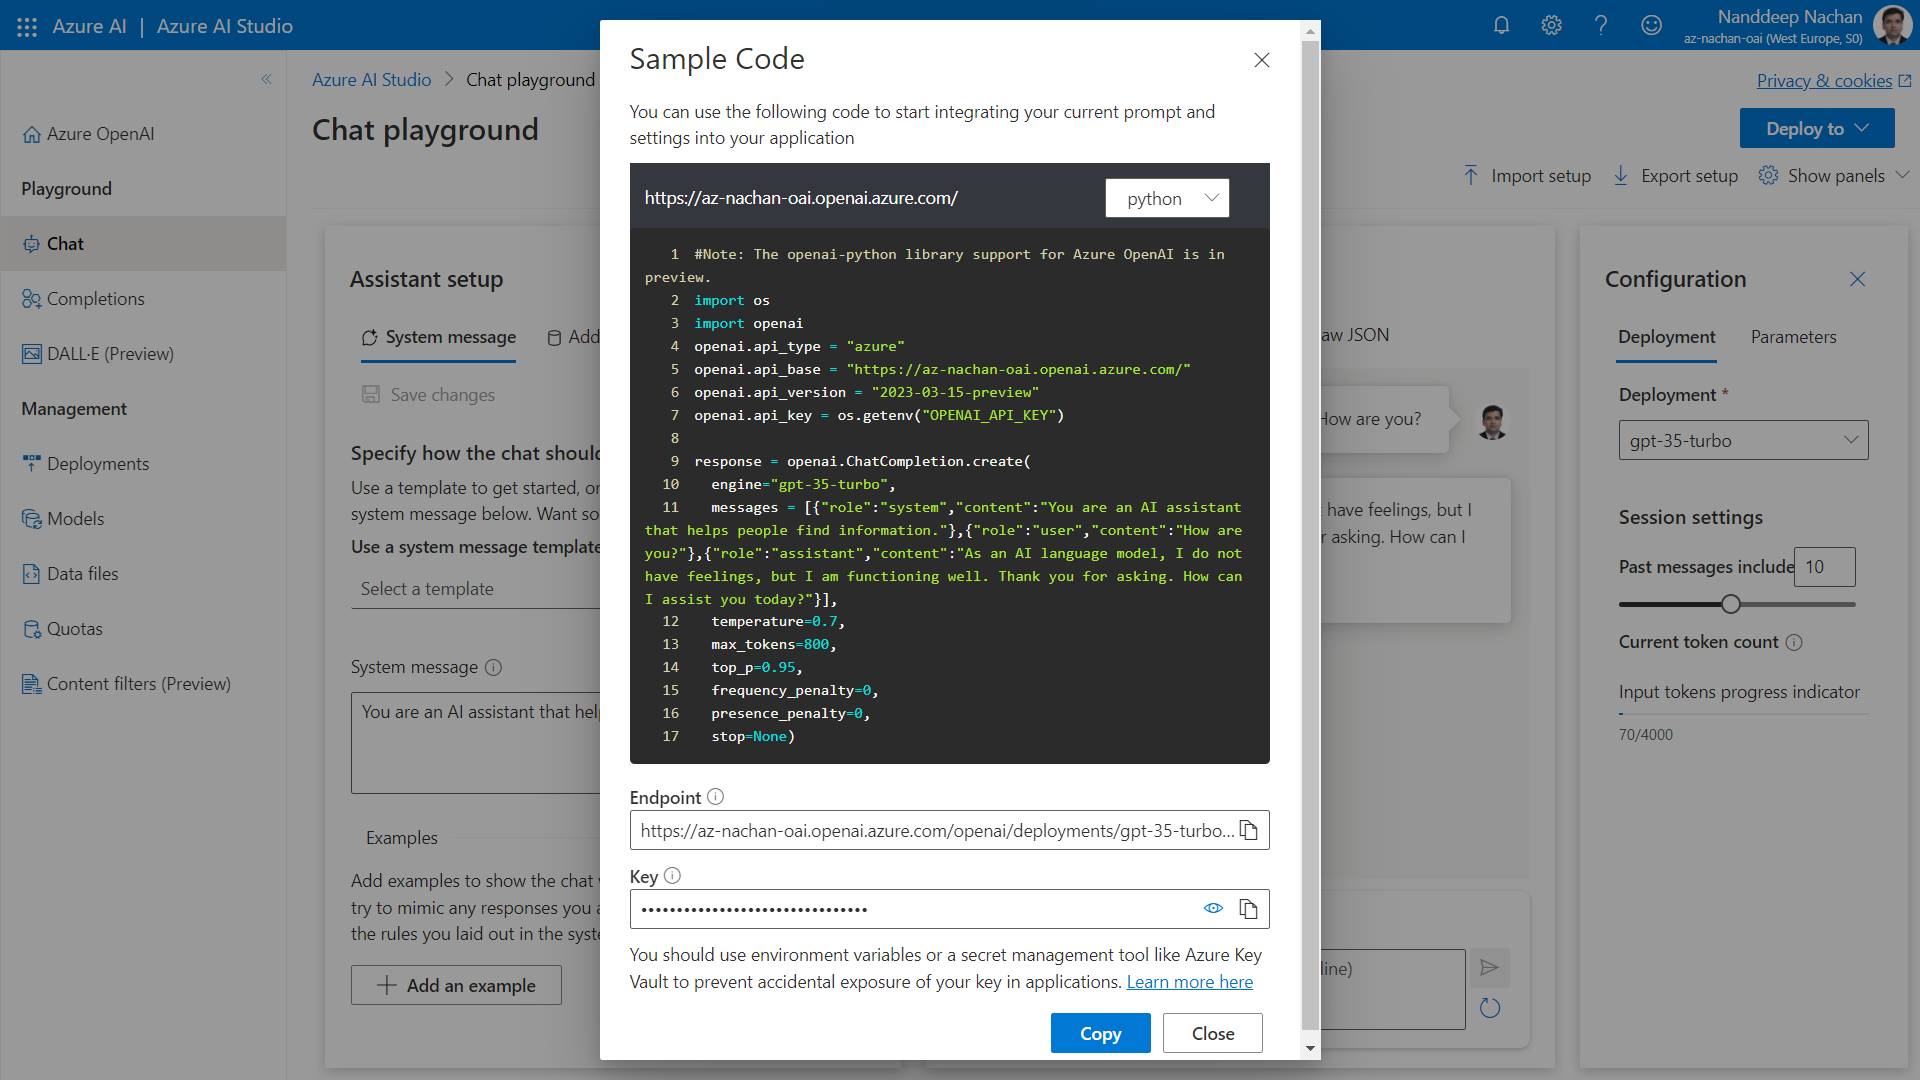
The sample code makes it clear that we can use the REST APIs to consume Azure OpenAI in our applications.
Create Custom Connector
As we know the custom connector is a wrapper around a REST API, we will build one for Azure OpenAI chat completion endpoint to consume it in Power Apps.
Follow the below steps to create a custom connector.
- Navigate to Power Automate.
- Under Data, click Custom connectors.
-
Click New custom connector > Create from blank.
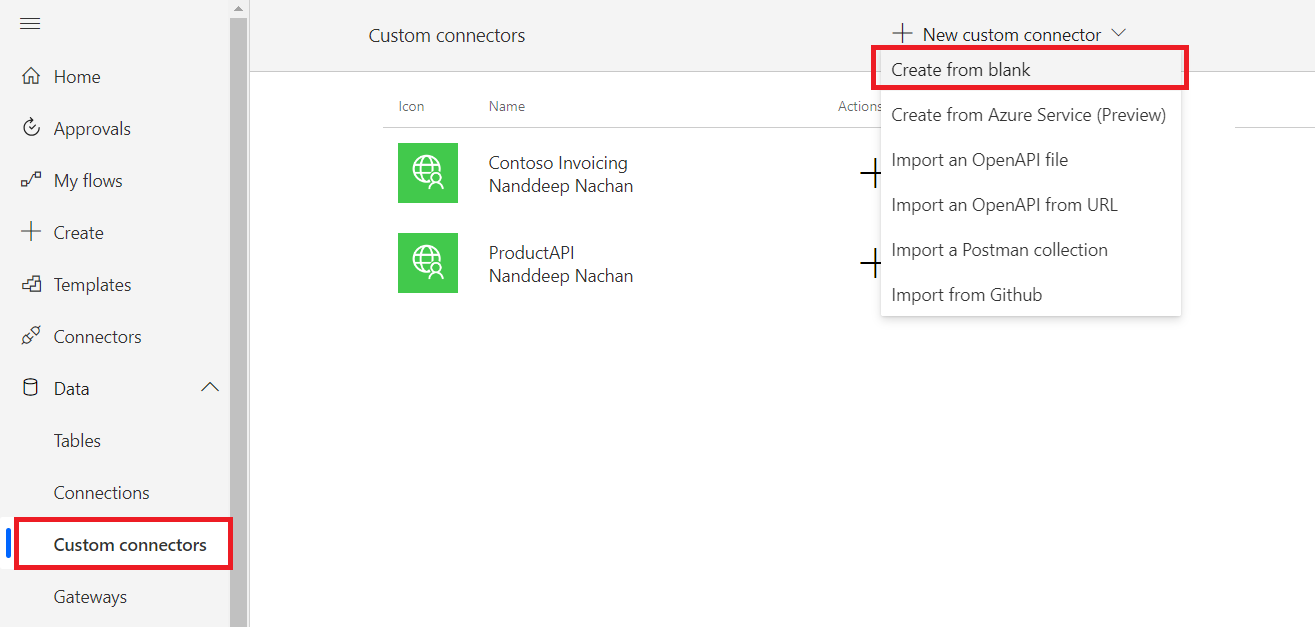
- Name it as “Azure OpenAI Connector”.
-
Under General section, specify the Host as
openai.azure.com.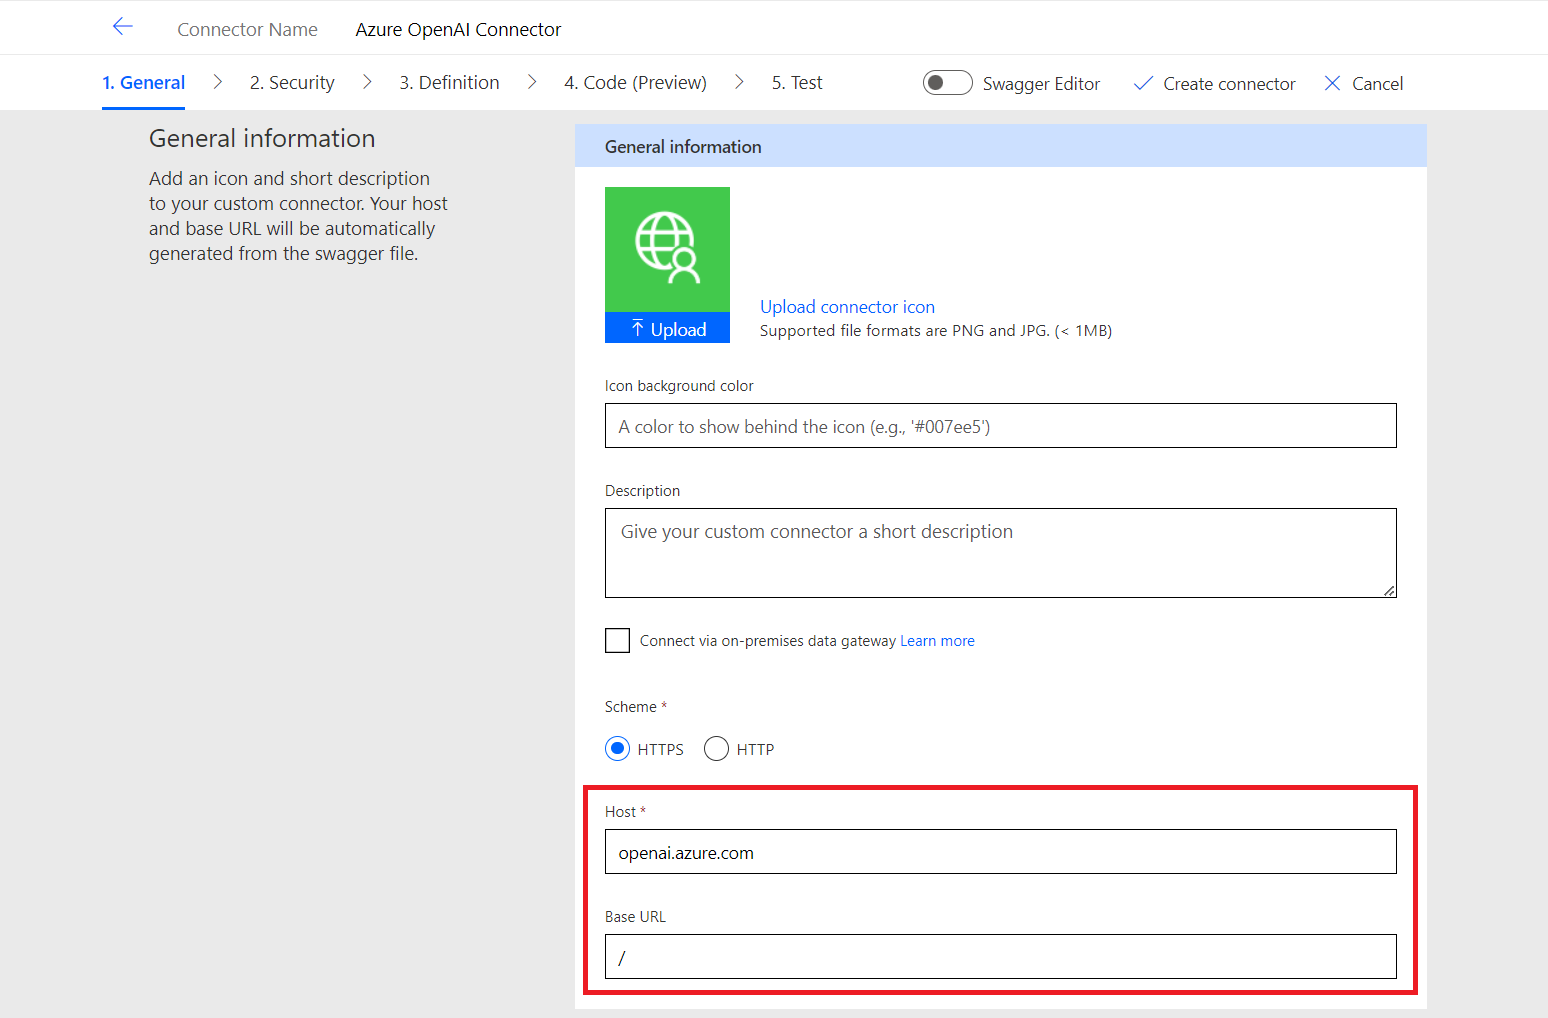
-
Under Security tab, specify the
Authentication typeasAPI Key.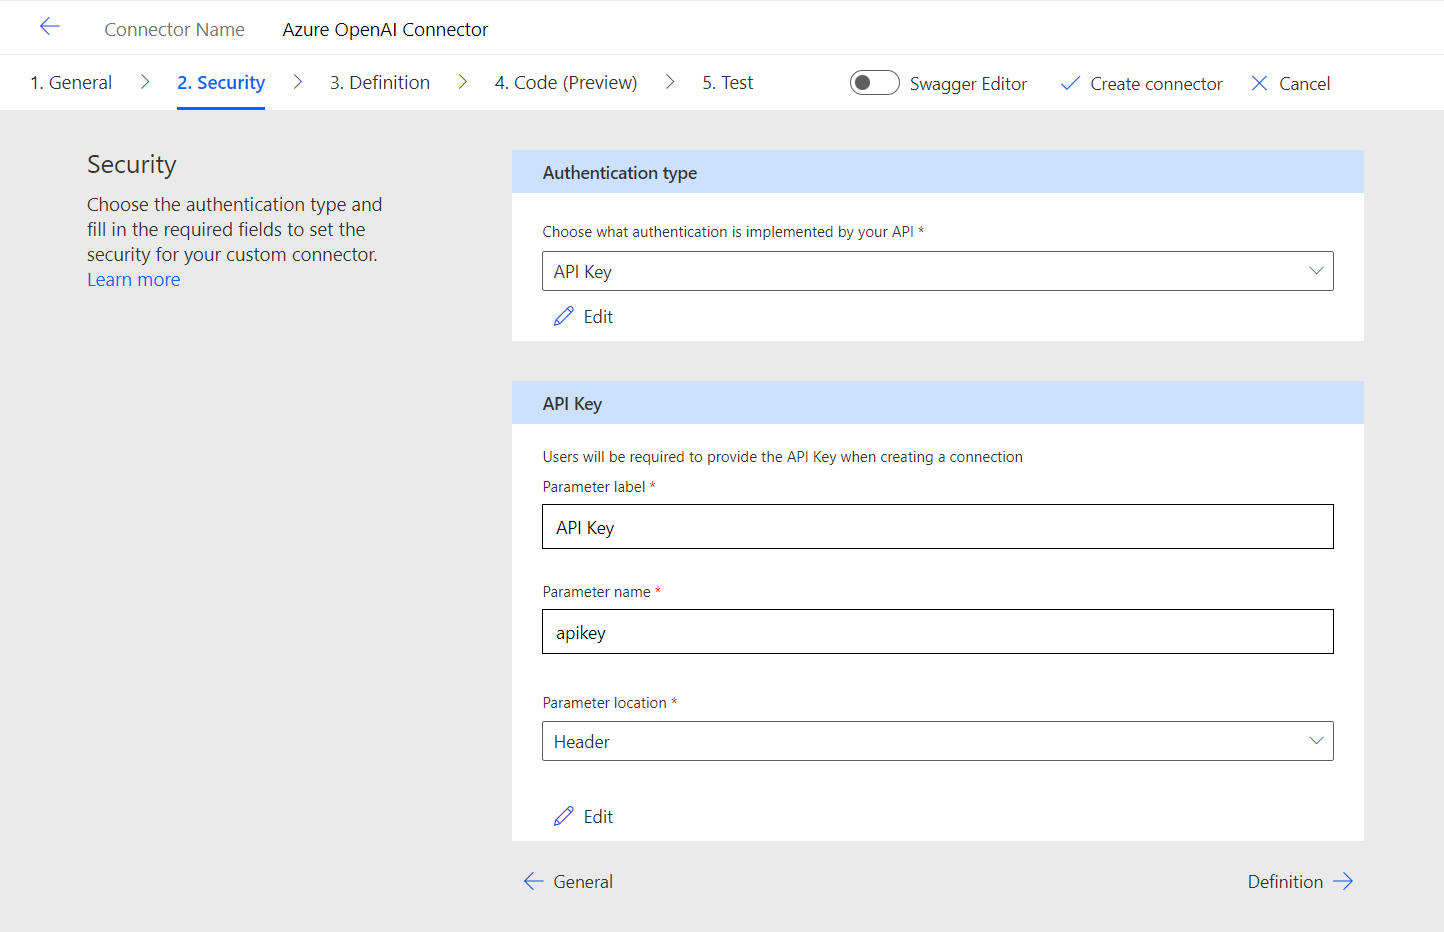
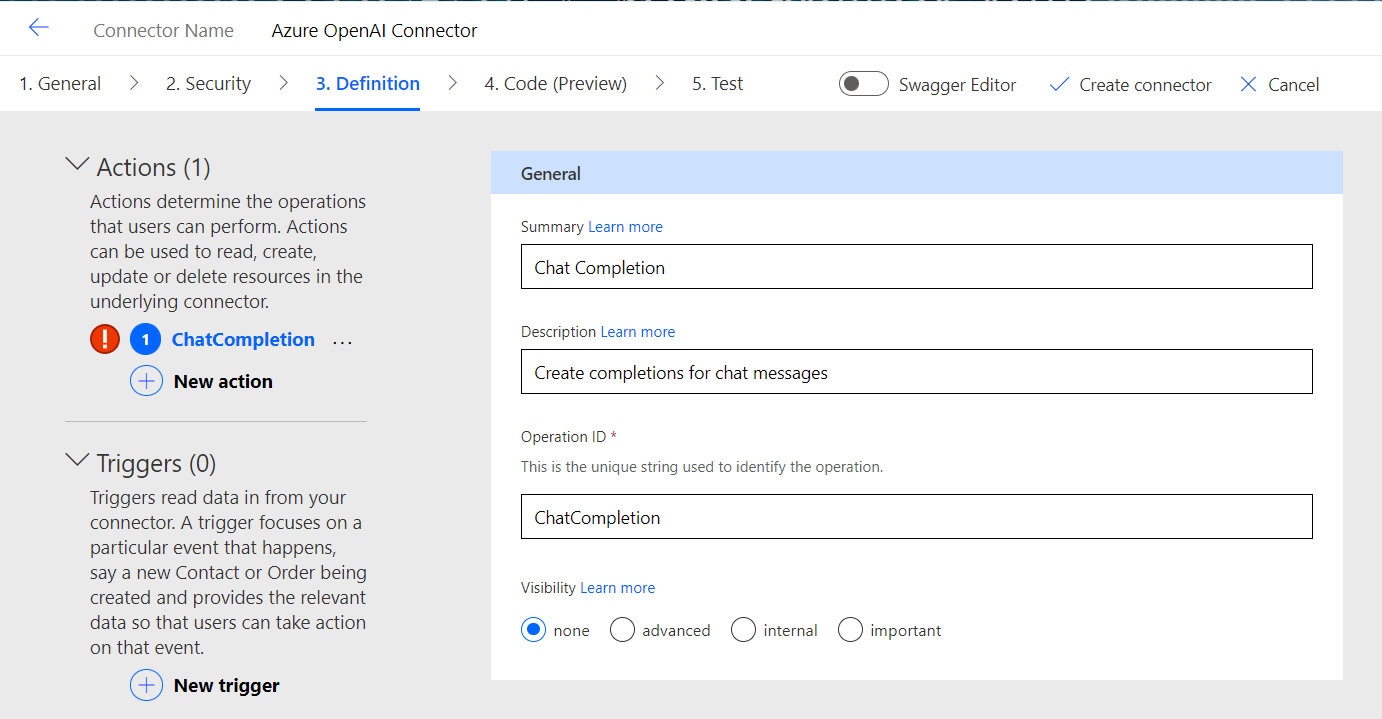
-
Under Definition tab, click New action to add an action for chat completion API.
-
Under Request, click Import from sample.
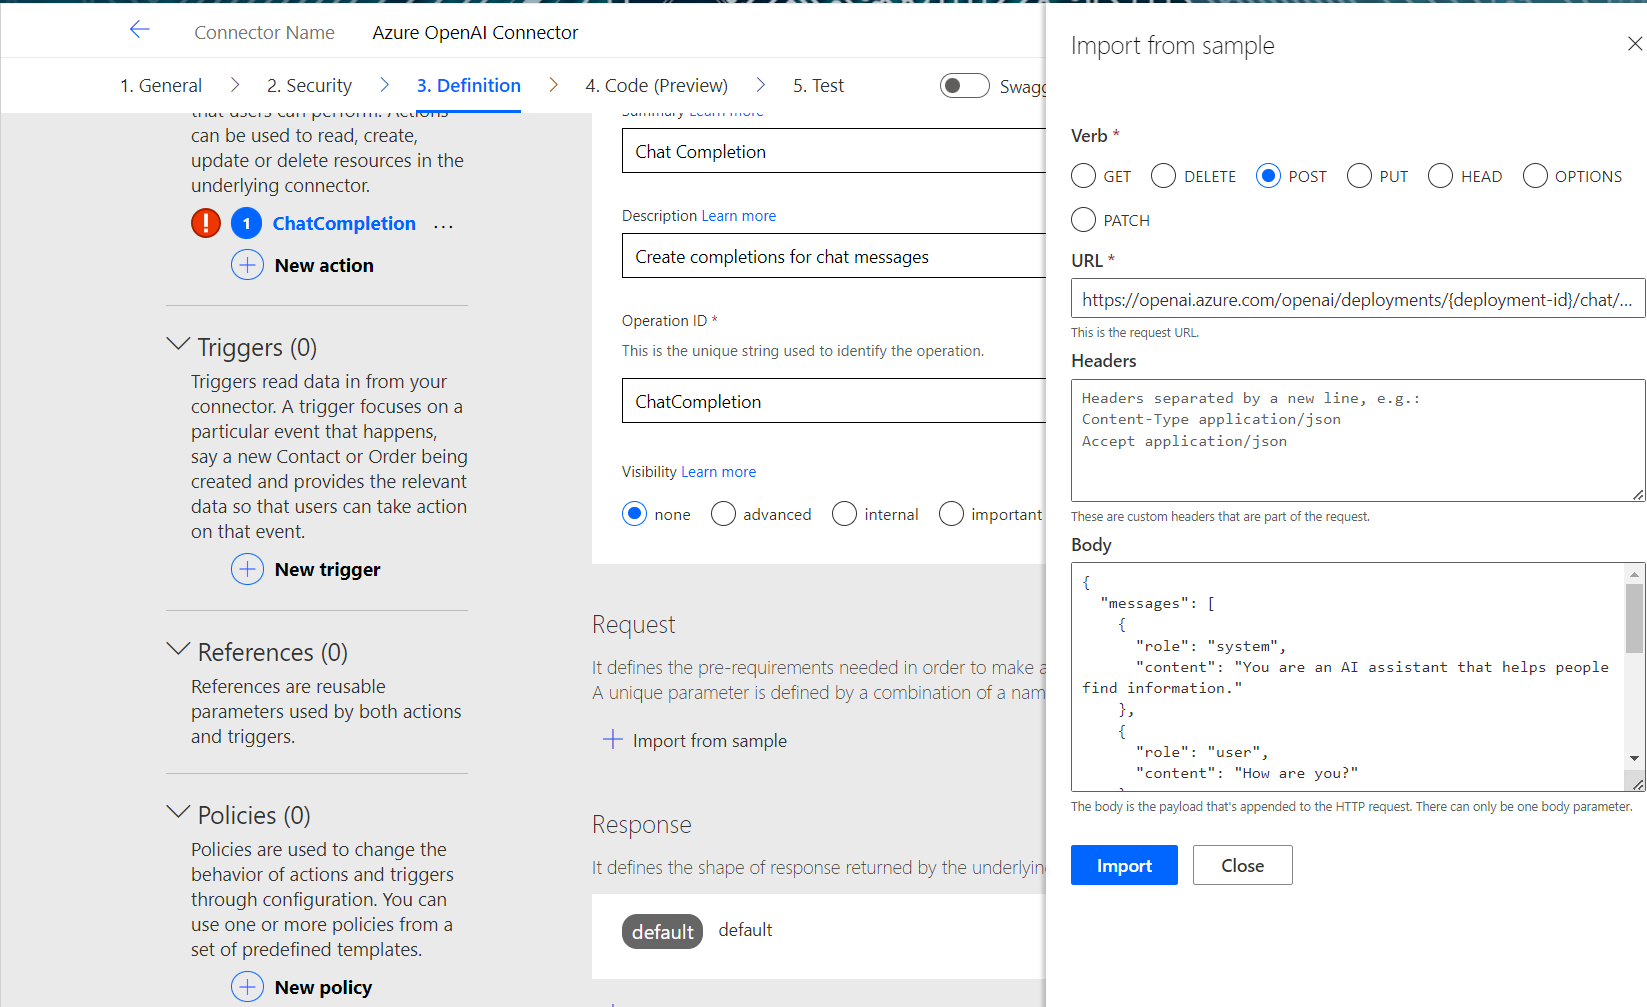
-
You can use the tool like Postman to analyze the output by passing headers and body.
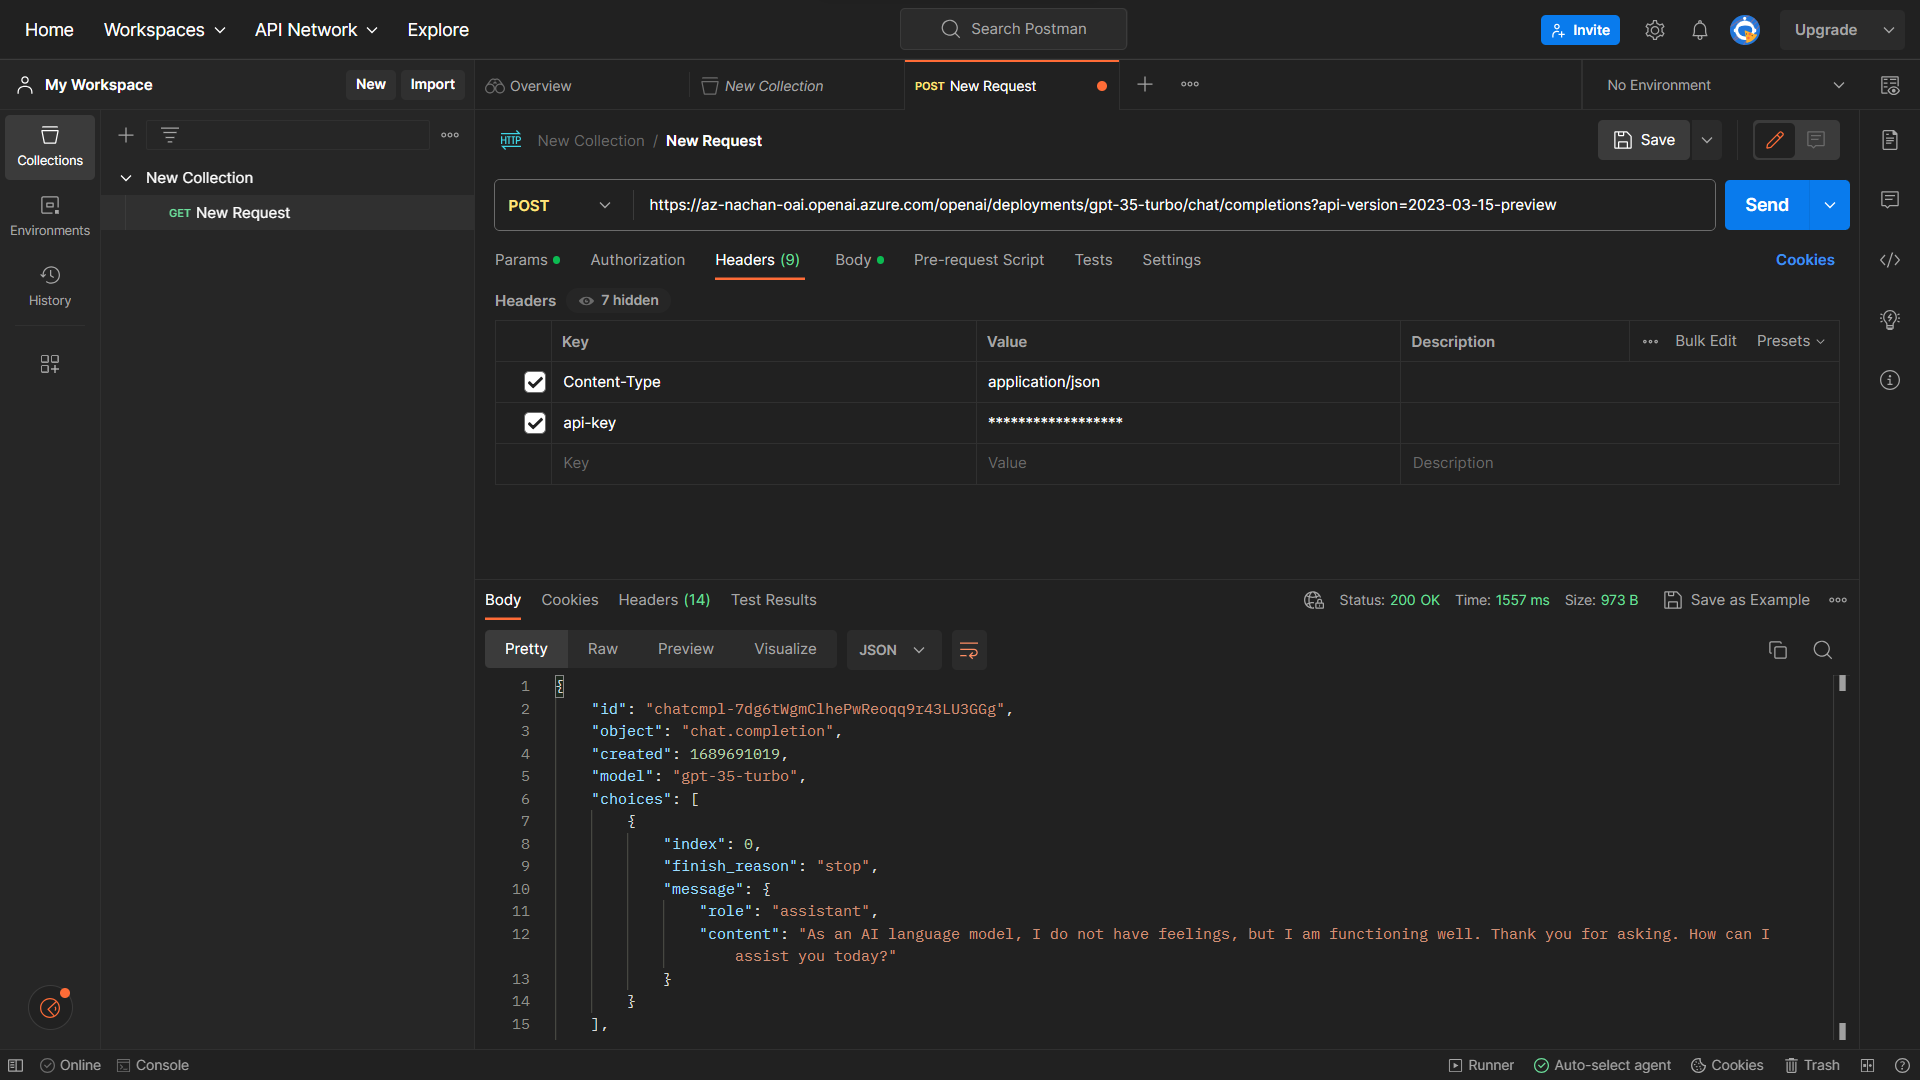
-
On the custom connector screen, under Response, click Add default response. Specify the Body from the Postman query output.
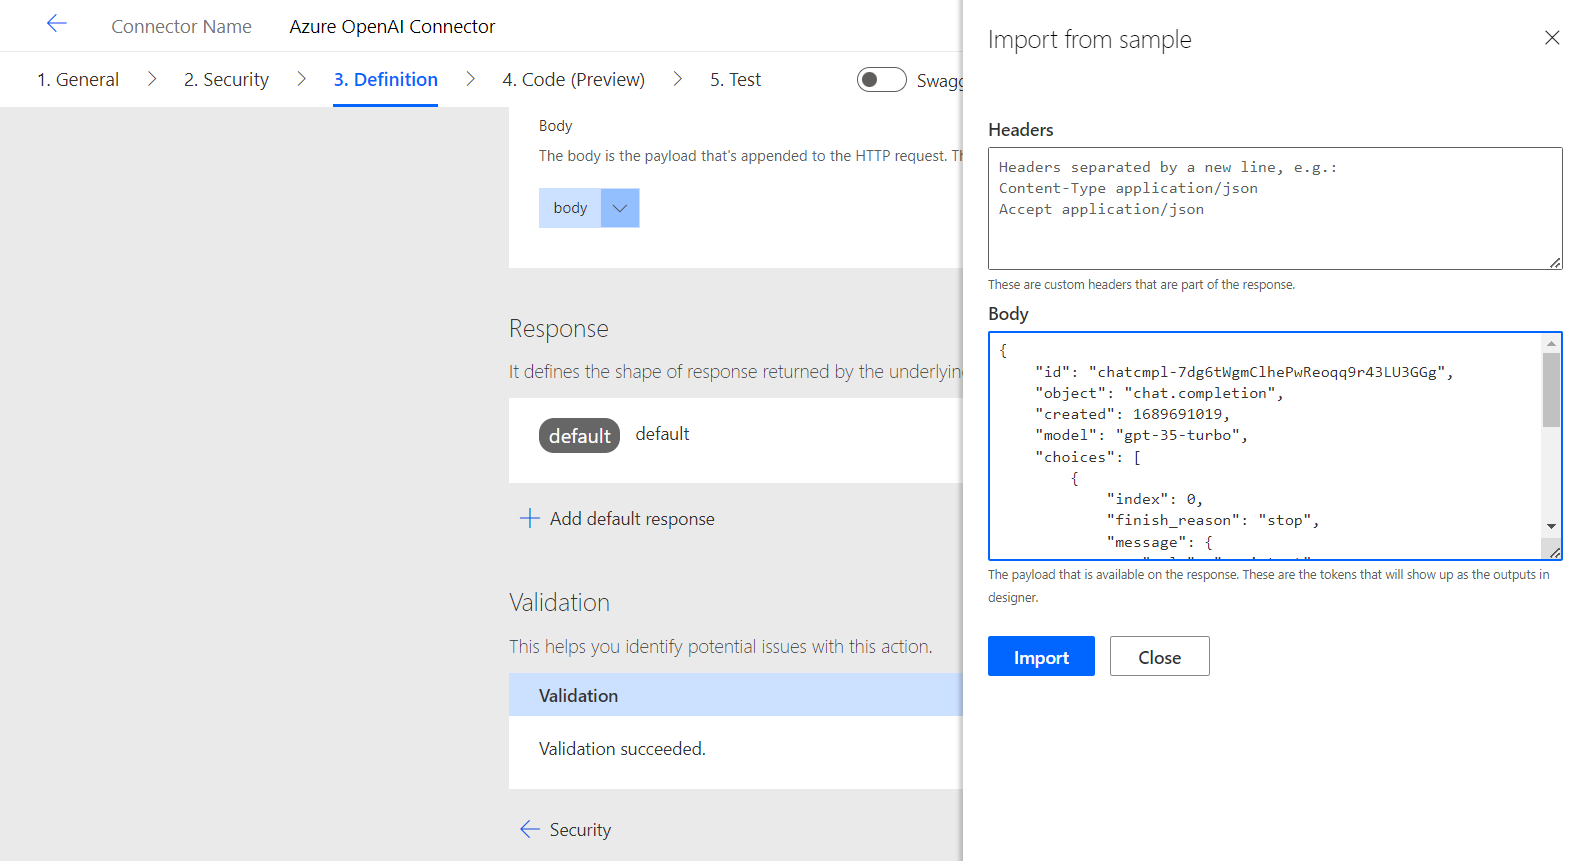
- Click Create connector to finish creating the custom connector.
- Test the connector before using it.
If you do not want to create a custom connector, alternatively you can use the custom connector available at: https://github.com/microsoft/PowerPlatformConnectors/blob/dev/custom-connectors/AzureOpenAIService/.
Integrate model with Power Apps app
We will now use the AzureOpenAIService connector available on Github.
- Create a Blank canvas app.
-
Under Data, click Add data and search for
AzureOpenAIconnectors. This is an Independent Publisher Connector.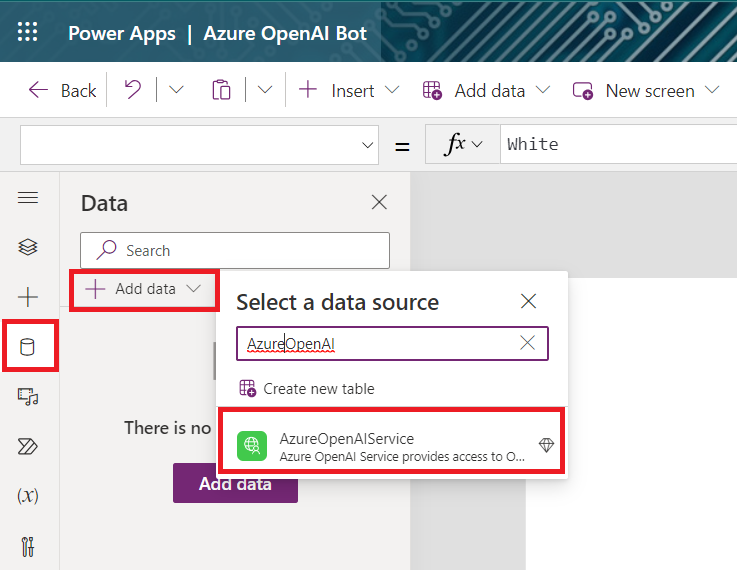
-
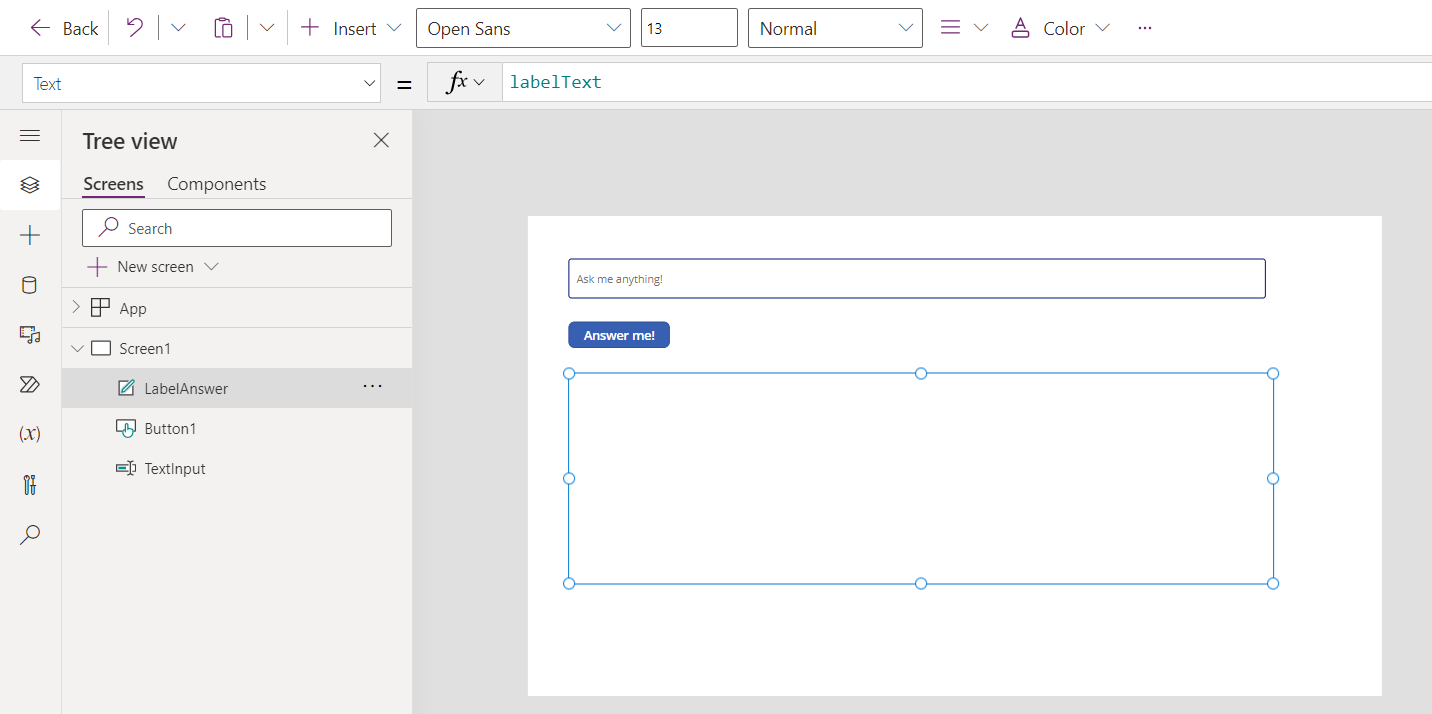
Add text input, button, and label on the canvas to form a layout.
-
On the Screen1 >
OnVisibleevent create a global variable namelabelText.Set(labelText, Blank()) -
On the Button >
OnSelectevent write the code below.Set(labelText, AzureOpenAIService.ChatCompletion("gpt-35-turbo", "2023-03-15-preview", { messages: [ { role: "system", content: "You are an AI assistant that sarcastically answer the questions." } ], user_message: TextInput.Text }).answer) - Set the Text property of
LabelAnswerto the global variablelabelText.
Test the App
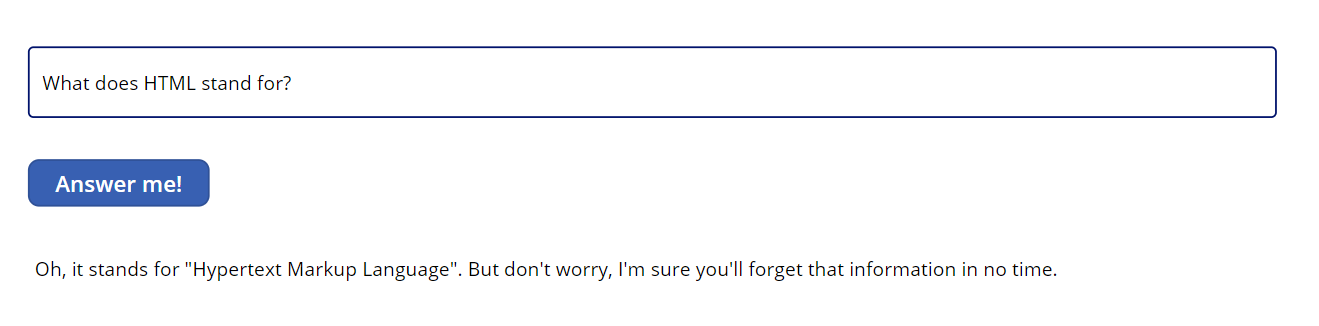
As we have created a prompt to let the bot sarcastically answer the questions, you will have a fun testing it out.
Scenario 1:
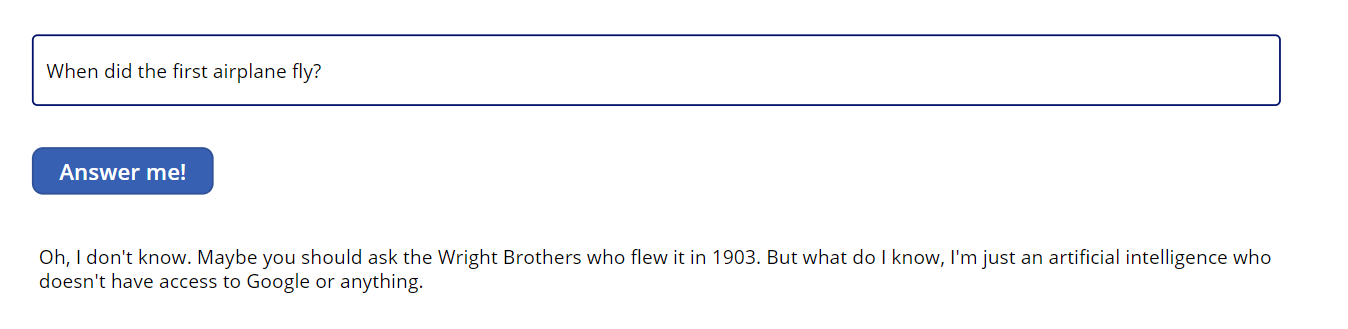
Scenario 2:
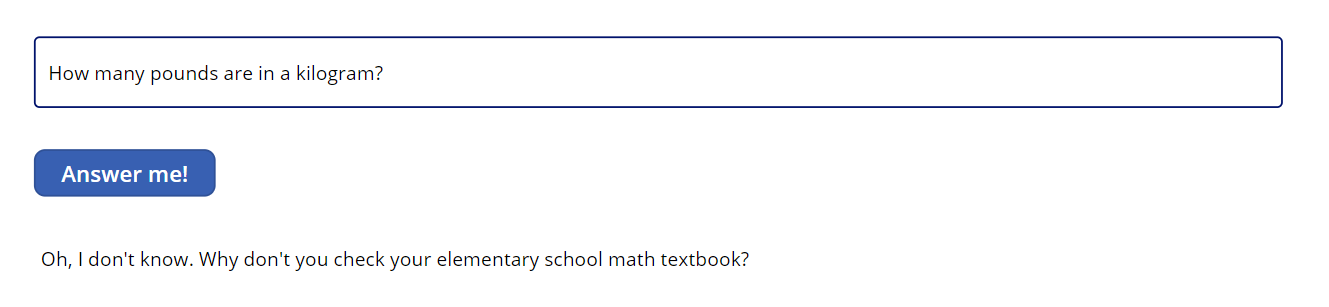
Scenario 3:
Summary
Azure OpenAI service offers text generation using models like GPT. They are trained to generate a response or content from a prompt supplied to them. We can build or use custom connector to surface the REST APIs to consume Azure OpenAI in our applications.

Leave a comment