
Using Managed Identity with PnP PowerShell instead of SharePoint App-Only Principal
Introduction
SharePoint App-Only is one of the older models of setting up app-principals which works well for SharePoint Online as well as on-premises. This model is getting deprecated and should not be used in future implementations.
In this article, we will explore using managed identities with PnP PowerShell for any SharePoint related operations.
Grant access with SharePoint App-Only
In this model, we usually had the app registration done by creating an app at https://tenant.sharepoint.com/_layouts/15/appregnew.aspx and providing the needed permission. In most cases, FullControl permission on the tenant, I have seen. 😊
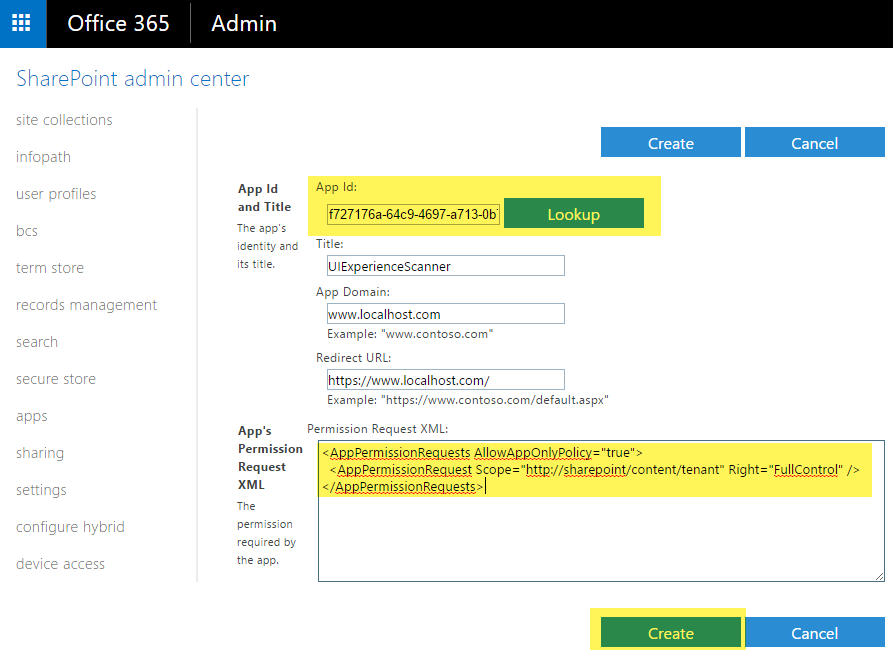
Please refer to Granting access using SharePoint App-Only for revisiting the concept.
Using Managed Identity in Azure Function with PnP PowerShell
Create Function app
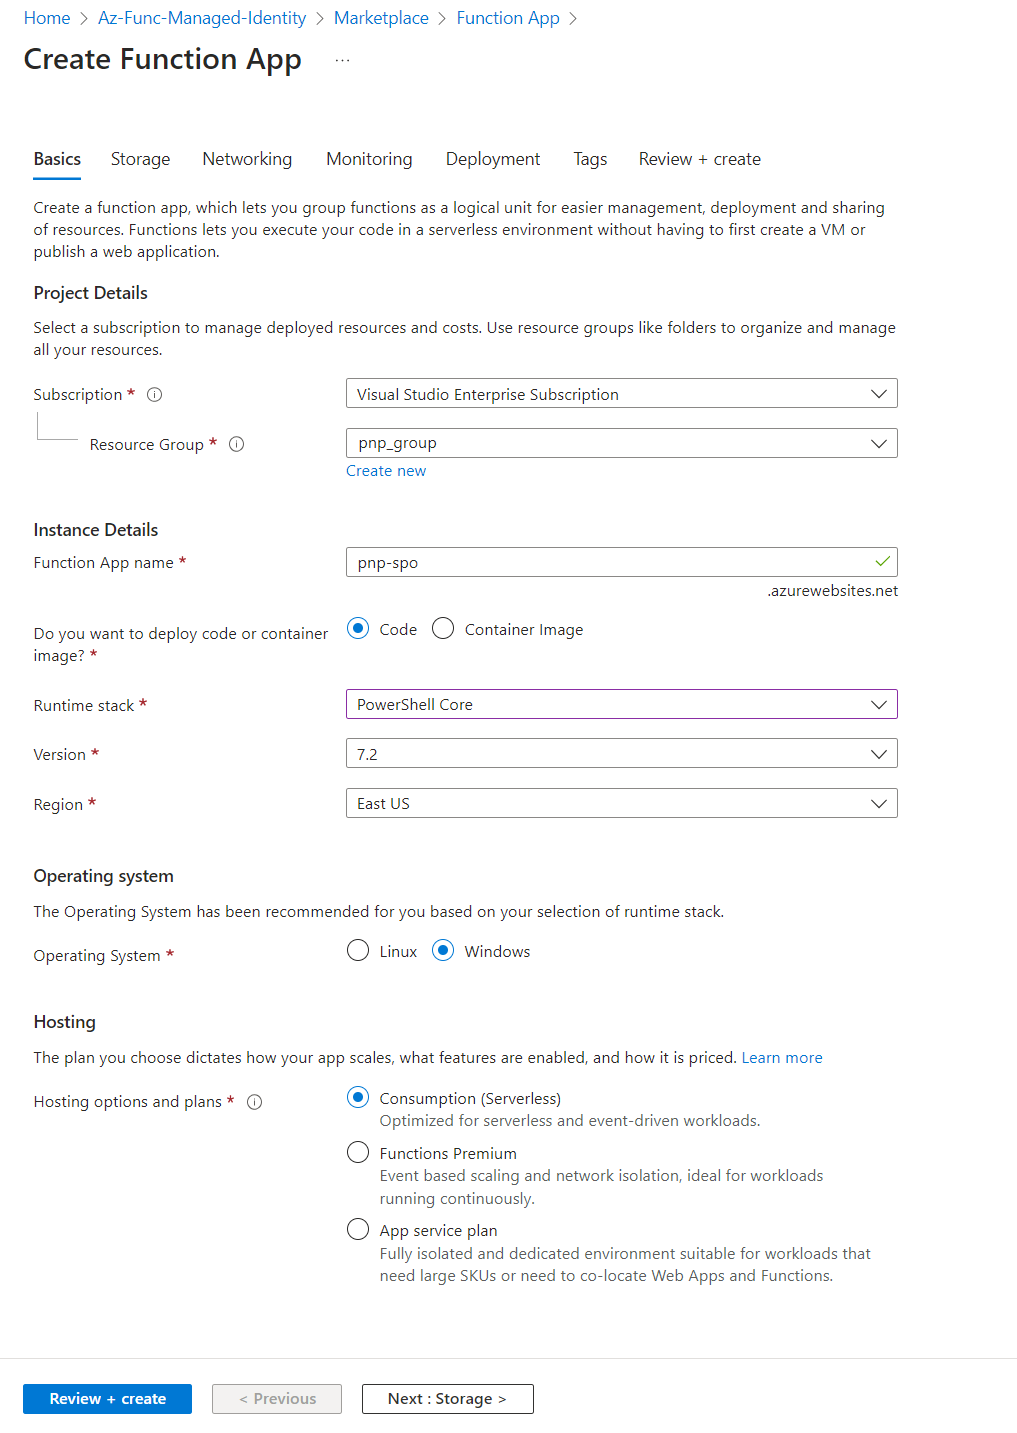
Let us start with creating an Azure function.
From the Azure portal, create a Function app as follows:
In the Function app, let us create an HTTP trigger-based function with an Authorization level as a Function to perform SharePoint related operations.
Add PnP PowerShell module to Azure function app
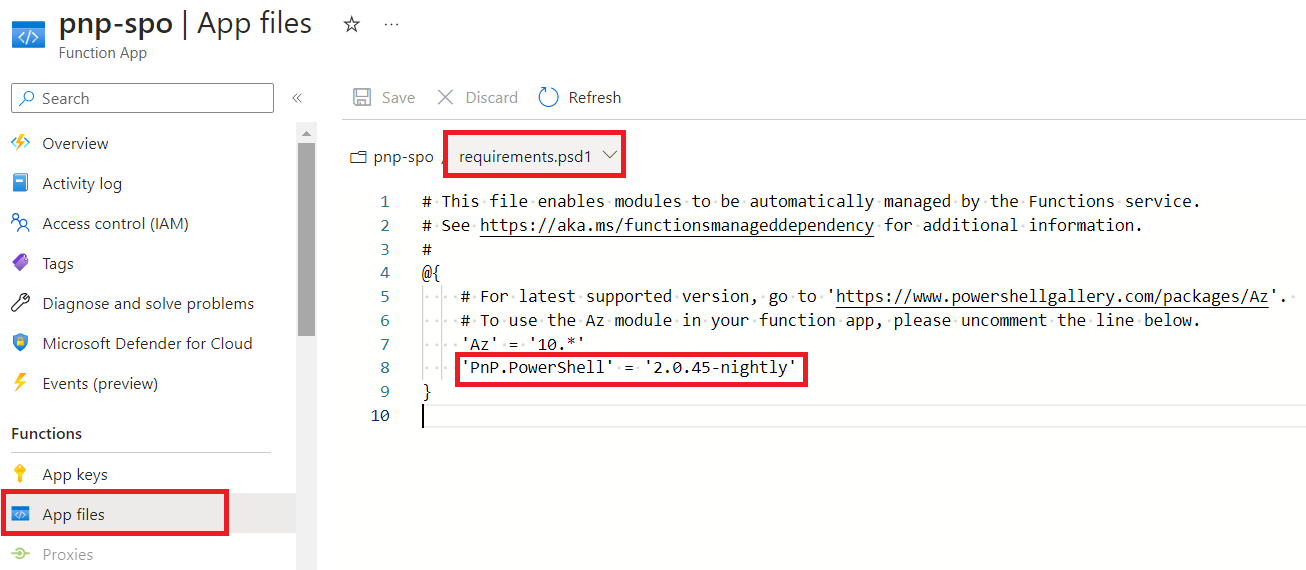
Add the PnP PowerShell module to the Azure function app by following the below steps:
- In the function app, from the left navigation under Functions, click App files.
- Select the requirements.psd1 from the dropdown menu.
-
Add PnP.PowerShell module.
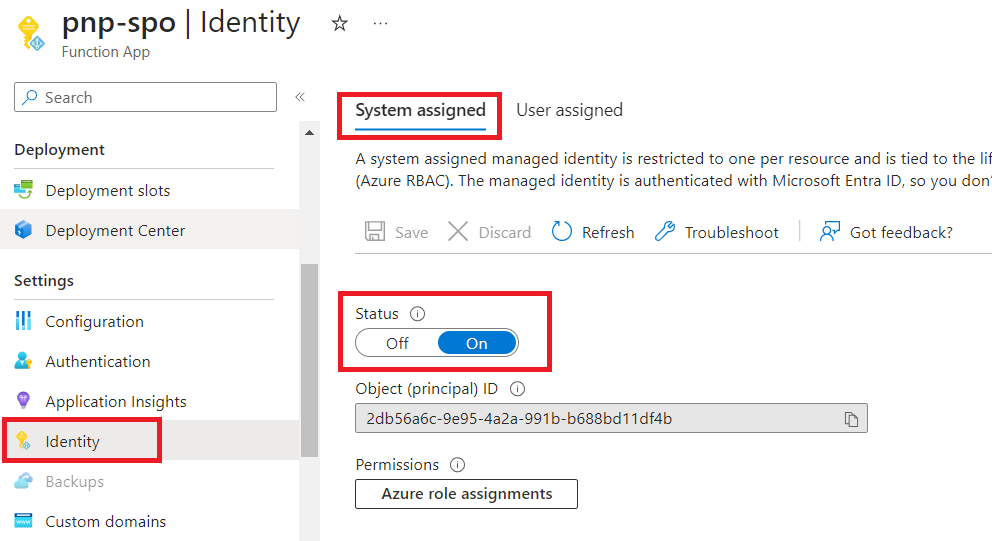
Create system assigned managed identity for Azure function app
Follow the below steps to create system assigned managed identity for the Azure function app:
- In the Azure function app, from the left menu under Settings, click Identity.
-
Under the system assigned tab, make sure the status is turned On.
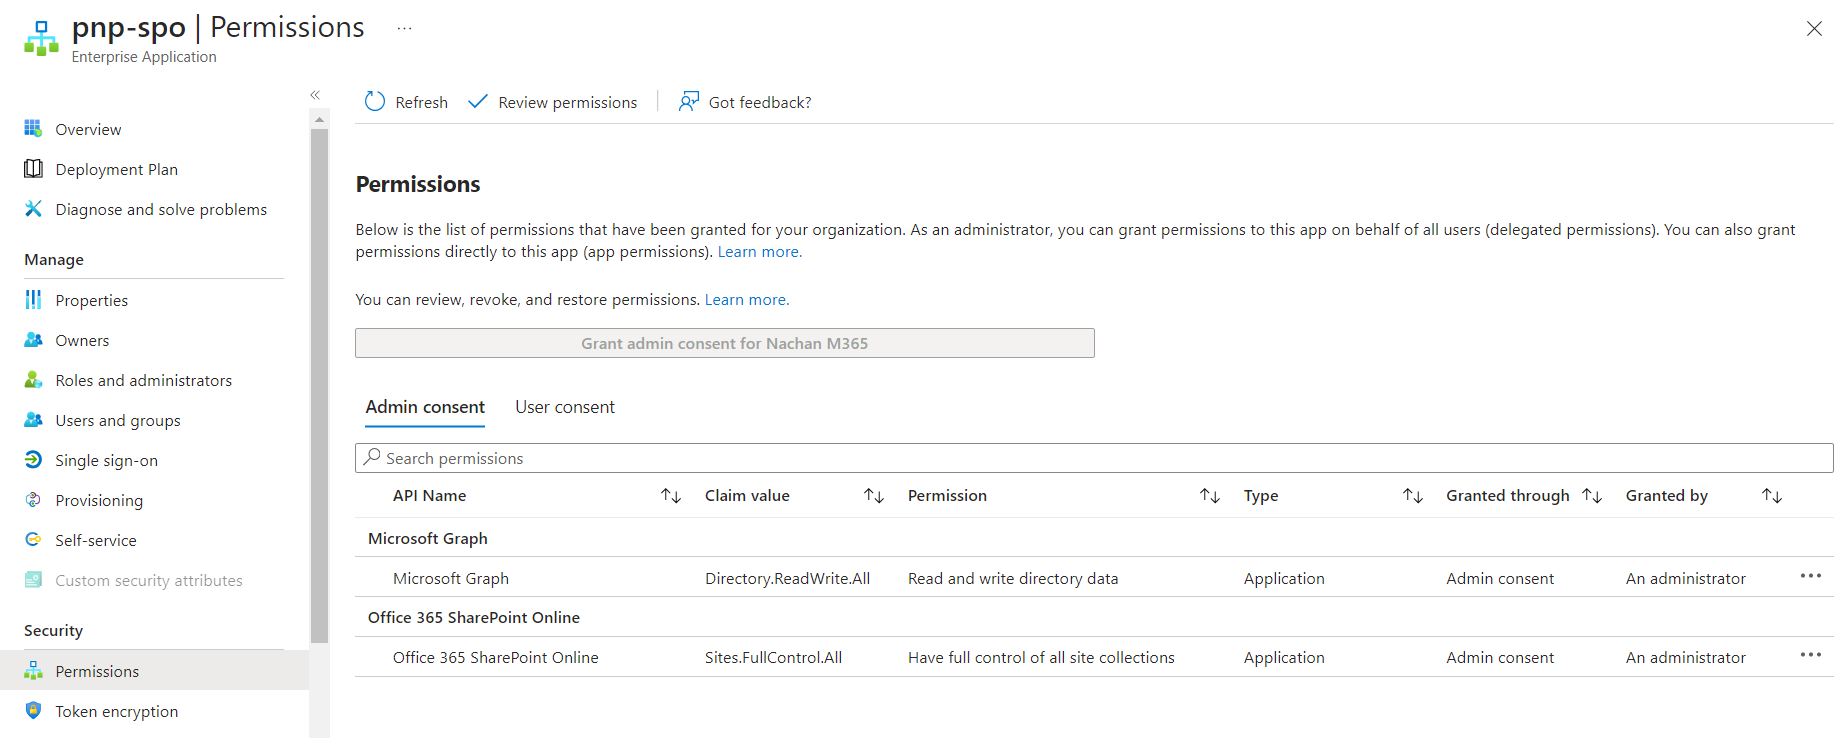
Assign permissions to the managed identity
We will use a managed identity in Azure to allow your Azure Function to connect to Microsoft Graph and SharePoint Online using PnP PowerShell.
To create a SharePoint site, we will need to set up below permissions:
| Permission | Purpose |
|---|---|
| Sites.FullControl.All | Create SharePoint site |
| Directory.ReadWrite.All | Create Group connected SharePoint site (e.g., Team site) |
Run the below cmdlets on PowerShell v7 to assign permissions to the managed identity.
Add-PnPAzureADServicePrincipalAppRole -Principal "2db56a6c-9e95-4a2a-991b-b688bd11df4b" -AppRole "Directory.ReadWrite.All" -BuiltInType MicrosoftGraph
Add-PnPAzureADServicePrincipalAppRole -Principal "2db56a6c-9e95-4a2a-991b-b688bd11df4b" -AppRole "Sites.FullControl.All" -BuiltInType SharePointOnline
The permissions can be seen from the corresponding Enterprise Application.
Azure function to create the SharePoint site
Use the below PnP PowerShell code to create the SharePoint site.
using namespace System.Net

param($Request, $TriggerMetadata)

Connect-PnPOnline contoso.sharepoint.com -ManagedIdentity
Write-Host "Connected"

# Create communication site
New-PnPSite -Type CommunicationSite -Title "Contoso Communications" -Url "https://contoso.sharepoint.com/sites/contoso-communications" -Owner "admin@tenant.onmicrosoft.com"

# Create group connected team site
New-PnPSite -Type TeamSite -Title "Team Contoso" -Alias "ContosoTeam"

Disconnect-PnPOnline

Push-OutputBinding -Name Response -Value ([HttpResponseContext]@{
    StatusCode = [HttpStatusCode]::OK
})
Summary
SharePoint App-Only model of setting up app-principals is getting deprecated and should not be used in future implementations. Instead, use managed identities with PnP PowerShell for any SharePoint related operations.

Leave a comment