
Build Leave Approval System with SharePoint and Power Platform
Overview
SharePoint is well known for content management. With the power of Power Platform, we can extend the experience to build the automated systems.
In this article, we are going to explore one of such automation for leave approval.
Scenario
The scenario is very straight forward:
- Employees can log their leaves through Power App
- The Power App app is built on top of the SharePoint Calendar list
- Power Automate will handle manager approval for the leave
SharePoint List
We will start by creating a Calendar list named “Leave Calendar”.

Let us add a custom column to the Calendar list as defined below:
| Name | Leave Type | Approval Status |
|---|---|---|
| Type | Choice | Choice |
| Choices | Casual LeaveCompensatory OffsEarned LeaveSick LeaveOther | PendingApprovedRejected |
| Display choices using | Drop-Down Menu | Drop-Down Menu |
Build Power Apps app
In the next step, we will build a Power App app that can be used by remote users to apply for leave.
Create the app
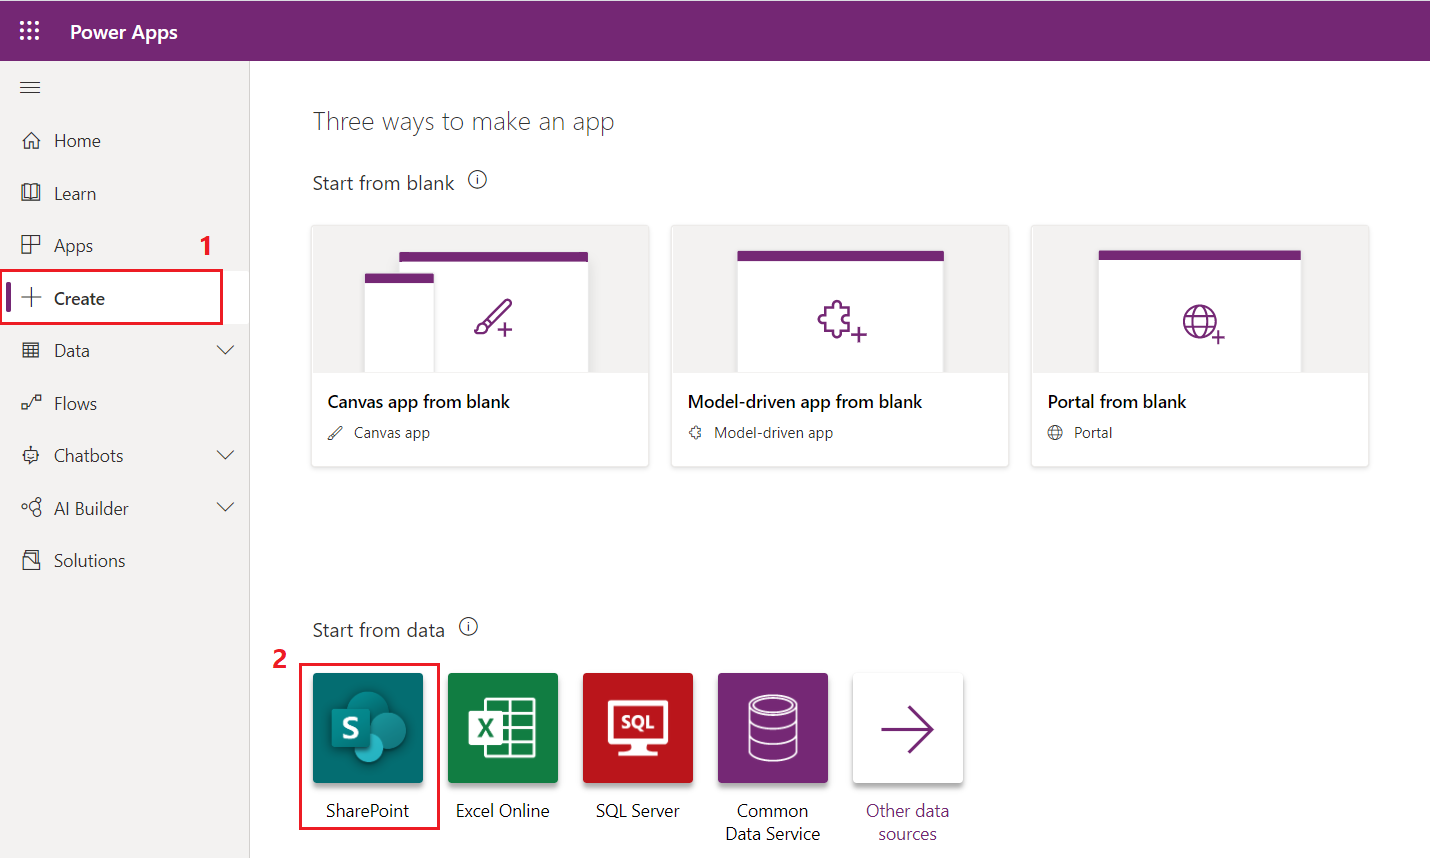
Follow the below steps to build the Power Apps app:
- Navigate to the Power Apps portal (https://make.powerapps.com)
- From the left menu, click Create.
-
Under Start from data , select SharePoint.
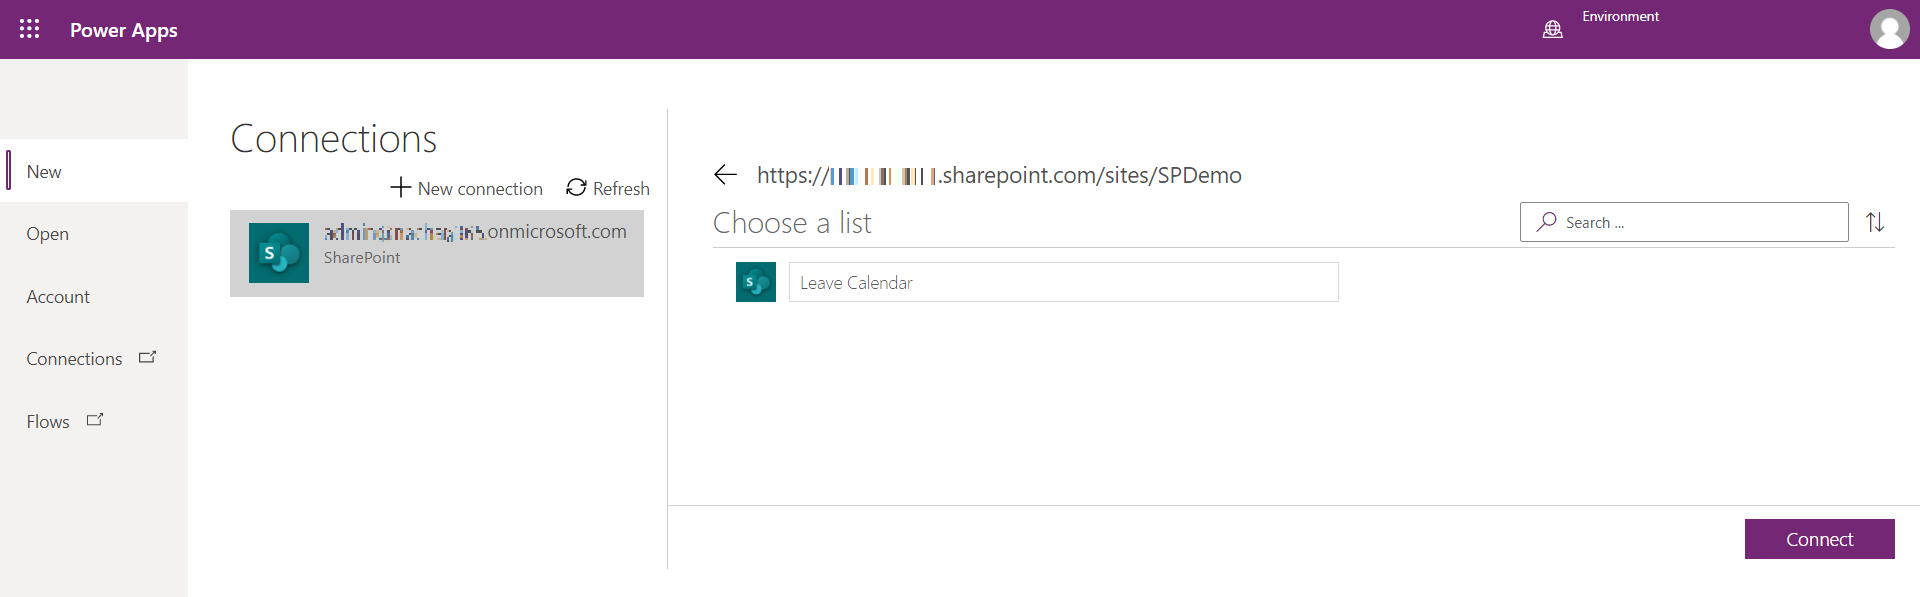
-
Add a connection to the SharePoint list.
Update the screens
We will update the default browse, default, and edit screen by following the below steps:
-
Open EditScreen1 and delete Approval Status, Location, Category, and Attachments cards from the screen.
-
Similarly, open DetailScreen1 and delete Location, Category, and Attachments cards from the screen.
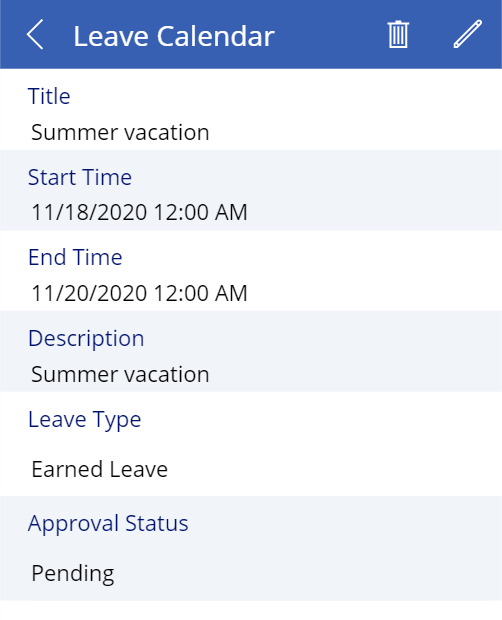
-
On the BrowseScreen1, Add an icon with the below formula:
Switch(ThisItem.'Approval Status'.Value, "Pending", Icon.EmojiNeutral, "Approved", Icon.EmojiSmile, Icon.EmojiSad) -
Add a circle icon in the background of the above icon with the below formula for fill:
 Switch(ThisItem.'Approval Status'.Value,
 "Pending",
 Yellow,
 "Approved",
 Green,
 Red)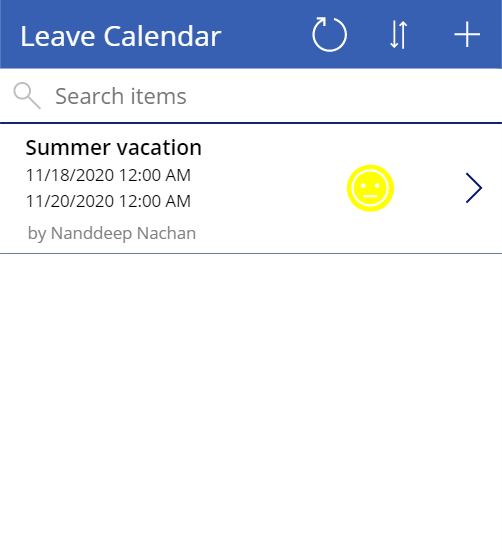
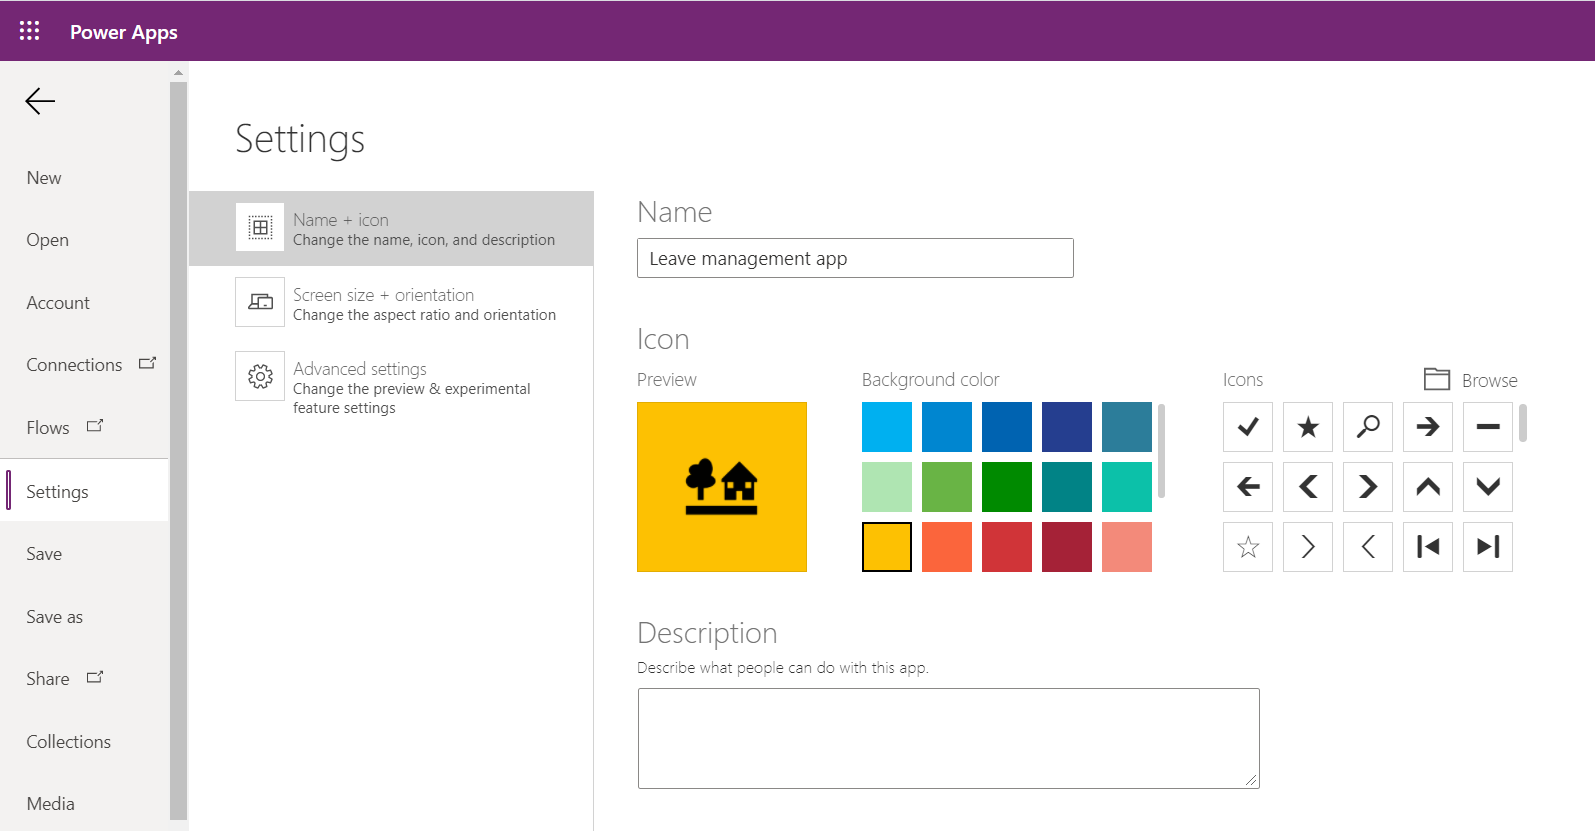
- From the ribbon, click File.
- From the left menu, click Settings.
-
Specify Name, Icon, and background color for the app.
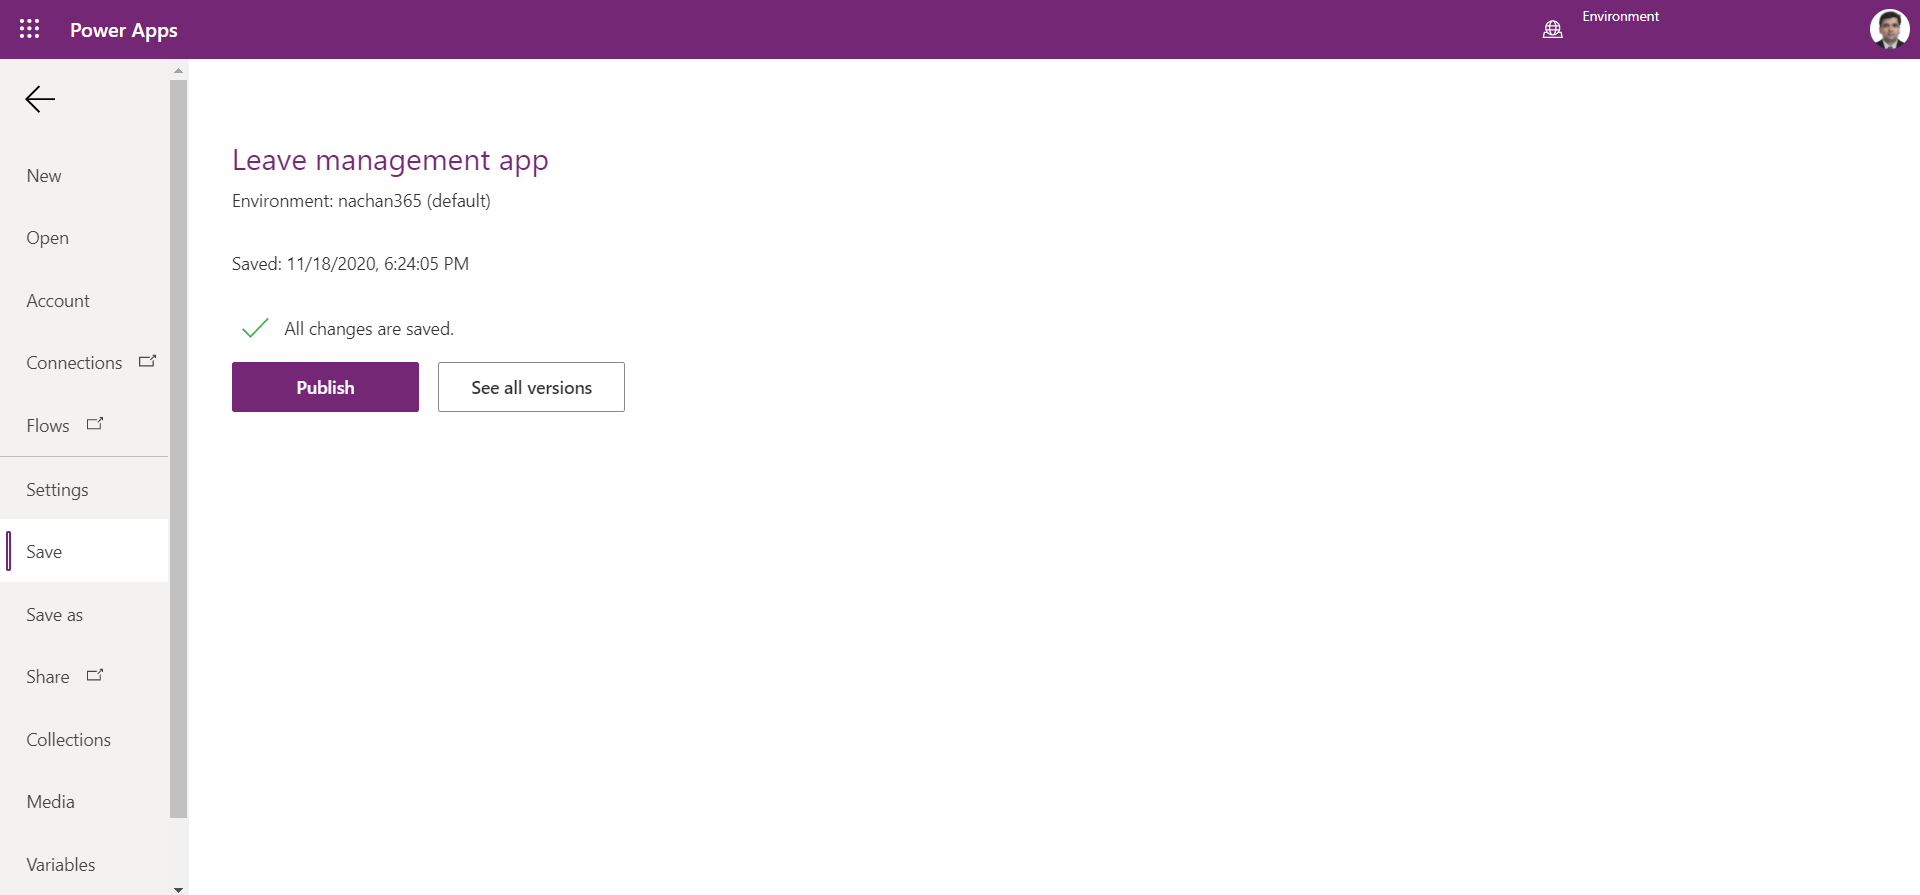
-
From the left menu, click Save.

-
Once saved, you will be able to share the app with others.

-
From the next changes onwards, you will be able to see the Publish option.
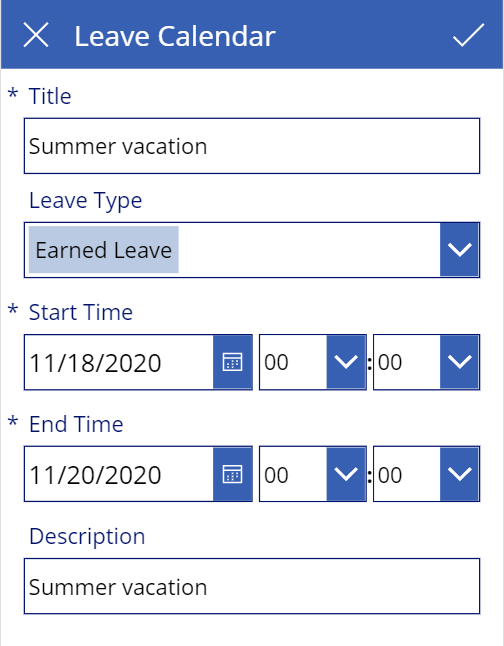
Once published, the Leave management Power Apps app will function as shown below:
Build Power Automate Flow
As the last part to leave approval, we will build a power automate flow to send the leave request for manager approval.
Follow the below steps to build the Power automate flow:
- Open Power Automate portal.
- Search for approval templates.
-
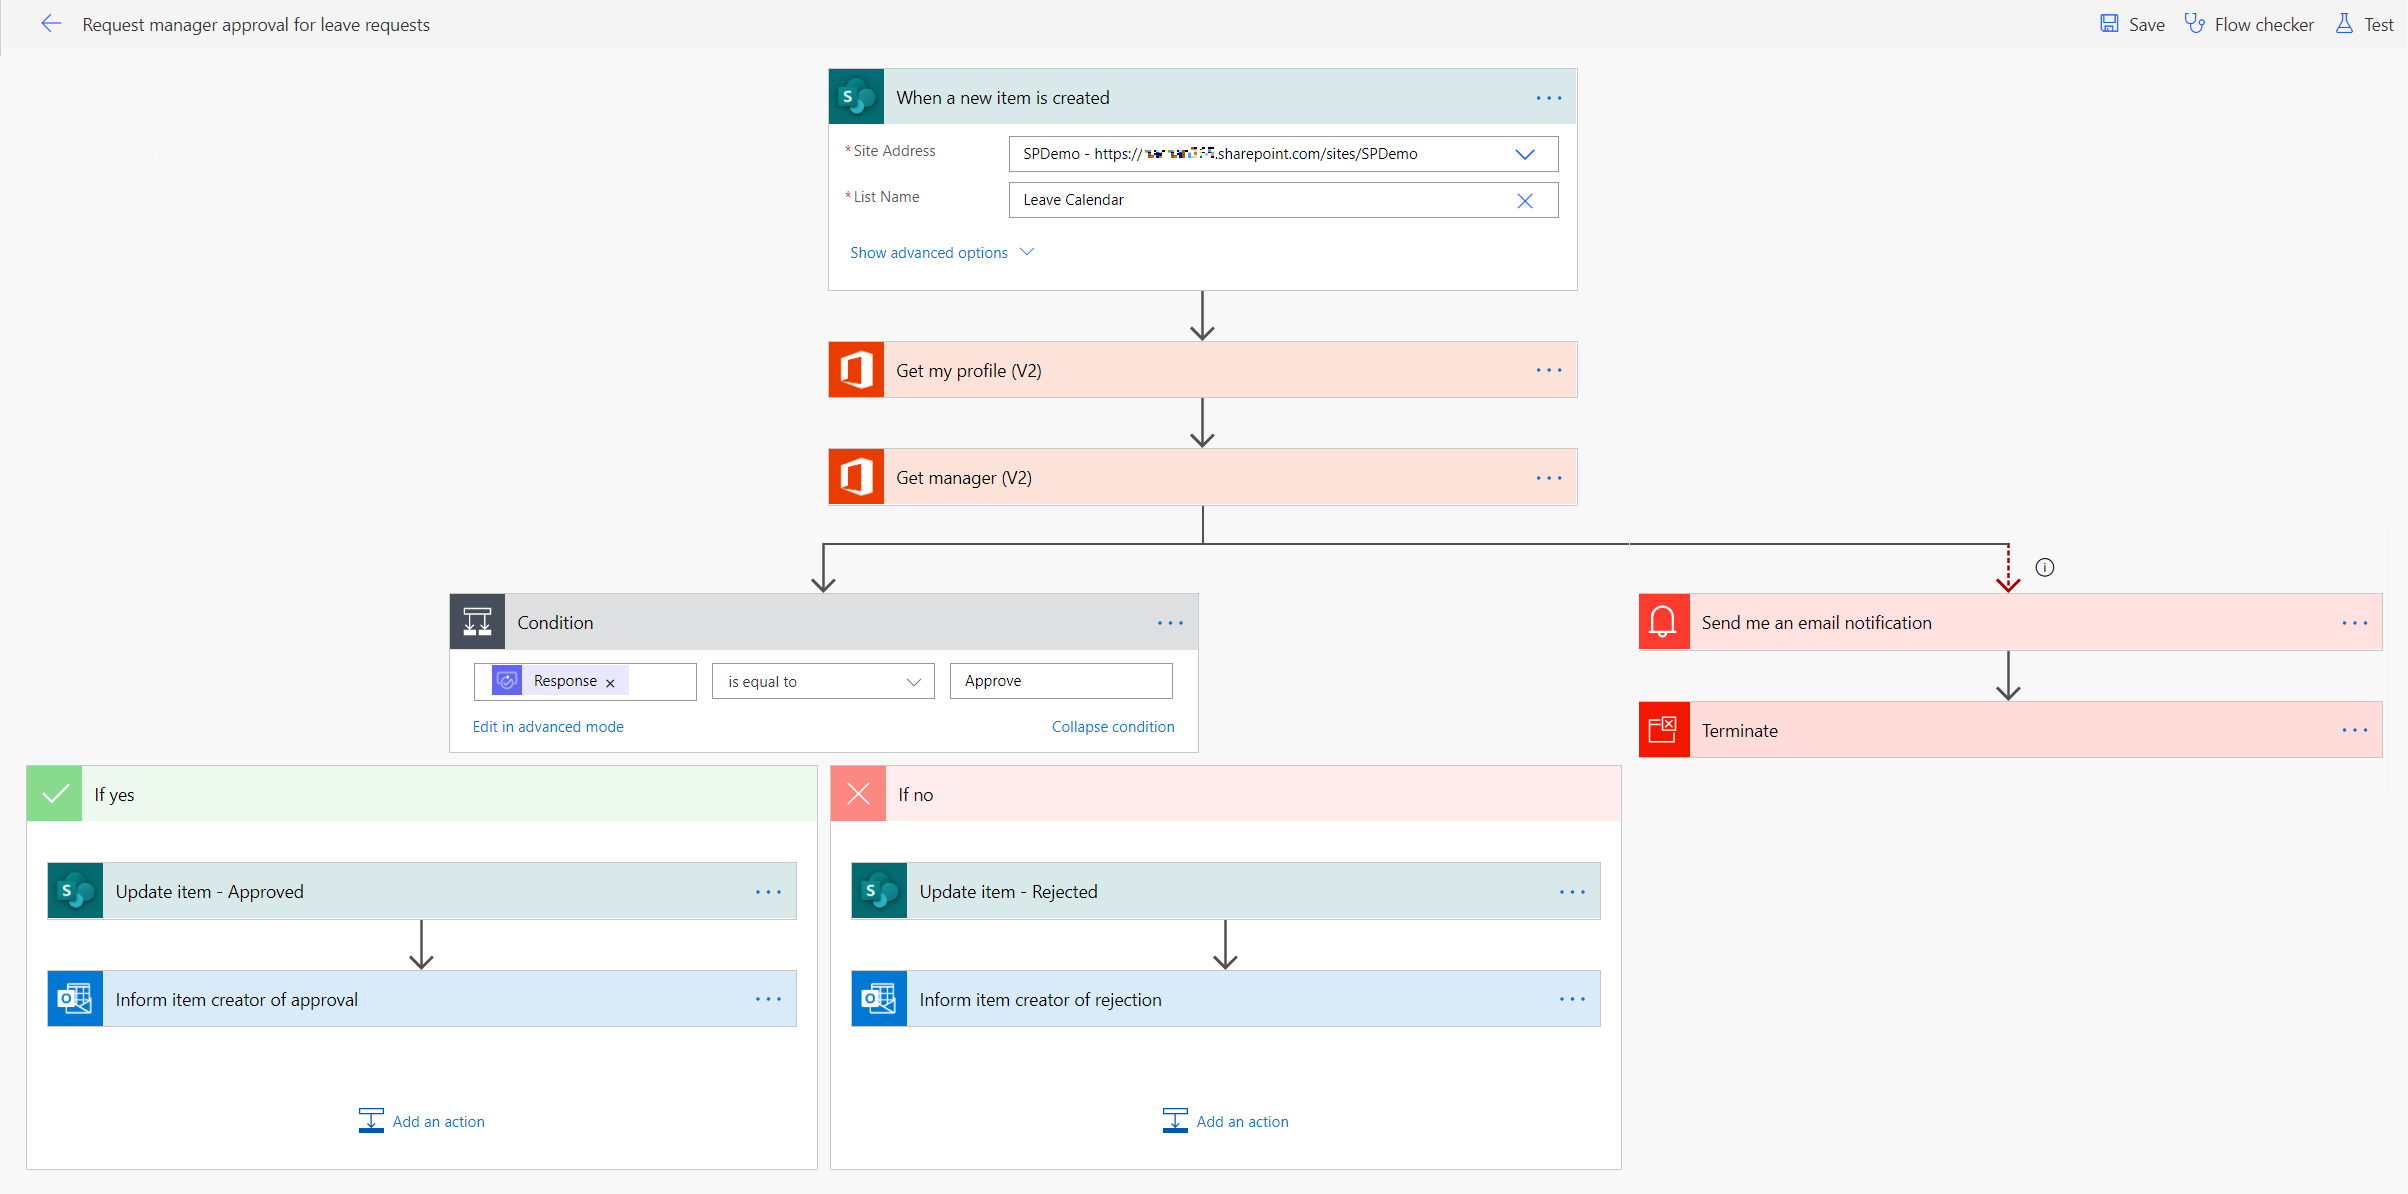
Choose Request manager approval for leave requests.
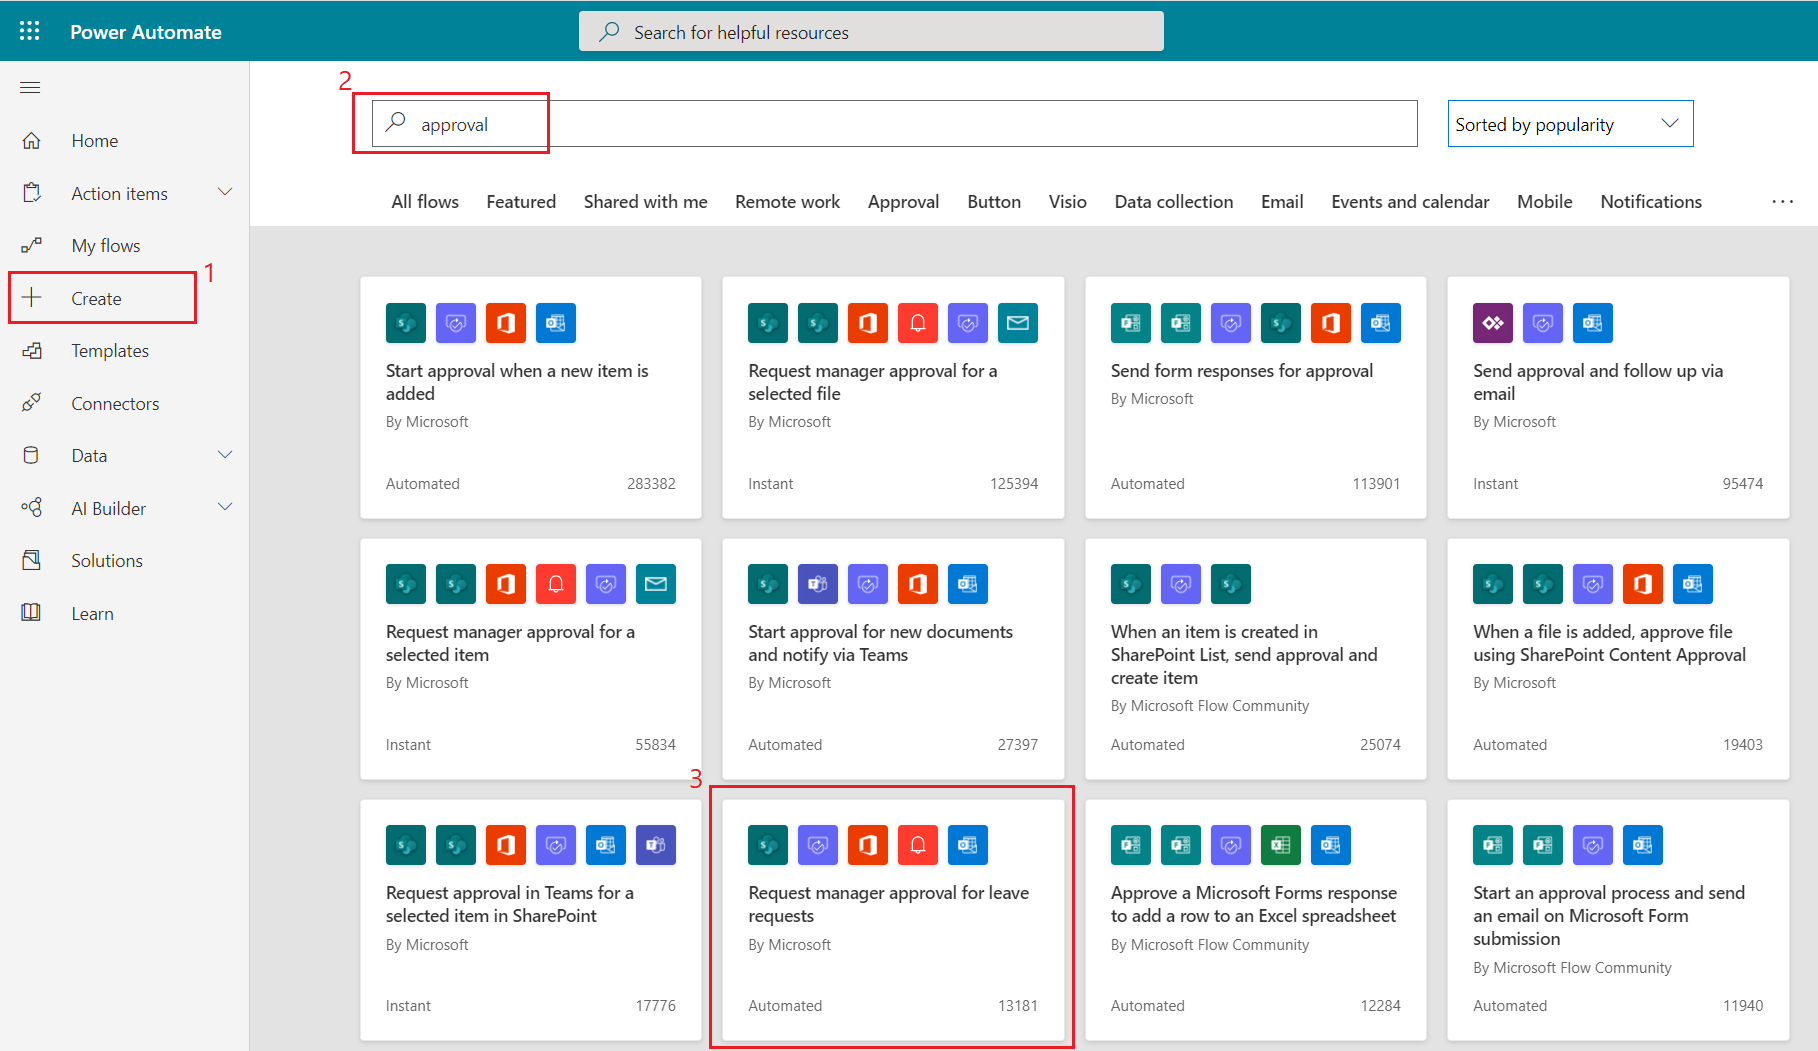
-
Update the Site address and List name in the ready template.
Summary
SharePoint along with Power Platform can be used to automate our business processes. In this article, we explored the creation of a leave approval system using SharePoint integration with Power Platform. Power Apps supports the creation of apps for mobile and web. Power Automate helps to automate the business processes (e.g. approvals) by designing flows.
References
- Power apps gallery conditional formatting by Laura Rogers
- Power Apps
- Power Automate

Leave a comment